How to Translate weDevs Theme and Plugin to Your Own Language
Good news to all the weDevs themes and plugin users from around the world. You can now participate in weDevs translation project and localize our themes and plugins in your language! Nothing is better for your audience than greeting with their own language when they visit your site!
Contributing to translating weDevs themes and plugins is fairly straightforward. Follow the steps described below for translating weDevs themes and plugins.
Step 1: Register
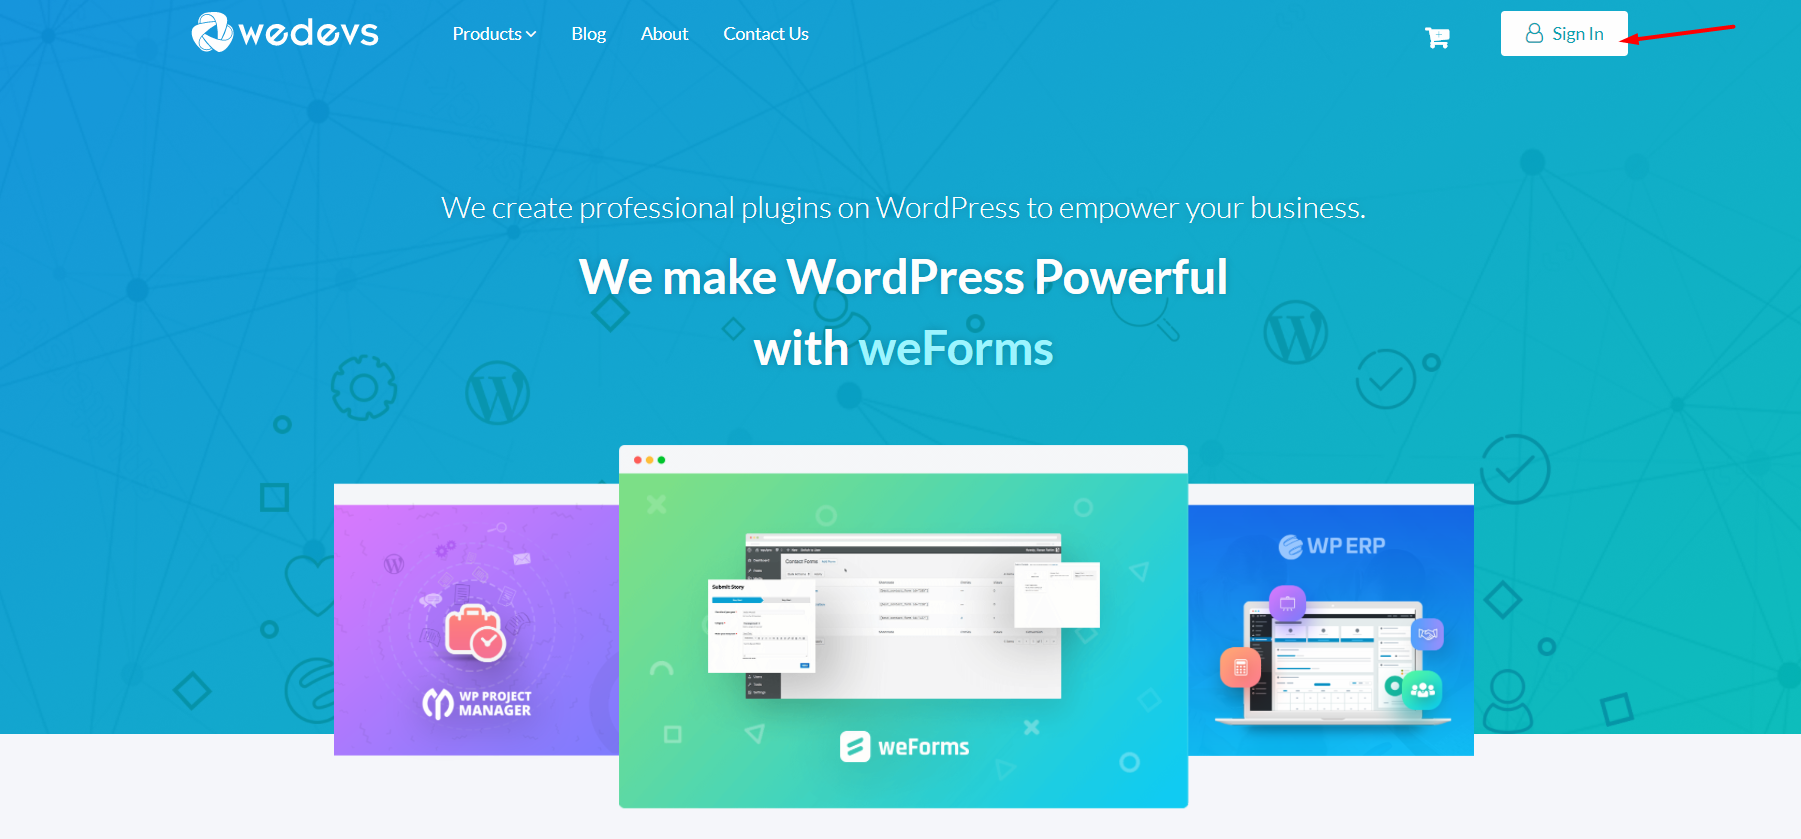
To start translating, you will first need to register. Go to and click on the Sign In button.
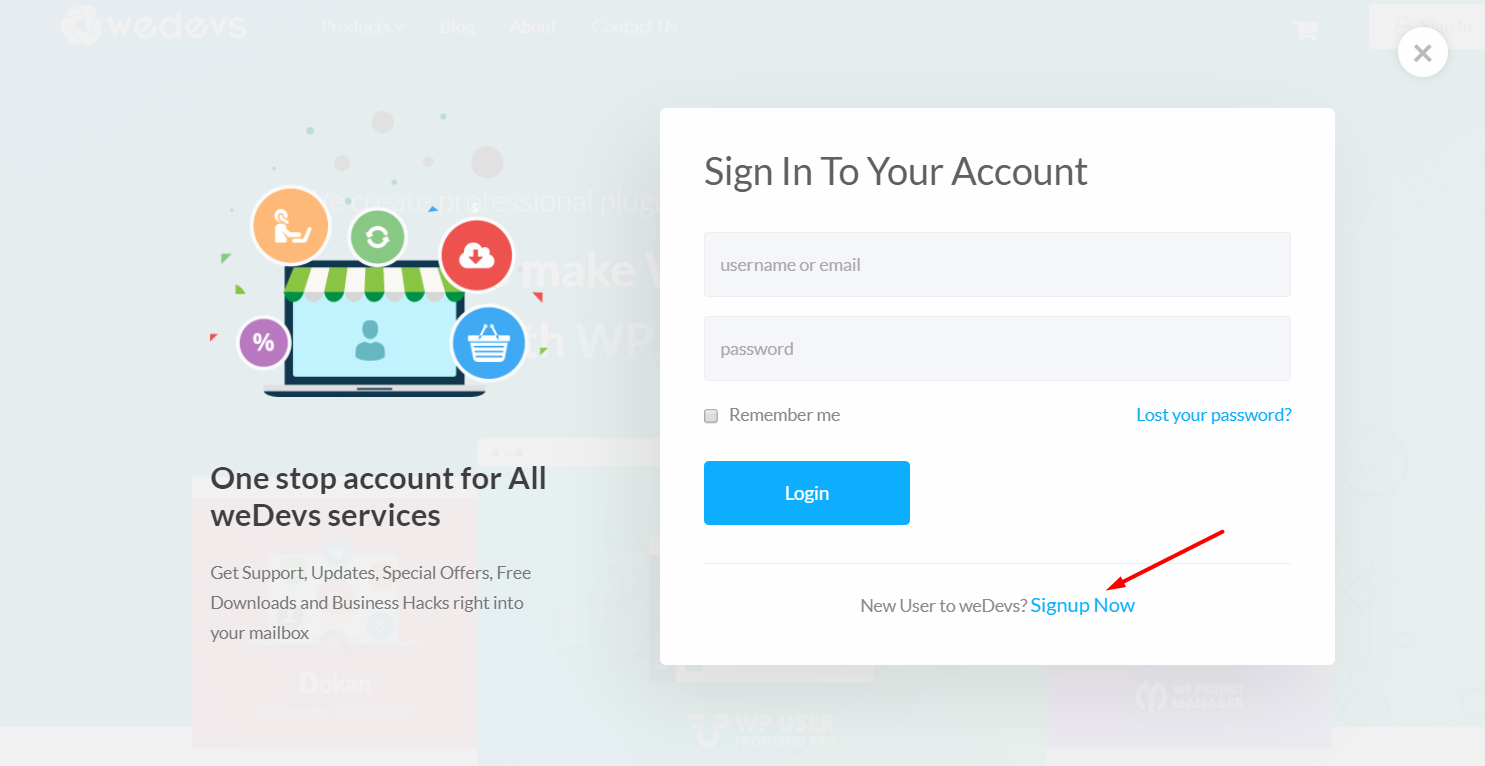
You will see a sign-in form. Simply click on the Signup Now link under the login button.
You will the Sign Up form. Fill up the form properly. We will send you an activation email for confirmation. Activate your account and you are good to go.
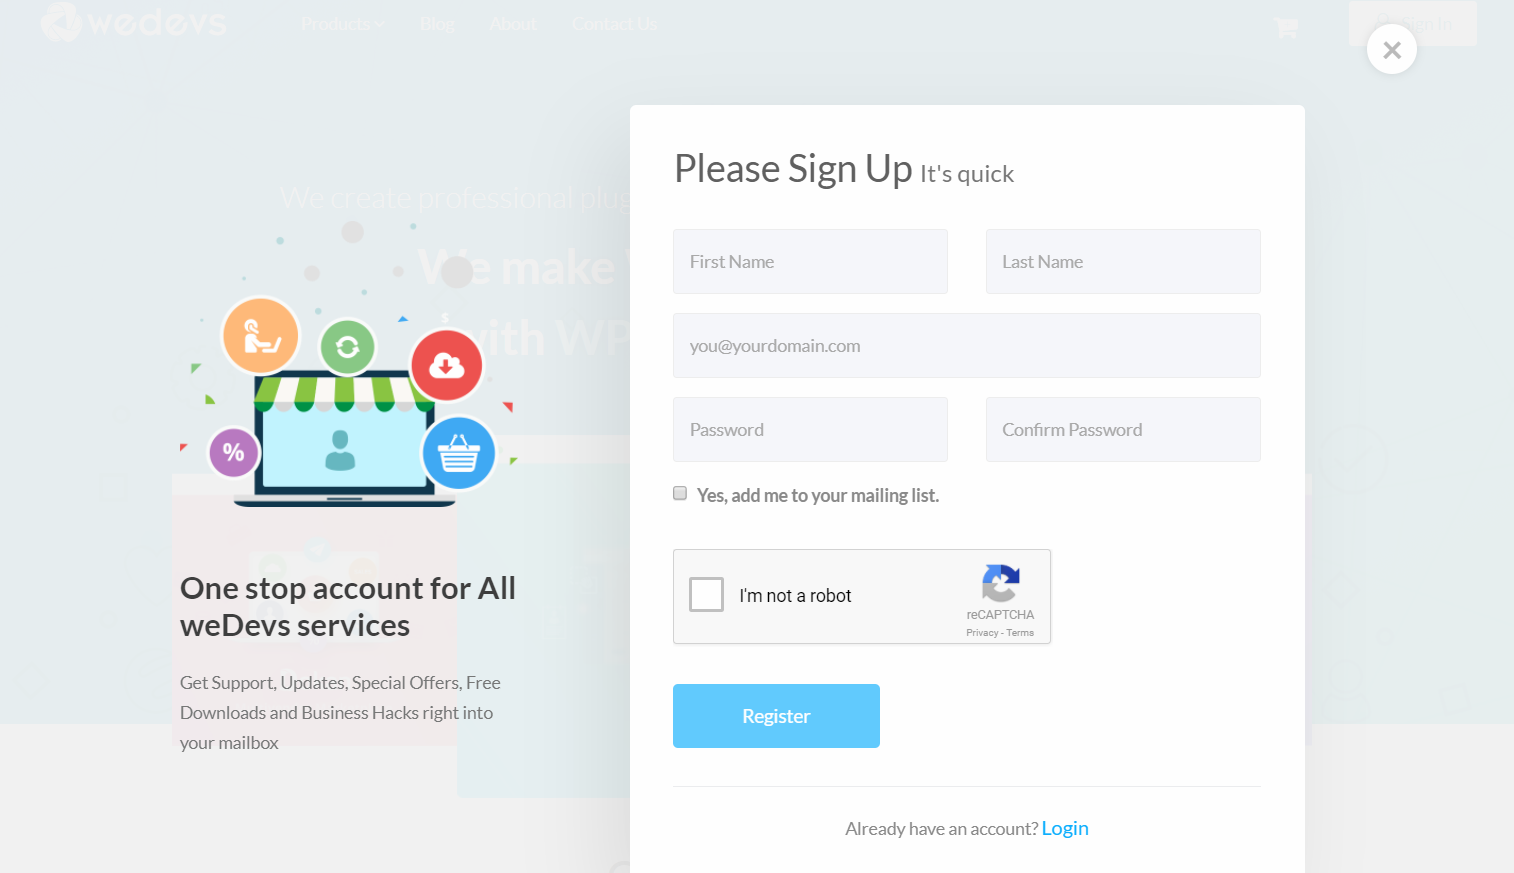
As soon as you're done, you'll be redirected to the login window. Use the username and password you created your account with to log in.
Step 2: Choose your theme/plugin
Now, visit the following link – /account/glotpress/pro
At this moment. you can choose our Dokan theme, WP Project Manager Pro plugin, and WP User Frontend Pro plugin to translate. Click whichever you want to start translating.
For the purpose of this article, we're going to choose Dokan. So, click on the Dokan Pro Starter Package link.
Step 3: Select a Language
When you choose a theme/plugin, on the next page you'll see a list of available languages you can translate the plugin to. Choose your language from this list.
Step 4: Select a String and Translate
After selecting your language, you will see a list of strings that can be translated. If a translation of a string is already available, it will show up next to the string. You can modify or update it if you think there's a better translation.
If a string is empty, you'll be able to double-click on it and type in a translation for that string.
Click Suggest new translation when you're done.
So what are you waiting for? Start translating weDevs themes and plugins in your language! Get started here.
Download Translation File
Let's say a translation file for a selected language is ready. (You can the percentage of translation completed in Step 3 when you choose the language.) Now you want to activate the new language in your site. How do you do that?
It's fairly simple and straightforward as well. To demonstrate this, we're just going to use Dokan translations. If you go to the link, you'll see only German language is 100% completed at the time of this writing. Let's say you want to show your site in German. To do that, click German from the list of language.
On the next page, you'll see a list of all the strings. Since Dokan is translated into German completely, so you now need to export the translation file. To do that, scroll to the bottom of the page.
You'll see the Export link. But you will need to download two files from there. First, select only matching the filter from the first drop-down menu next to the “Export” link. Then select “Portable Object Message Catalog (.po)” as shown in the image below. Then click Export. A .po file will be downloaded to your computer.
Next, select “Machine Object Message Catalog (.mo)” from the drop-down menu and click Export again. Make sure the first drop-down is still set to “only matching the filter”. Refer to the screenshot below.

Now that you've saved both .po and .mo file, you will now need to upload them to your web server.
The .mo file must be renamed in this format: pluginname-languagecode_countrycode.mo
For example dokan-bn_BD.mo or dokan-de_DE.mo or wpuf-en_US.mo
Change WordPress Language
This step requires an FTP access to your web server. First, you will have to upload the .pot and .mo file you just downloaded. Here are the paths where you should upload the pot file.
- Dokan Theme:
/wp-content/themes/dokan/languages - Dokan Plugin:
/wp-content/plugins/dokan/languages - WP Project Manager Pro:
/wp-content/plugins/wedevs-project-manager/languages - WP User Frontend Pro:
/wp-content/plugins/wp-user-frontend/languages
Warning: If you place the file in the languages folder of the plugin as mentioned above, the file might get lost if you update the plugin. So, we alternatively suggest to put them inside wp-content/languages/plugins
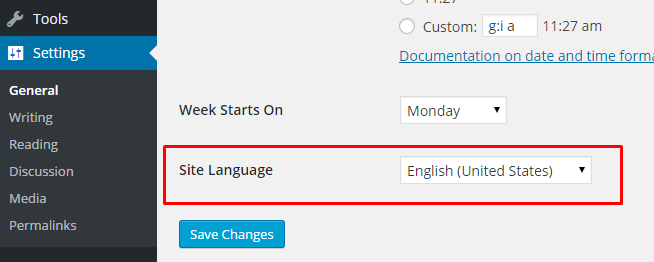
After you've uploaded the language files (.po and .mo are the language files), you will need to change the site language from wp-admin → Settings → General. At the bottom of this page, you will find a drop down menu to change the site language.
Now you should see the translated theme/plugin in your language! If you've got questions, feel free to ask in the Support forum.
Conclusion
If you are familiar with translating WordPress themes and plugins via Poedit or translating plugins like qTranslate or Transposh you might be wondering why we have shown the process like this!
We have shown you the tutorial with our online translator because it seemed easy for us rather than installing complicated plugins and configuring them or downloading software and using that. And moreover, we already have a complete translation of our products in 30+ languages, so you can download the translation and use it from our site. It will save you time. And if your translation is not listed on our site, you can request to create that via our contact form and translate it online.