We are assuming you already have a Google Play developer account. Follow this guide to upload your newly built Dokan app to Google Play Store. Here the steps have been curated with relevant screenshots and with omitting some in-depth details to make the publishing process easy for you.
Of course, Google also has a definitive guide for this. To gain in-depth knowledge about every aspect of publishing an app to Play Store, head over to Google’s documentation.
Login to Google Play Console It will be empty for the first time. Select your language, fill up the title and click CREATE APP.
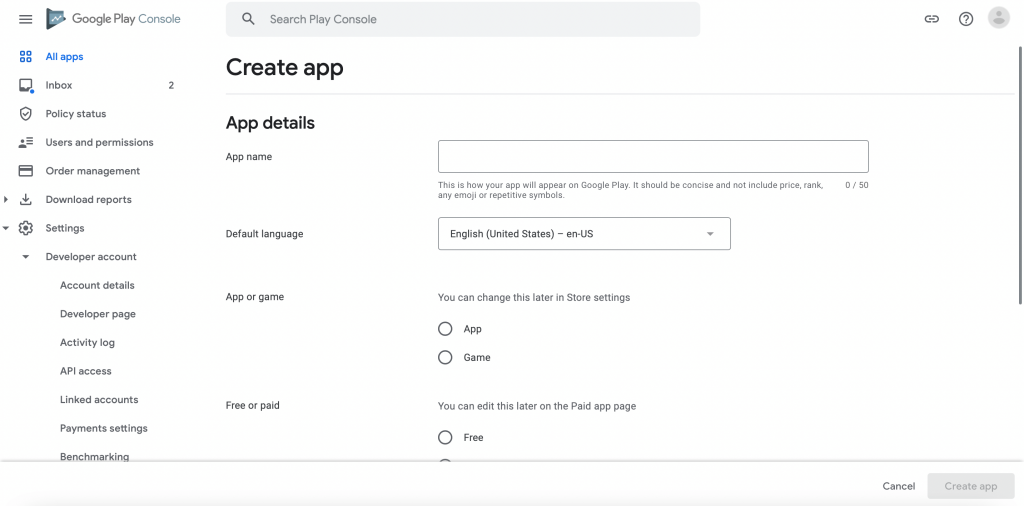
You will be navigated to the Store listing page.
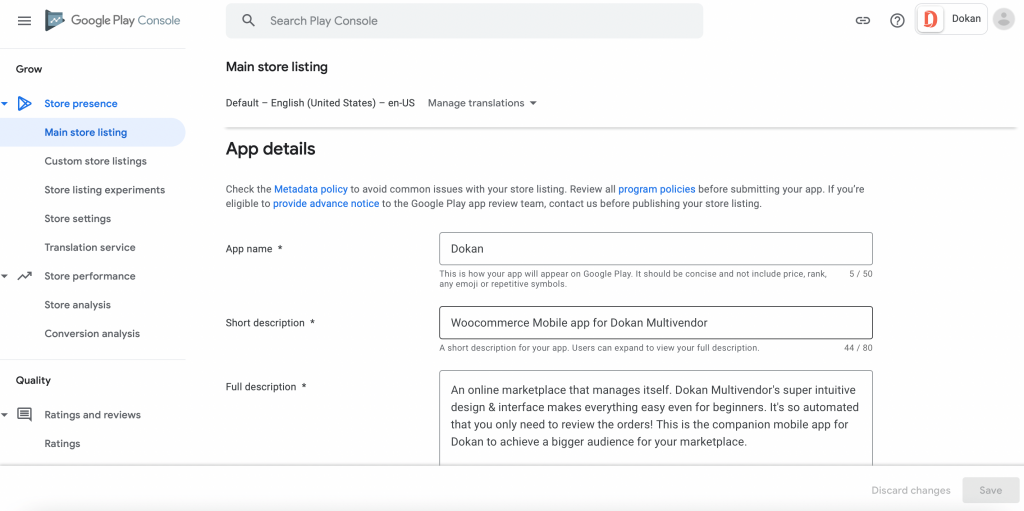
At the sidebar, you will notice some grayed out tick marks. These are the steps we need to complete to publish our app in the Play Store.

When a step is done you will see the corresponding tick mark’s color changes indicating success.

We will configure the following steps in order:
- Store listing
- App releases
- Content rating
- Resume App releases
- App content
- Pricing and distribution
Store listing
By now you are already on the Store listing page. The title should be set from the previous step. Write a proper short and long description of your app.

Now fill up the options as shown below
Graphic assets
Scroll down to Graphic Assets. Here we will focus on Hi-res icon, Screenshots, and Feature Graphic.
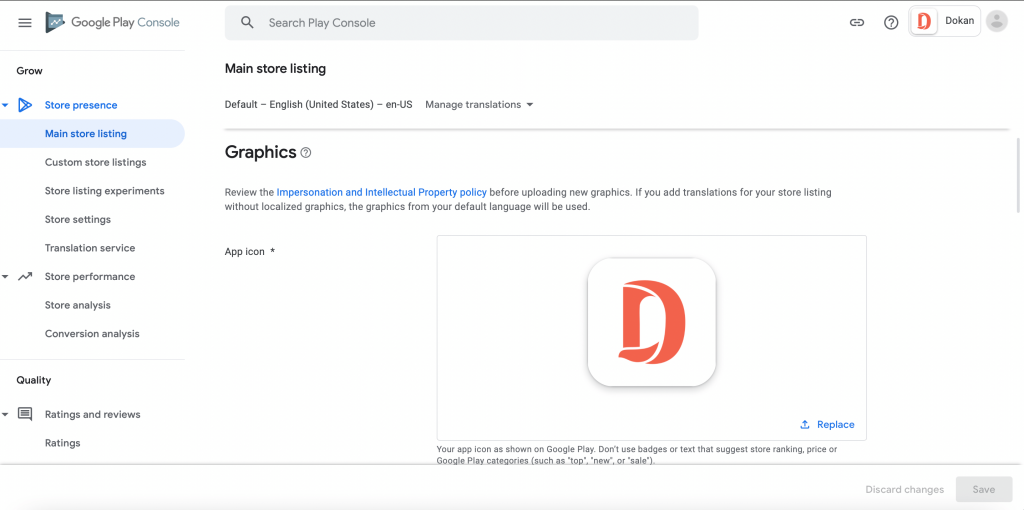
For Hi-res icon you need to upload a 512 x 512 image. If you have followed the Prepare App icon and Splash Screen image section, you already have a 1024 x 1024 icon image. Just resize it down to 512 x 512 and upload it here.
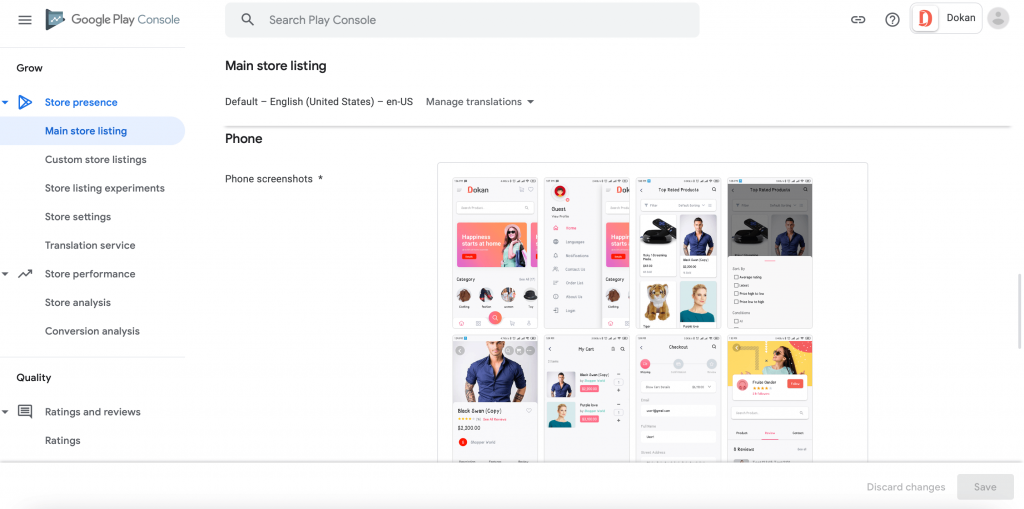
The Screenshots section is useful to show the important features and screens of your app to your users. From there, users can have a proper idea about the app before installing it.
Though the example image below shows just two screenshots taken from two different screens of the Dokan App, you should craft beautiful images with the screenshots taken from your app and upload it here. Here is a good tool for this purpose.
Feature Graphic is important to showcase your app in an attractive manner to a user in Play Store. You should design a beautiful image for this purpose so that the user feels compelled to install your app.
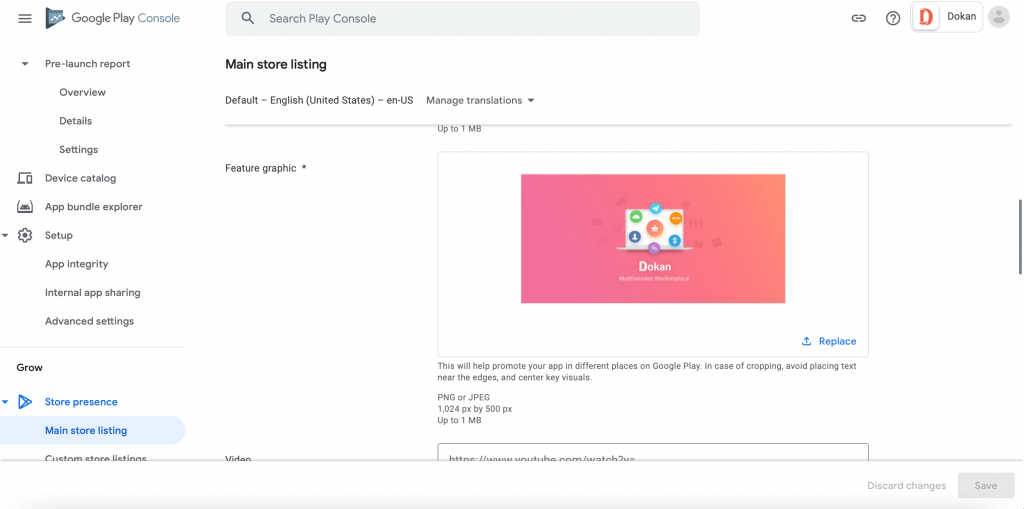
There are some options that we didn’t touch. To learn about them here is further reading.
Categorization
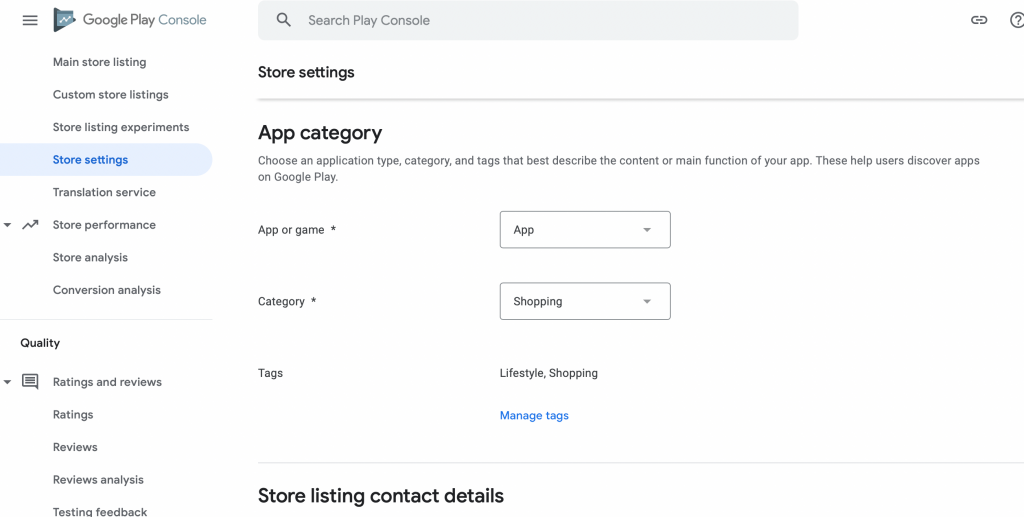
The Application type should be Applications and Category should be Shopping. Don’t worry about
Content rating for now. We’ll do it later.
Contact details
This is pretty straightforward. Fill up with proper contact details

Privacy Policy
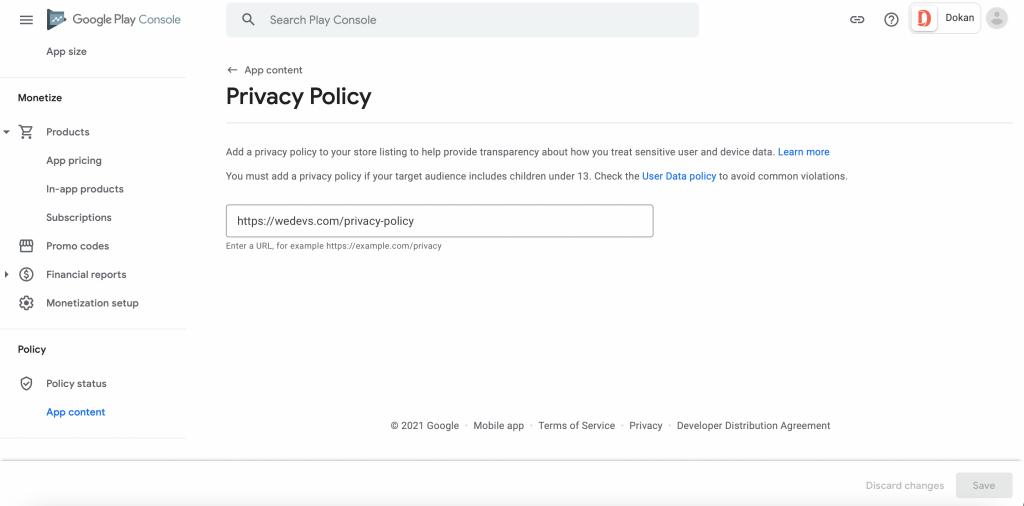
Do submit your privacy policy or Google will complain about it during app review and in some cases may reject your app.
Now press save. Everything should be okay and you will see a success tick mark beside Store listing in the sidebar.
App Releases
Now from the sidebar, go to App Releases. Among the different tracks you should first relase your app to Beta in Open Track. This way you can restrict the audience of your app to test your app properly and solve issues before publishing to Production Track.
Click Manage in Beta section

App Signing: Your app needs to be digitally signed with a key. Which ensures your app’s authenticity. Also when you need to publish new update, the app must be built again and be signed with this same key.
Google will check the signing key between the previously uploaded version of your app to this latest uploaded version. If both key do not match, Google will prevent the upload. This is how Google ensures a secure release management of your app.
We have already generated an app siging key for you, using your credentials that you have submitted to us during the build process and signed your app. We have also sent you the key with your app.aab file.
In the Let Google manage and protect your app signing key section (see image below), click Continue. If you do not enable this you have to manually store and manage your signing key. By enabling this feature you let Google to manage your app signing key which is a more secure way.
If you want to deeply understand this app signing thing read Sign your app and App signing by Google Play here.
Moving on, Click Browse Files in the Android App Bundles and APKs to add a section and upload the app.aab that you are provided with.
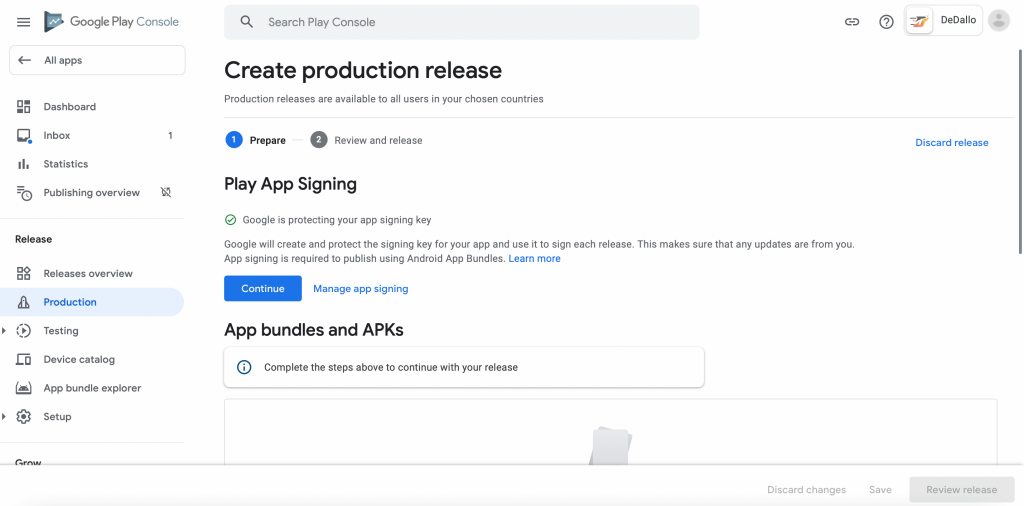
It may take a while to complete the upload and then Google will do some processing on it to extract the app signing key, version number etc.
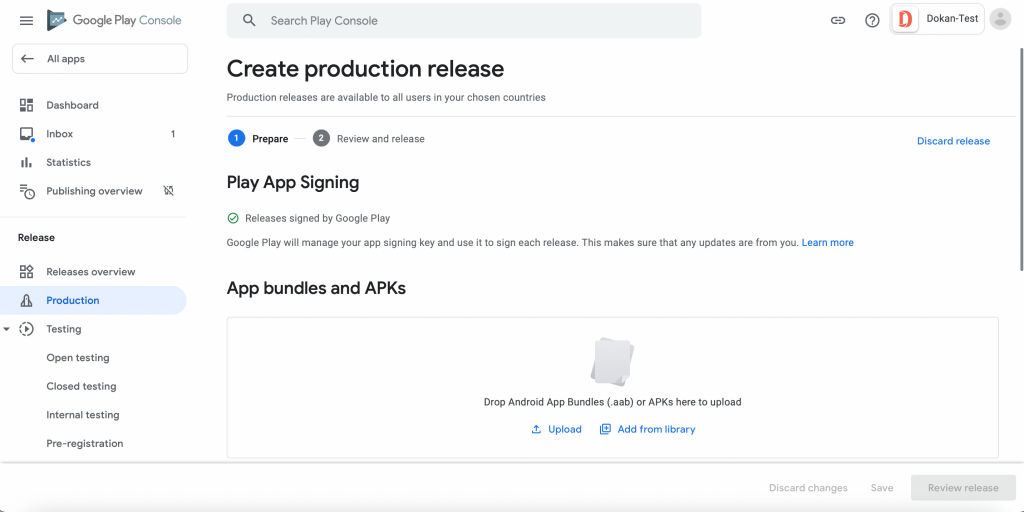
After successful completion of the upload, you will see something like below.
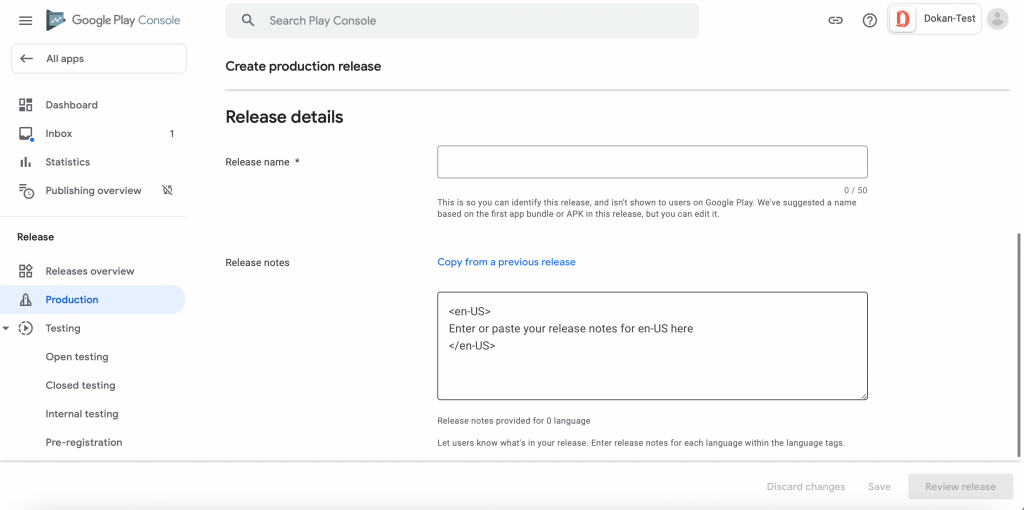
Notice the Release name field is populated. Google filled it with the version number of the Dokan App (in this case 1.0.0) that was used to build your customized app. You should keep the version number like this so that your app’s version remains in sync with the Dokan app’s version.
In What’s new in this release, section write the top features of your app. See the example write-up in the above image. Now press SAVE and you will see the REVIEW button gets activated. Leave it for now, we will come back here again.
Content rating
Now click Content Rating in the sidebar. It is required to let Play Store know about your target audience. See the image below and click the area marked by a red rectangle in your browser.
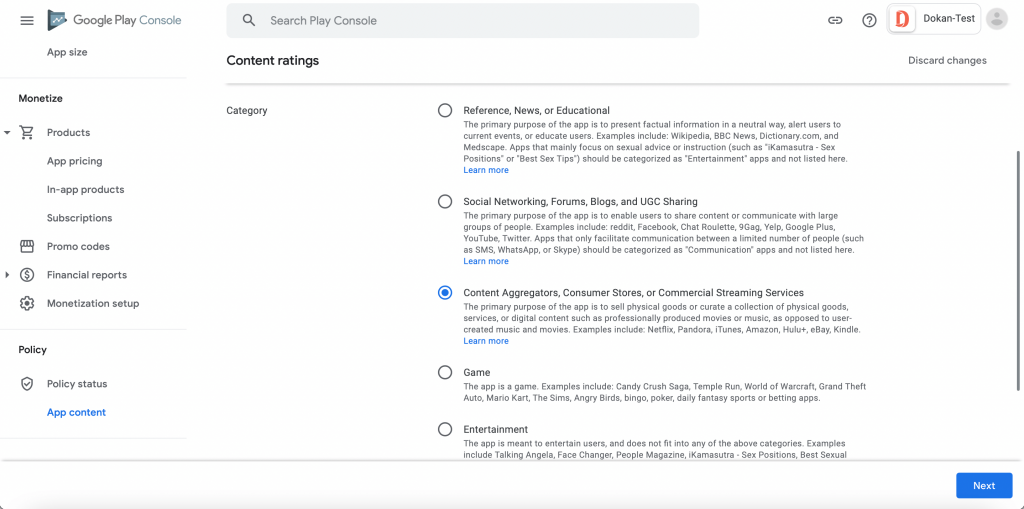
The questionnaire is self-explaining and you should be able to mark the appropriate answer on your own. Answer the section like the picture below
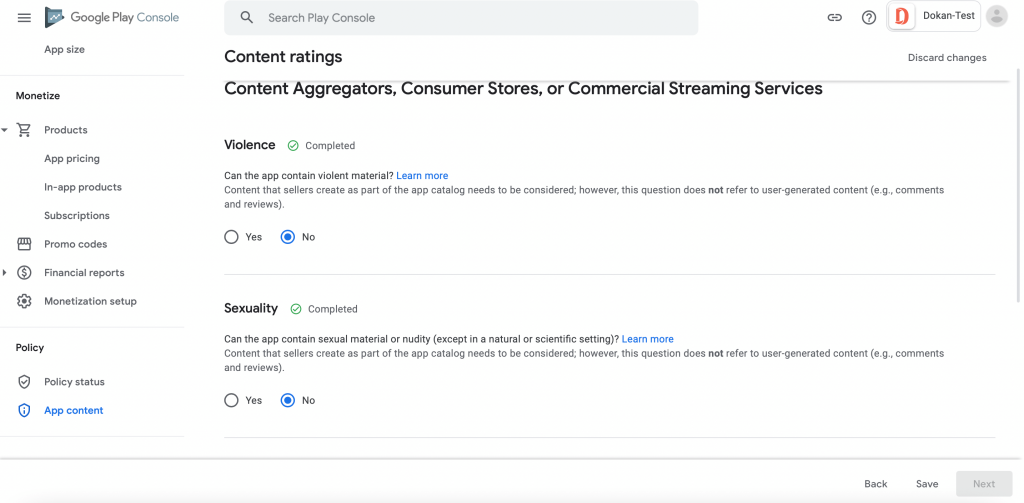
Now press the SAVE QUESTIONNAIRE button. Google will calculate and apply the rating for your app. You will see something like the image below.
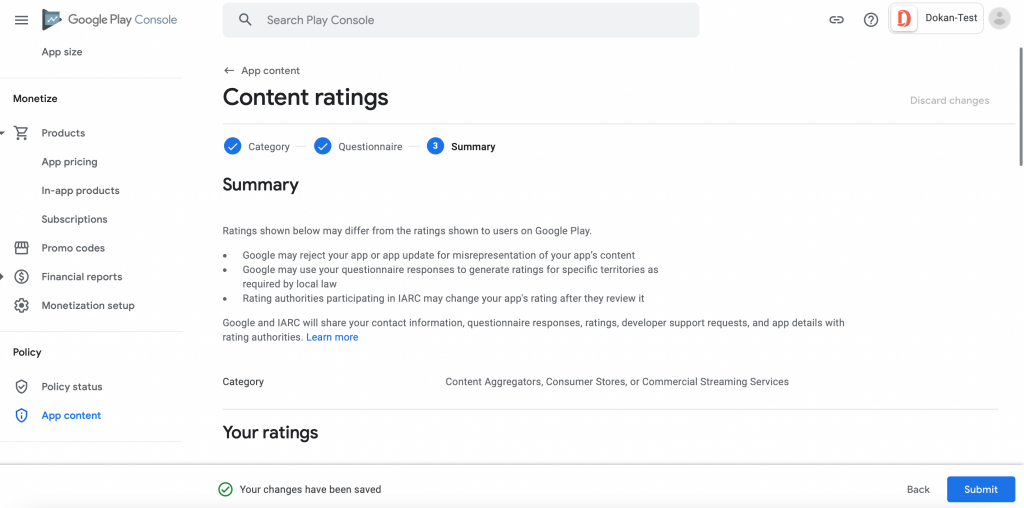
Pricing and Distribution
Now navigate to Pricing & Distribution from the sidebar. Set the pricing of your app. Your app is most probably going to be FREE for your customers.

Set the countries where you want your app to be available. As we are releasing in BETA testing it’s better to restrict users by country. You can always change this setting when you move your app from BETA to PRODUCTION
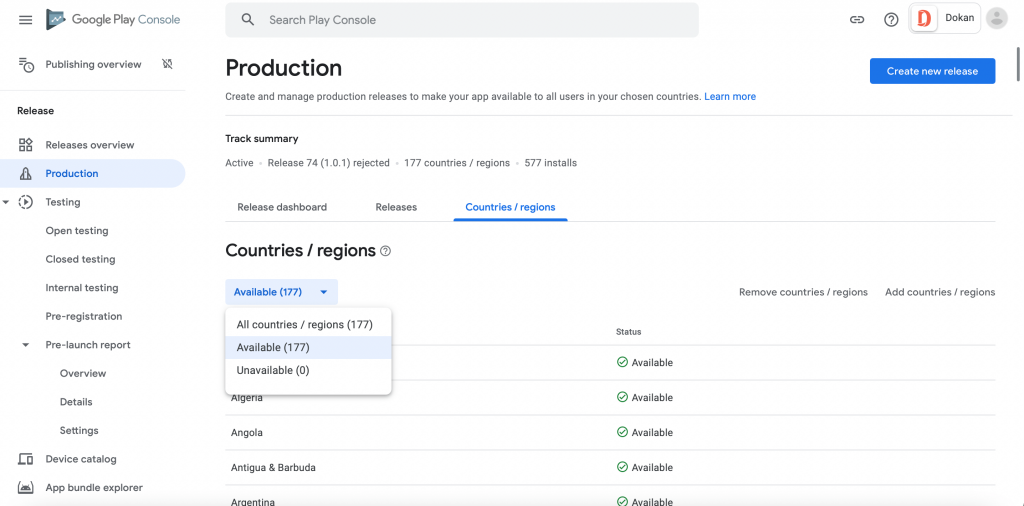
Set the Contains ads option to No, for now.

Leave Device categories and User programs as they are. Fill up Consent like the image below.

App Content
Navigate to App content from the sidebar. Click start

Set the age limit properly for your app. Read the Policy requirements summary carefully and click next.
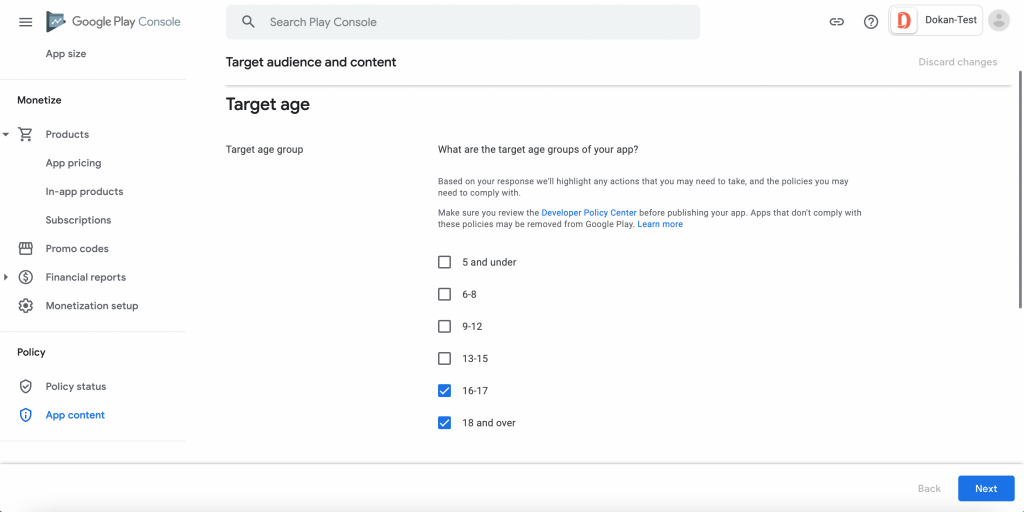
If you have set the age limit for your app like the image above, select No in the Appeal to children like the image below. Otherwise, proceed accordingly.
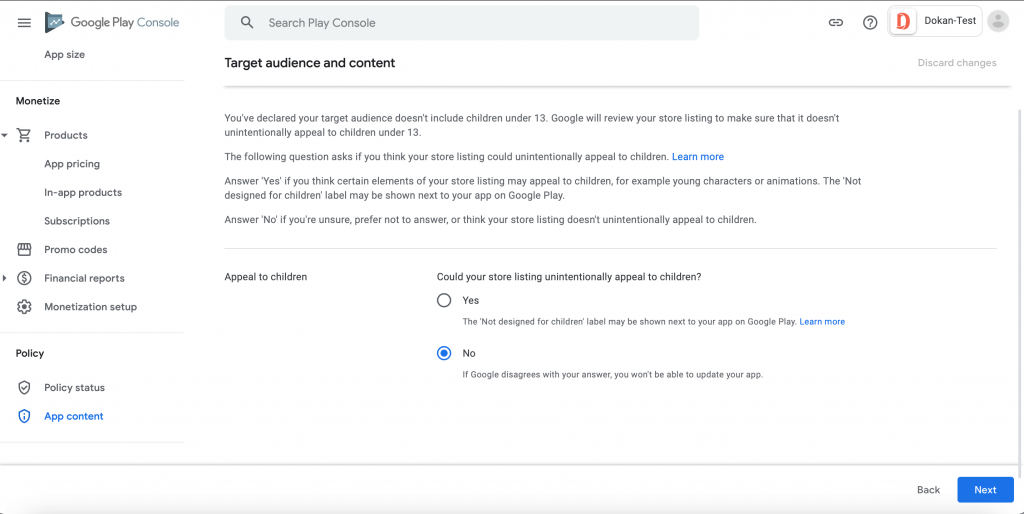
Then click SUBMIT. You should be done.

Resume App Releases
Now go to App releases again from the sidebar. Remember where we left off? Click EDIT RELEASE in
Beta section.

Click on the back icon near New release to beta

In the Manage testers section choose Open Beta Testing as your testing method. We will discuss about the other two options later.

Set the Maximum number of testers and Feedback Channel. Opt-in URL will be available after the app gets published.

Click the SAVE button. Then click EDIT RELEASE. On the next page, go to the bottom and press REVIEW. If you have followed everything so far properly, you will see something like the below image

Click START ROLLOUT TO BETA and then CONFIRM. Your app will be successfully submitted to BETA
release. A page will appear like below.

It will take a while before your app will be live in Google Play Store.