Now, you can use Facebook messenger to talk with your customers and answer their query.
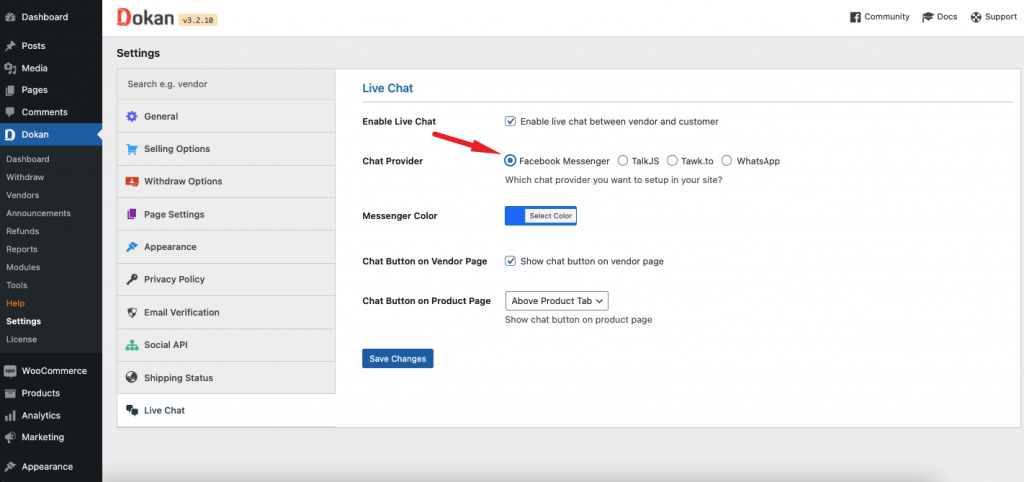
To enable Facebook Messenger, select the Facebook Messenger option from the Live Chat settings. Hit Save changes to finish.
Create Facebook Page
Now you need to create a Facebook page in order to connect your store with Facebook. Select the Create Option from your Facebook account.
There select Page.

Select any of the page type. Give your page name and category.
Now switch to your created page from your Facebook account. Then follow these steps to collect page ID.
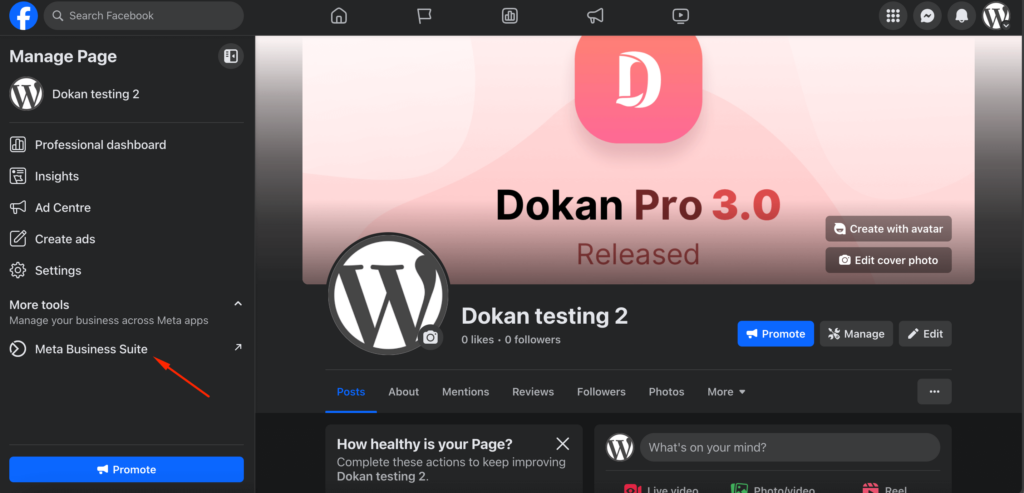
Click on the Meta Business Suite button on the right-hand side,
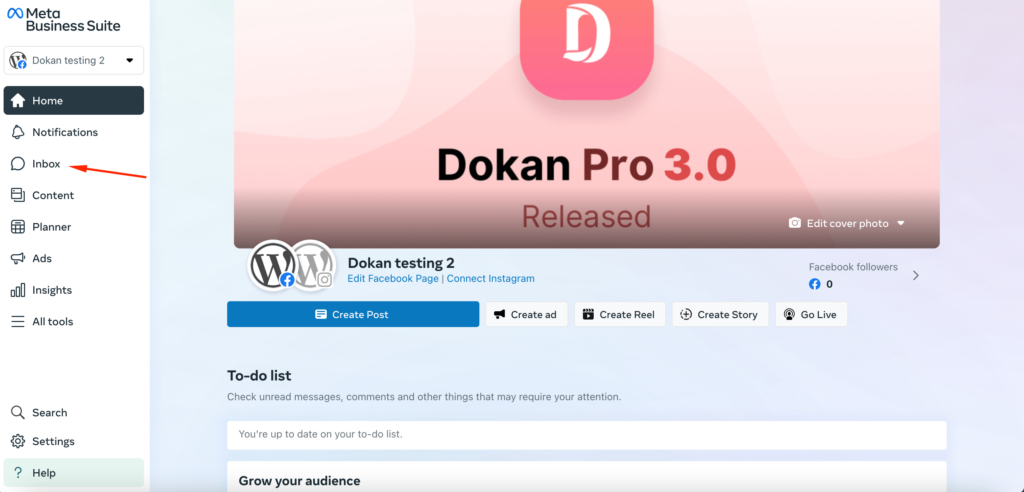
Now you will be redirected to another page. There click on the Inbox tab,
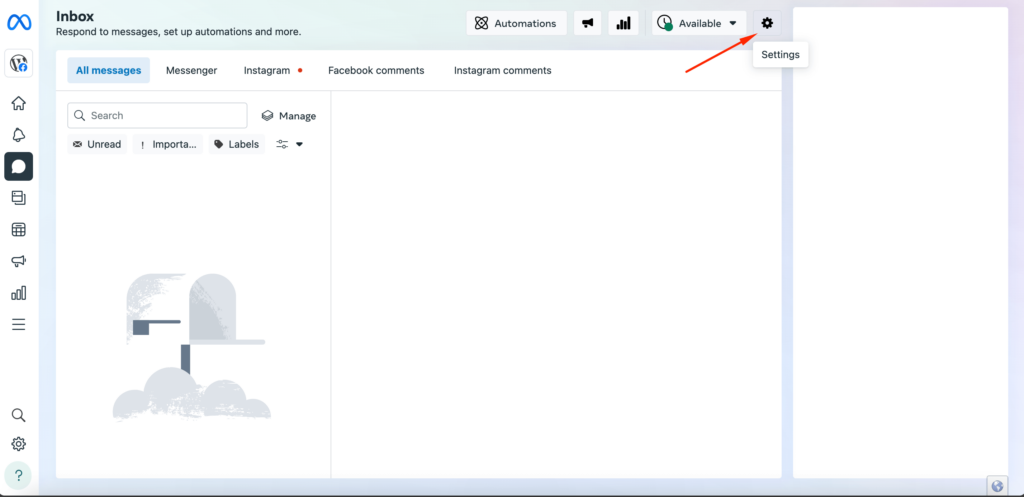
On the next page, click on the Settings icon on top of the menu,
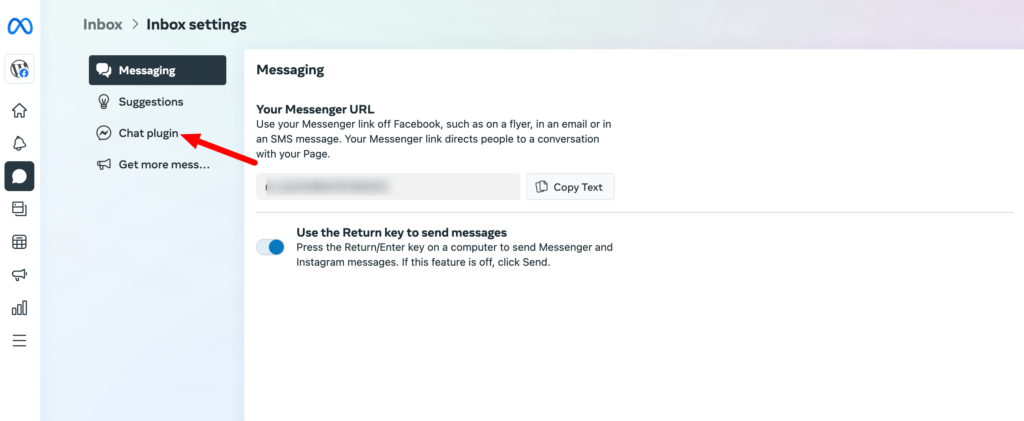
You will get three options. Choose the Chat Plugins option,
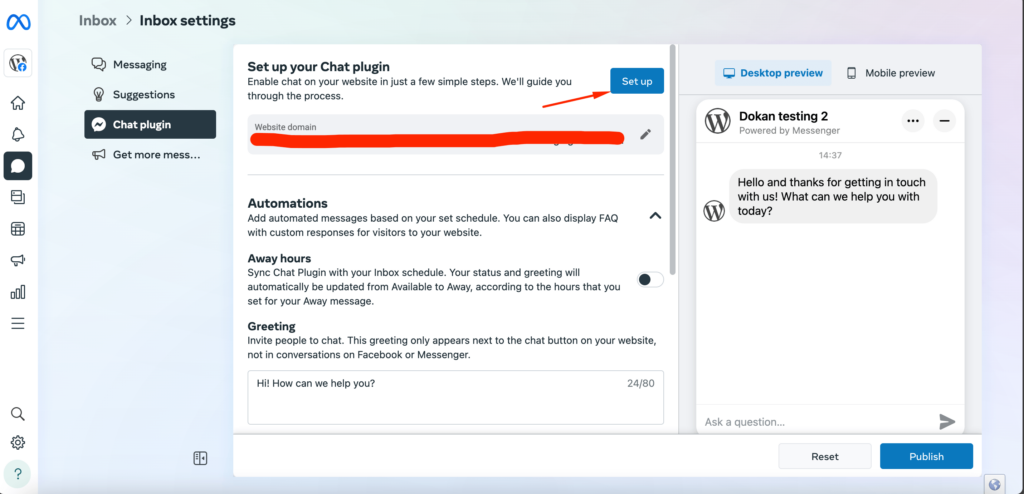
In order to get the page id, on the next page, click on the Set Up button on the top,
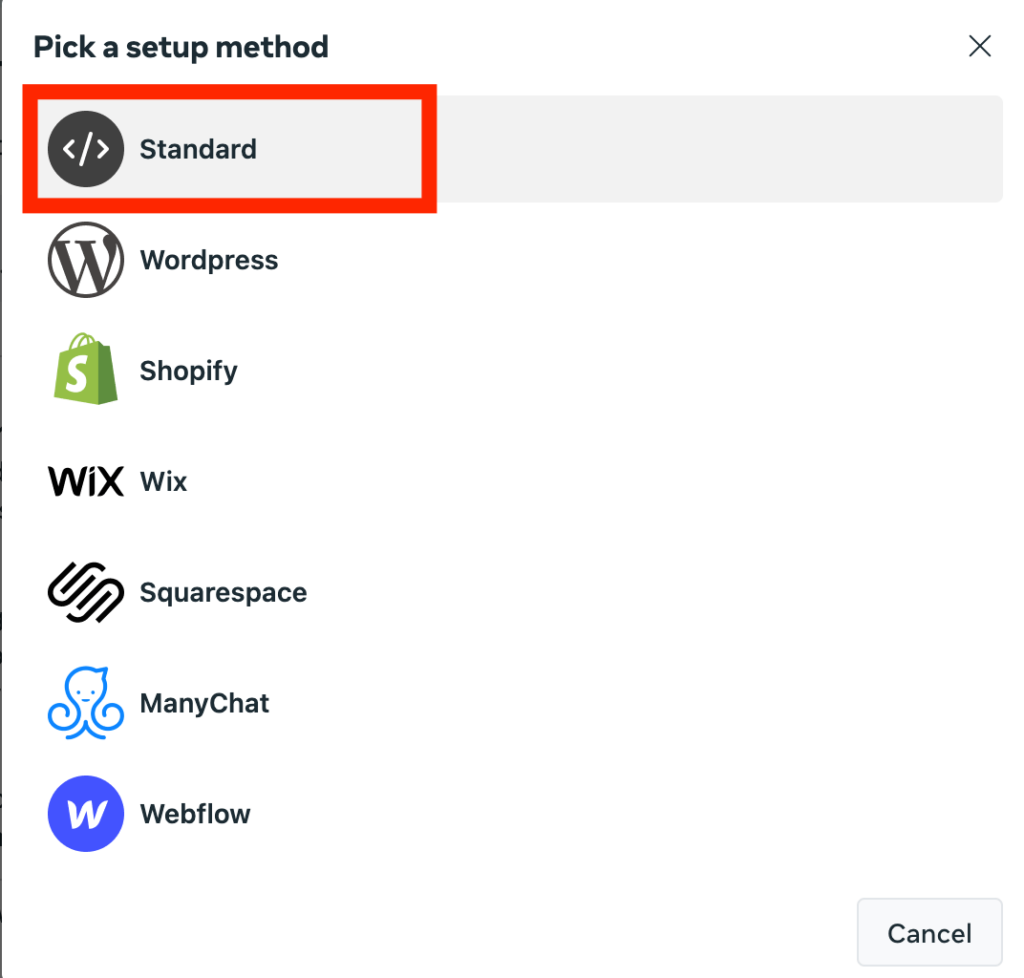
You will get a pop window. There you will various methods like WordPress, Webflow, Shopify, etc. But you need to choose the Standard method,
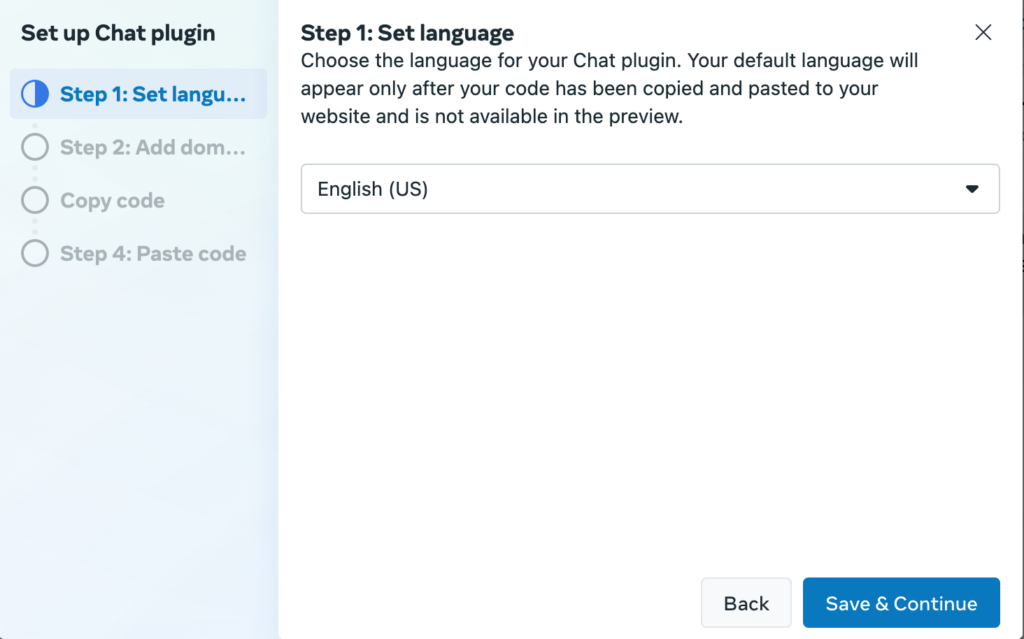
After choosing the Standard method, you will get a pop-up window again.
In Step 1, choose your preferred language,
In Step 2, you need to add your domain address. Remember, you need to add the Vendor Store address.
You can add multiple domains.
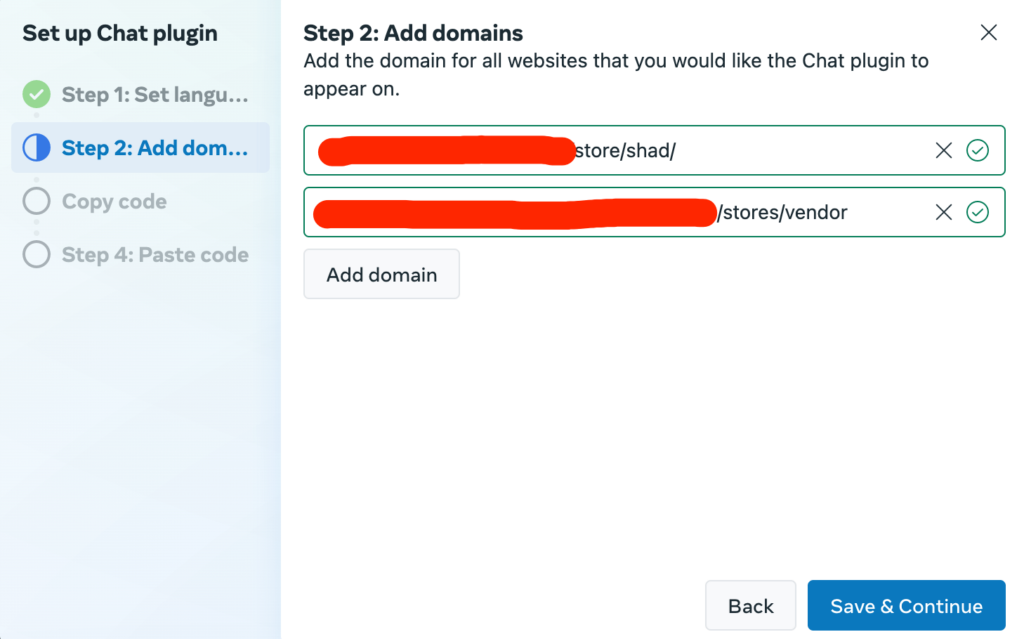
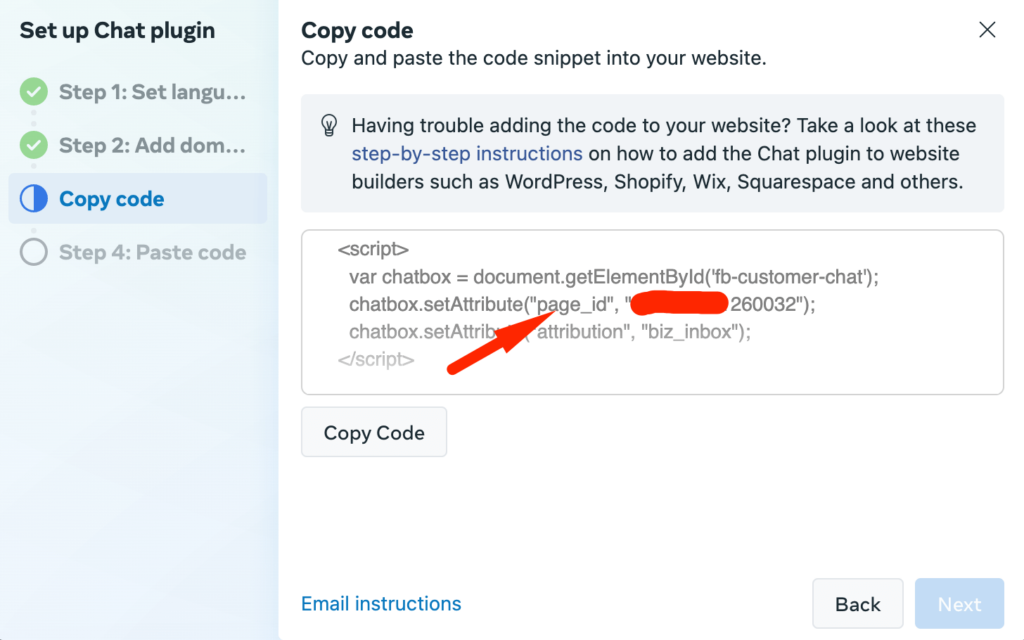
After adding the domain name, in Step 3, collect the Page Id,
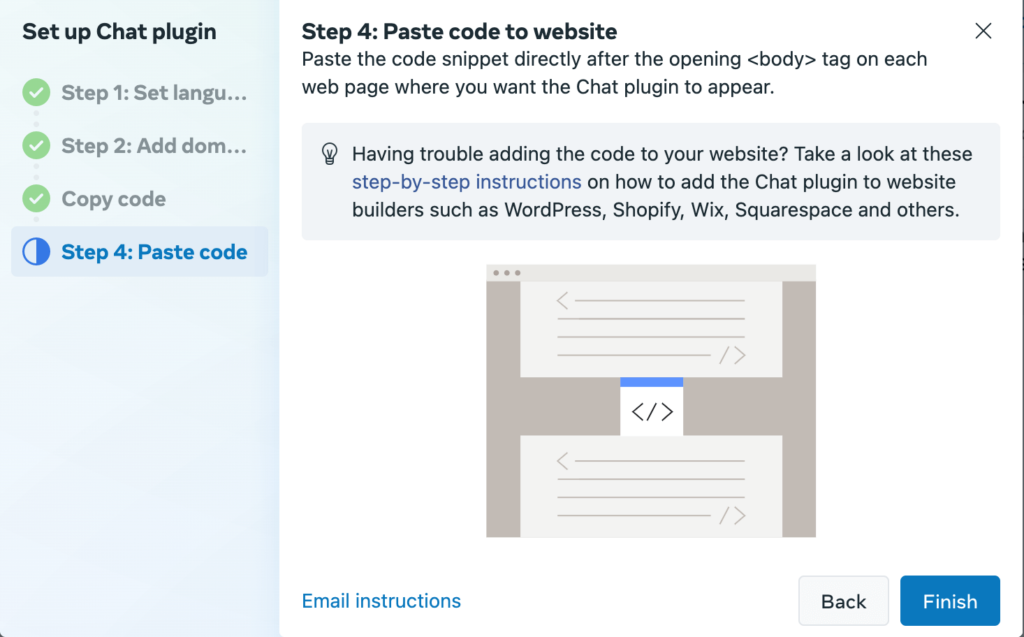
You are done. In Step 4, just click on the Finish button.
Your chat plugin is ready and you have also got your page id,
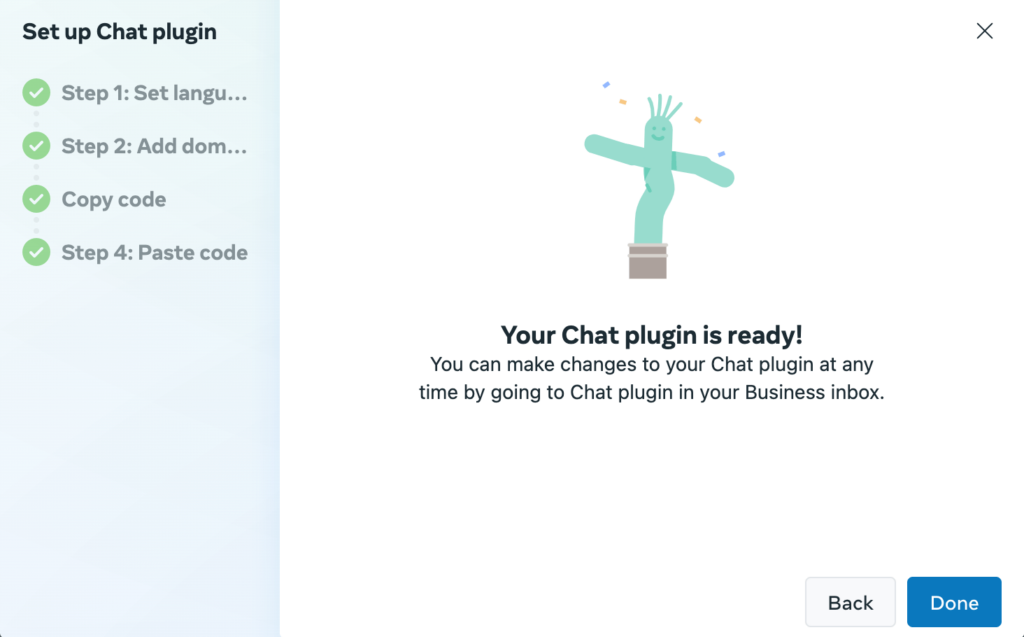
This is how you can collect the Page Id of messenger.
Add Messenger URL To Your Store
Go to the vendor dashboard. Click on Settings.
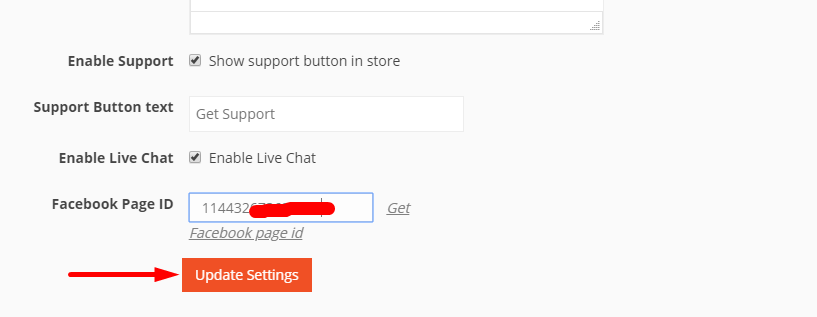
On the next page, if you scroll down, you will find options Enable Live Chat, Facebook Page Id. Only add the number from your Messenger URL you copied earlier. Click on Update Settings to finish.
Now, if you go to your store, click on Chat Now, you will see a pop up with the Messenger icon.