Payment and Gateway Settings of WP User Frontend
The WP User Frontend has a built-in membership feature that allows the site admin to charge users for posting. Currently, we are supporting PayPal and bank payments. Payments made through PayPal get processed automatically. However, the bank payments have to be processed manually. You can learn more about payments and subscriptions in the Subscription Section.
For now, we will see the options available in WP-Admin → User Frontend → Settings → Payments
Description
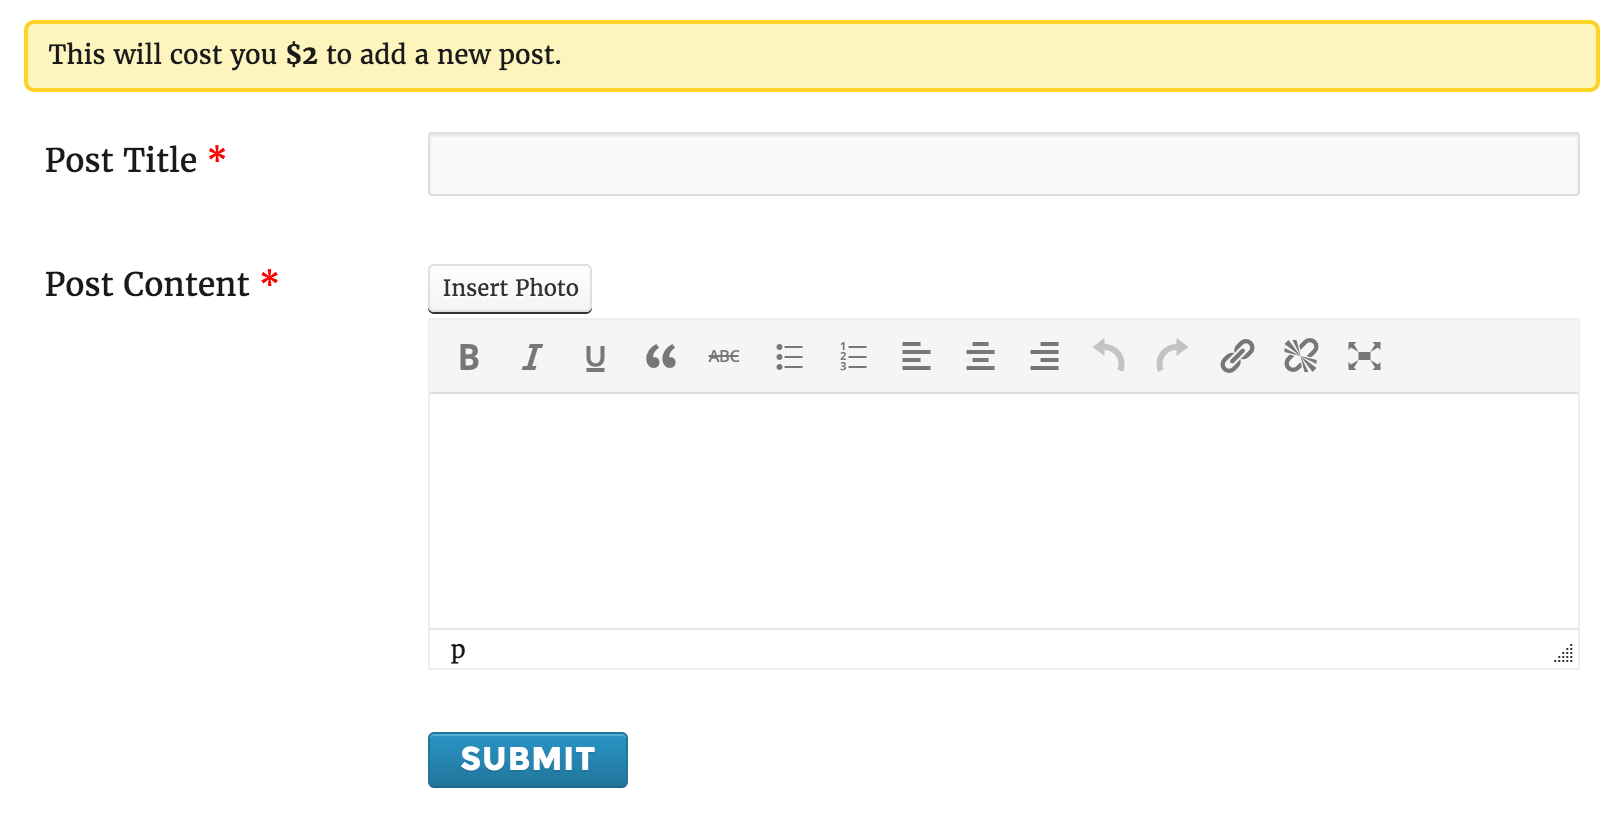
Charge for Posting: If you want to charge the users for posting on your site, then you have to select “Yes.”. When the user clicks the submit button, he will be taken to the payment page to select the payment gateway.
Until the payment process is complete, the post status will be pending and will not be published unless payment is received. If the user is paying via PayPal, then the system will receive an automatic response, and the post will be automatically published.
For bank payments, the admin has to verify the payment manually and publish the post. Till then, the user will have to wait.
Force Pack Purchase: If you do not want the user to create a post before purchasing the subscription pack, then you can enable this option. If left unchecked, the subscription pack will be optional. So the users can either choose to pay per post or buy a subscription pack.
To understand the above options better, here is a table:
| Charge for Posting | Force Pack Purchase | |
| Enabled | Enabled | Everyone will be asked to purchase a pack before they see the posting form. |
| Disabled | Enabled | Users can post without any cost |
| Enabled | Disabled | You have to pay to create each post. Buying subscription packs will be optional. |
| Disabled | Disabled | Everyone can post without paying. Purchasing a pack will be optional. |
Subscription Pack Page: You have to select the page that contains the shortcode [wpuf_sub_pack], no matter what the page name or the page URL. The only thing that matters is the shortcode.
Subscription at Registration: You can force the user to purchase a subscription pack before registering on your site. So no one will be able to sign up without payment. If you disable this option but enable force pack purchase, then the user will be asked to purchase a pack whenever he tries to create a new post.
If you have not enabled force pack purchase and disabled this option as well, then the user will never be asked to purchase a pack.
Currency: As we have an automatic payment gateway, we have to send certain parameters to that. So you have to select the currency you are going to use. Currently, all the PayPal-supported currencies are available to select from. Here is a list of the supported currencies.
- Australian Dollar
- Canadian Dollar
- Euro
- British Pound
- Japanese Yen
- U.S. Dollar
- New Zealand Dollar
- Swiss Franc
- Hong Kong Dollar
- Singapore Dollar
- Swedish Krona
- Danish Krone
- Polish Zloty
- Norwegian Krone
- Hungarian Forint
- Czech Koruna
- Israeli New Shekel
- Mexican Peso
- Brazilian Real
- Malaysian Ringgit
- Philippine Peso
- New Taiwan Dollar
- Thai Baht
- Turkish Lira
Currency Symbol: This is just a simple piece of text. You can use any Unicode-compatible character. It will not be passed anywhere. It will be used to display information and pricing.
Cost Per Post: As you have read about the Pay Per Post feature above, here you will set the cost you want to charge the users for each post. This will be displayed to the user on the post-creation page.
Enable Sandbox Mode: If you want to check if all your logic is working, payments are going through correctly, and the system works fine, then you can enable the sandbox mode and test. When you are sure everything is working fine and you are ready to launch your site, please disable this option.
Payment Page: This page is automatically created when you activate the plugin for the first time and click “Install WPUF Pages.”. This page does not contain any shortcodes. But you can place a custom message. As you have selected the page here in settings, the gateway information will be automatically injected.
Payment Success Page: This page is also created in the same way as the Payment Page. This is the page the user will see after completing the payment via PayPal. You can write anything you like to show upon successful payment.
Payment Gateways: You have to select the payment gateways you want to enable. If you do not have time to check bank payments and approve the transactions manually, then you should activate only PayPal. All the payments made through PayPal are automatic and do not require any action by the admin.
PayPal Email: This is your PayPal email address, which will be used to receive all the payments.
PayPal Instructions: If you want to show a text when the customer selects PayPal as a payment gateway, then you can write that here. If you do not want to show anything, then you may keep it blank. Placing a value here is not mandatory.
PayPal API Username, PayPal API Password, and PayPal API Signature: As you have read above, the payments and required actions happen automatically if you use PayPal. We need certain authorizations to receive those automated responses. If you have never used the PayPal API before, then you may refer to the tutorial [4] below.
Bank Instruction: If you want to show a message if the user selects a bank payment gateway, such as your bank account details and deposit instructions, you can write that here.
Bank Payment Success Page: After completing the checkout process with the bank payment gateway, the page you want to redirect the user to.