

Step 1 : Directory Basics
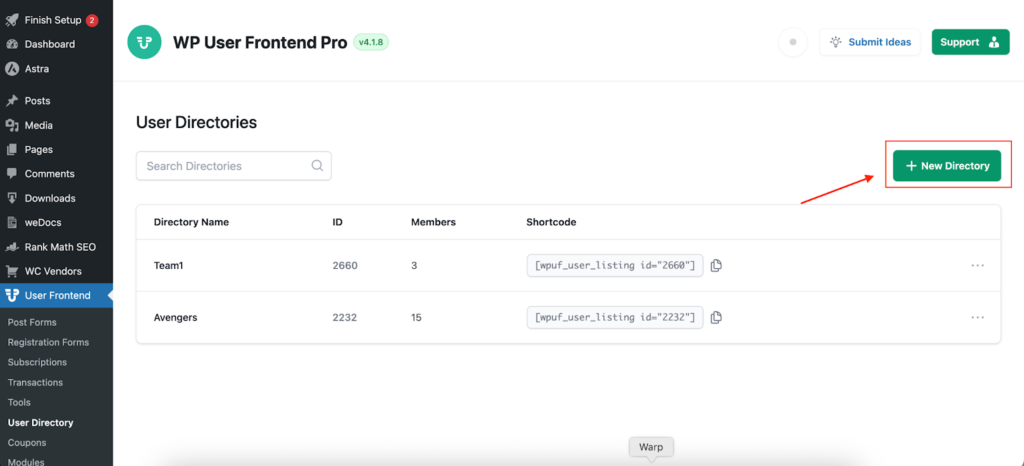
After enabling the module, click on WP User Frontend > User Directory > “+ New Directory”.
It will open a Setup directory page.
The first step of creating a User Directory is to set the basic details. These settings decide what your directory is called and which users will appear in it.
First, enter a clear “Directory Title” such as Writers, Team Members, or Event Speakers. This name is used in your WordPress admin and can also appear on the front end if you choose.
Next, decide who should appear in the directory. In “Who do you want to include,” you can keep “All” to show every user on the site, or switch to specific roles to limit the list. When you choose roles, a second selector appears so you can pick one or more roles (for example, Author for an author directory, or Vendor and Subscriber for a marketplace). This lets you create separate directories for different audiences later.
If you need to hide certain accounts without changing their roles, use “Exclude specific users.” Start typing a name, username, or email, then select the user to remove them from the directory. You can remove them from the exclusion list at any time to show them again.
When you’re done, click Next to continue to the layout step. You can also use Save and Exit to pause and finish later, or Cancel to discard your changes and return to the directory list.