How to Create and Update Files in WP Project Manager
WP Project Manager Pro comes with a Files Manager that takes complete care of your files, documents, and images from one place. Create and attach documents, save links to web pages and files, and manage everything from one page.
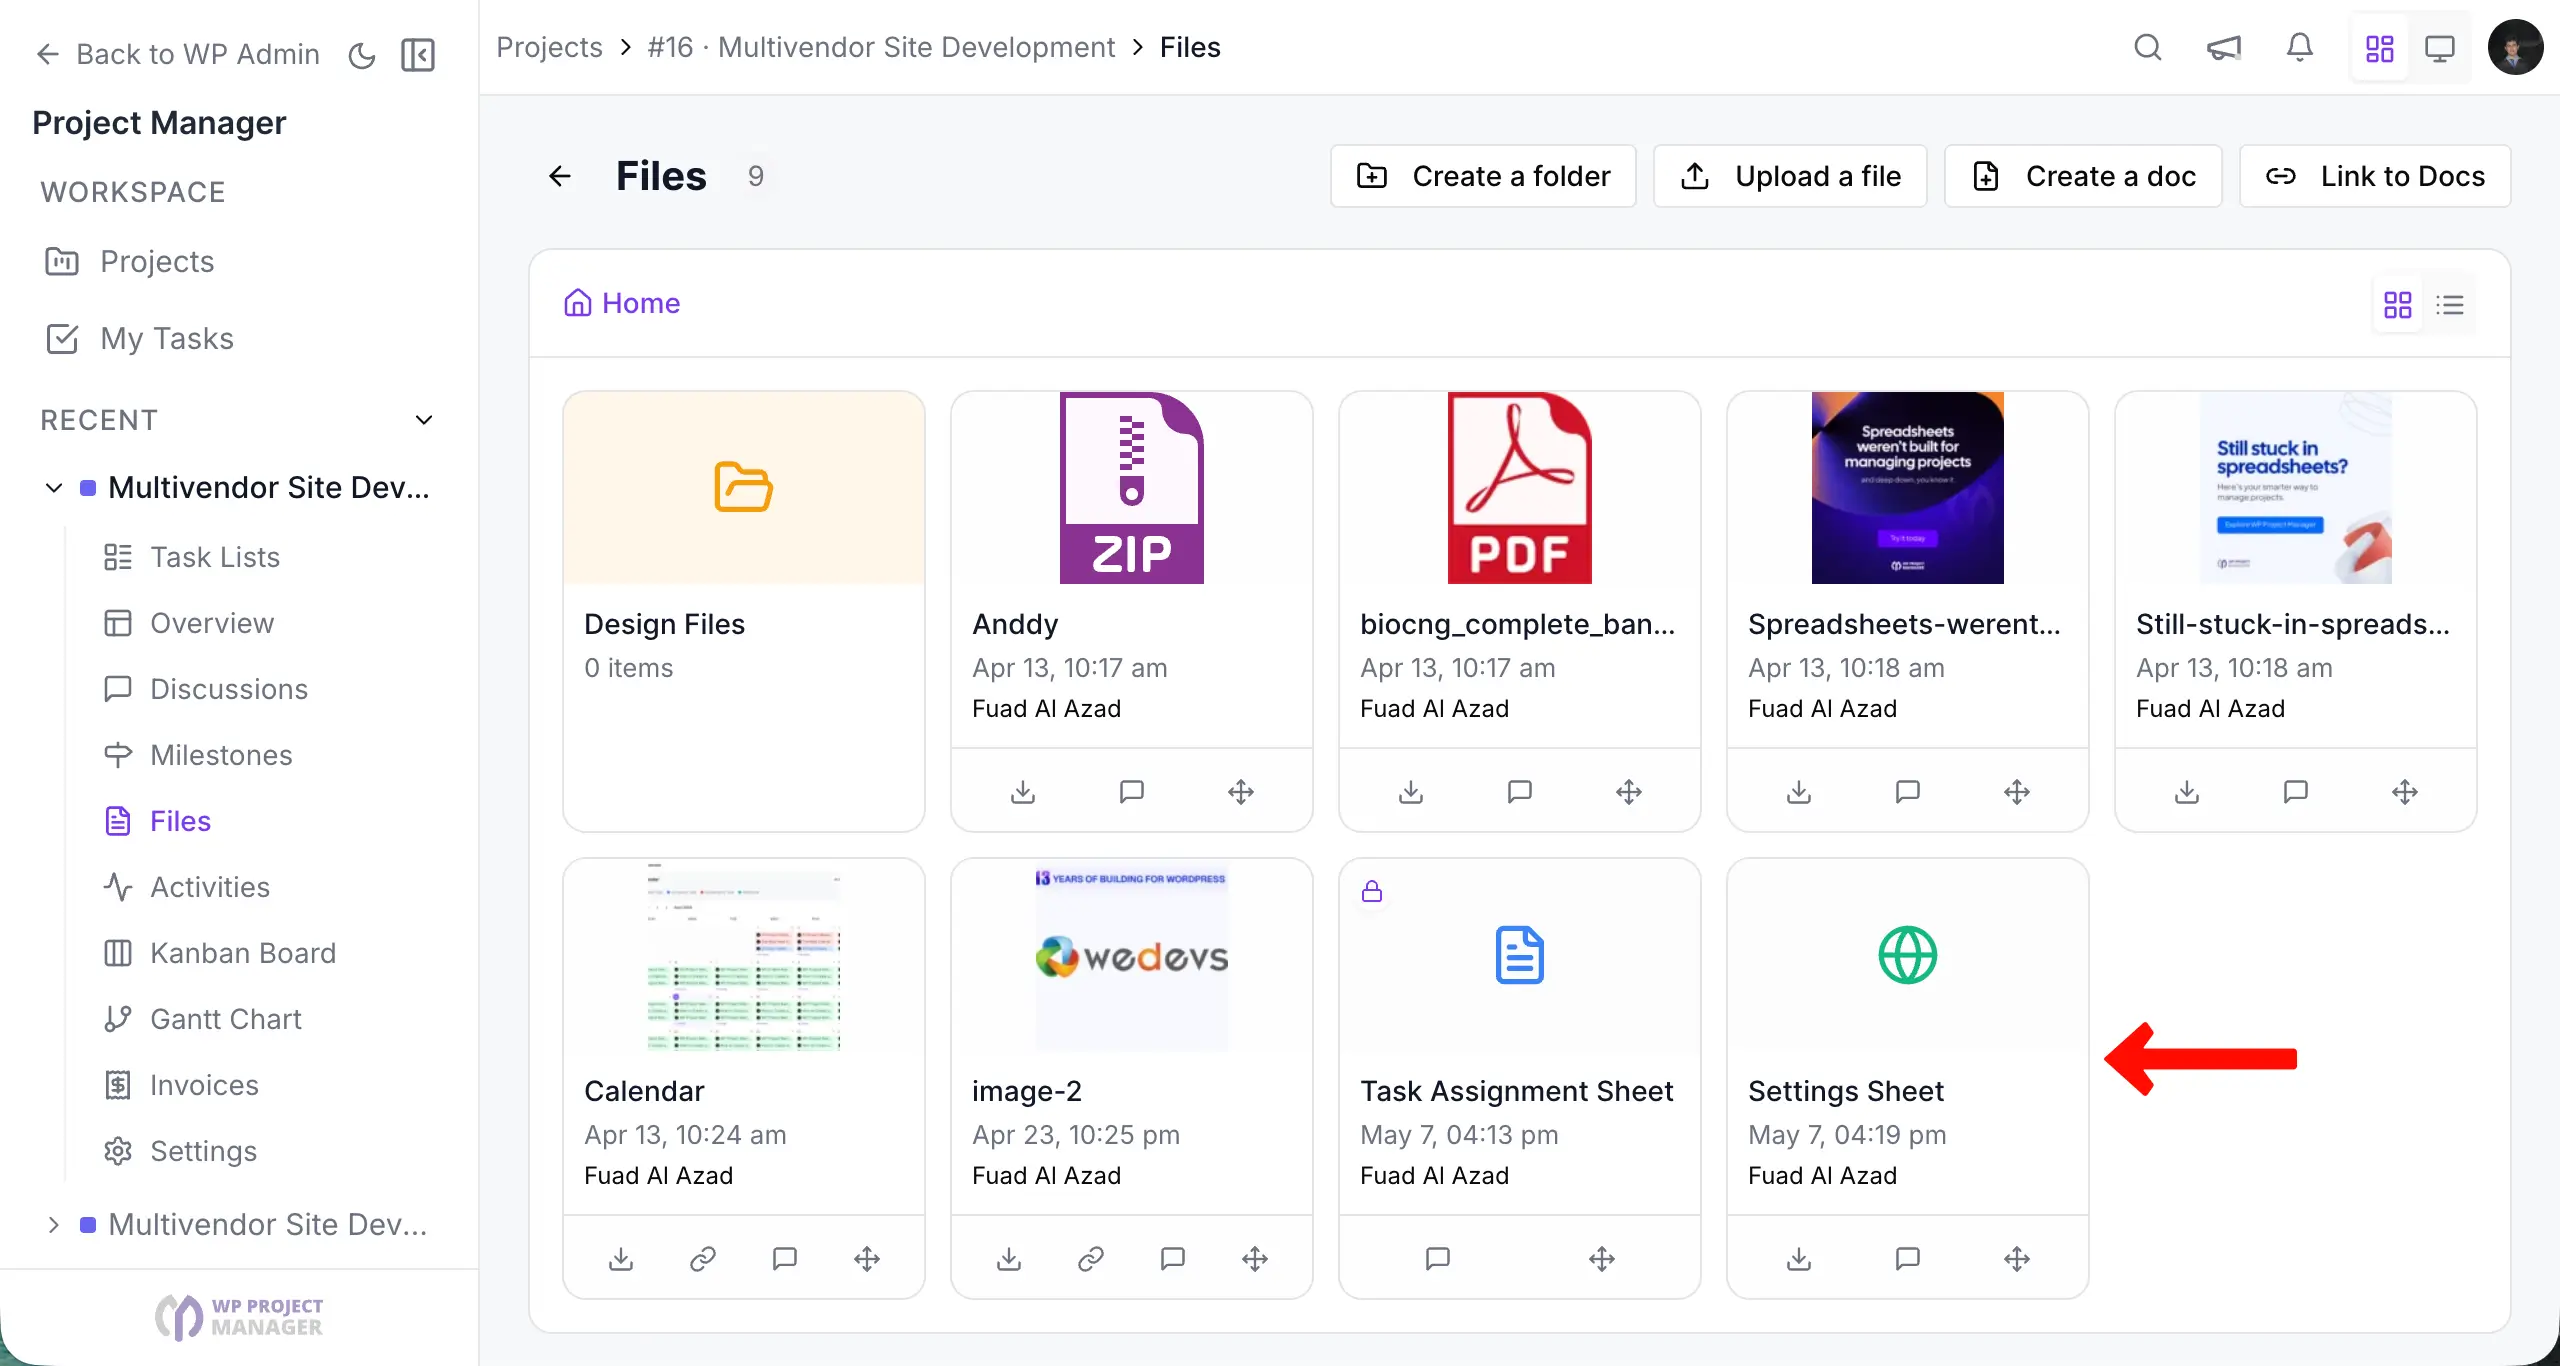
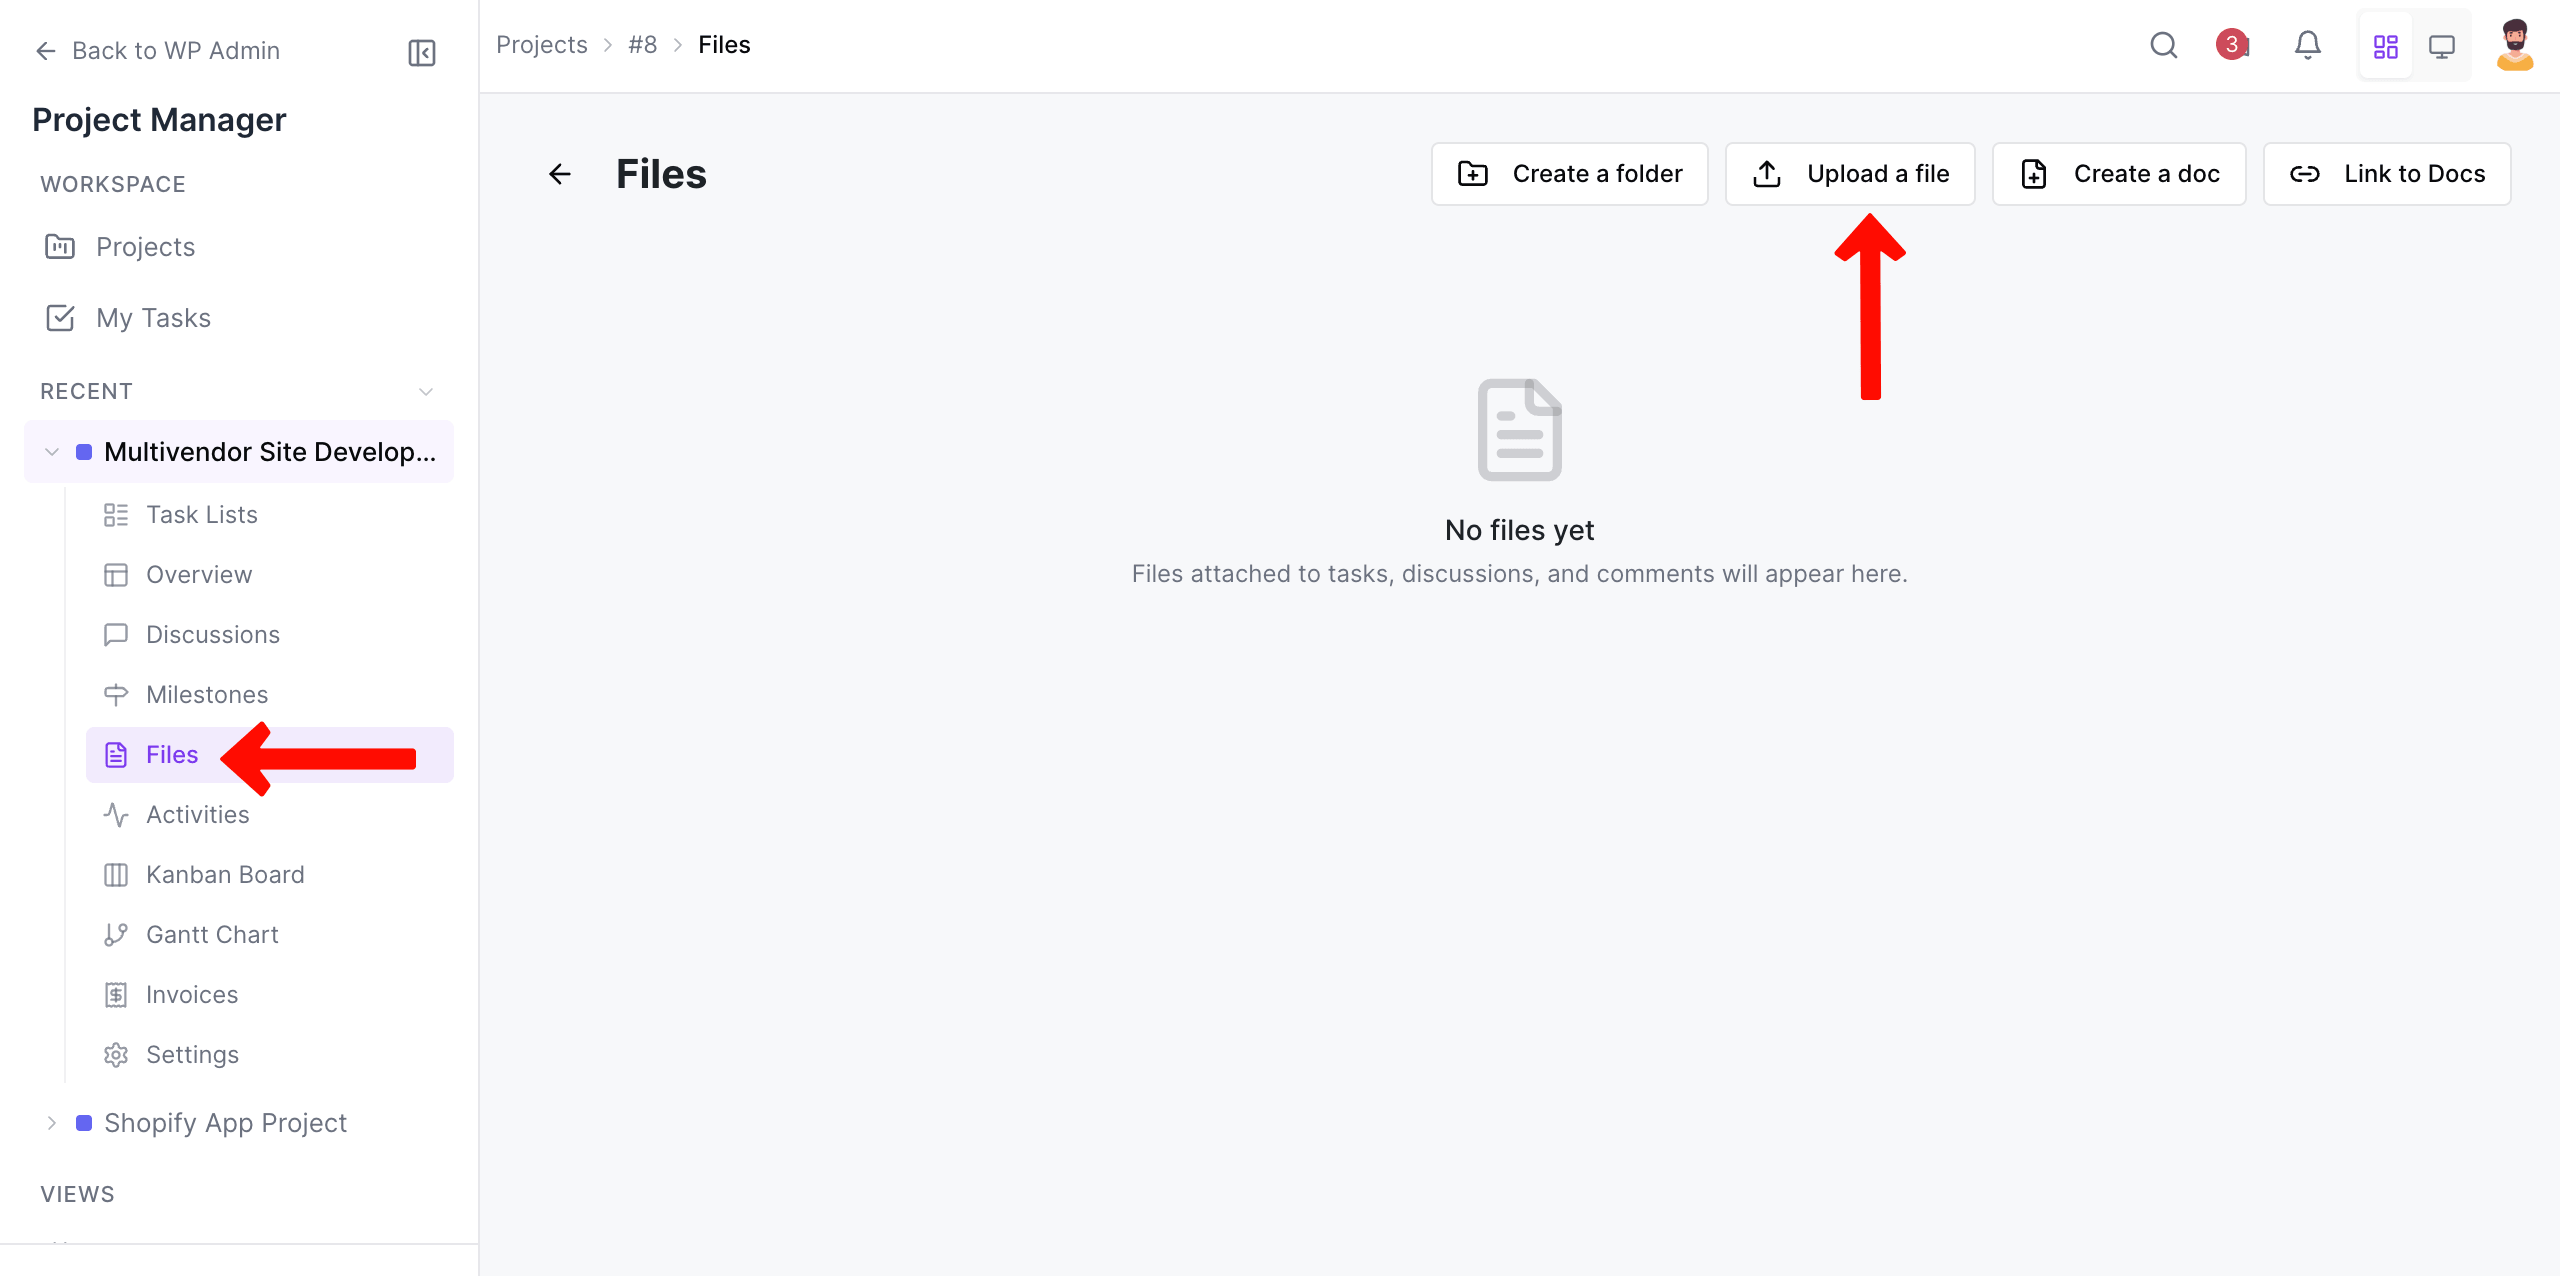
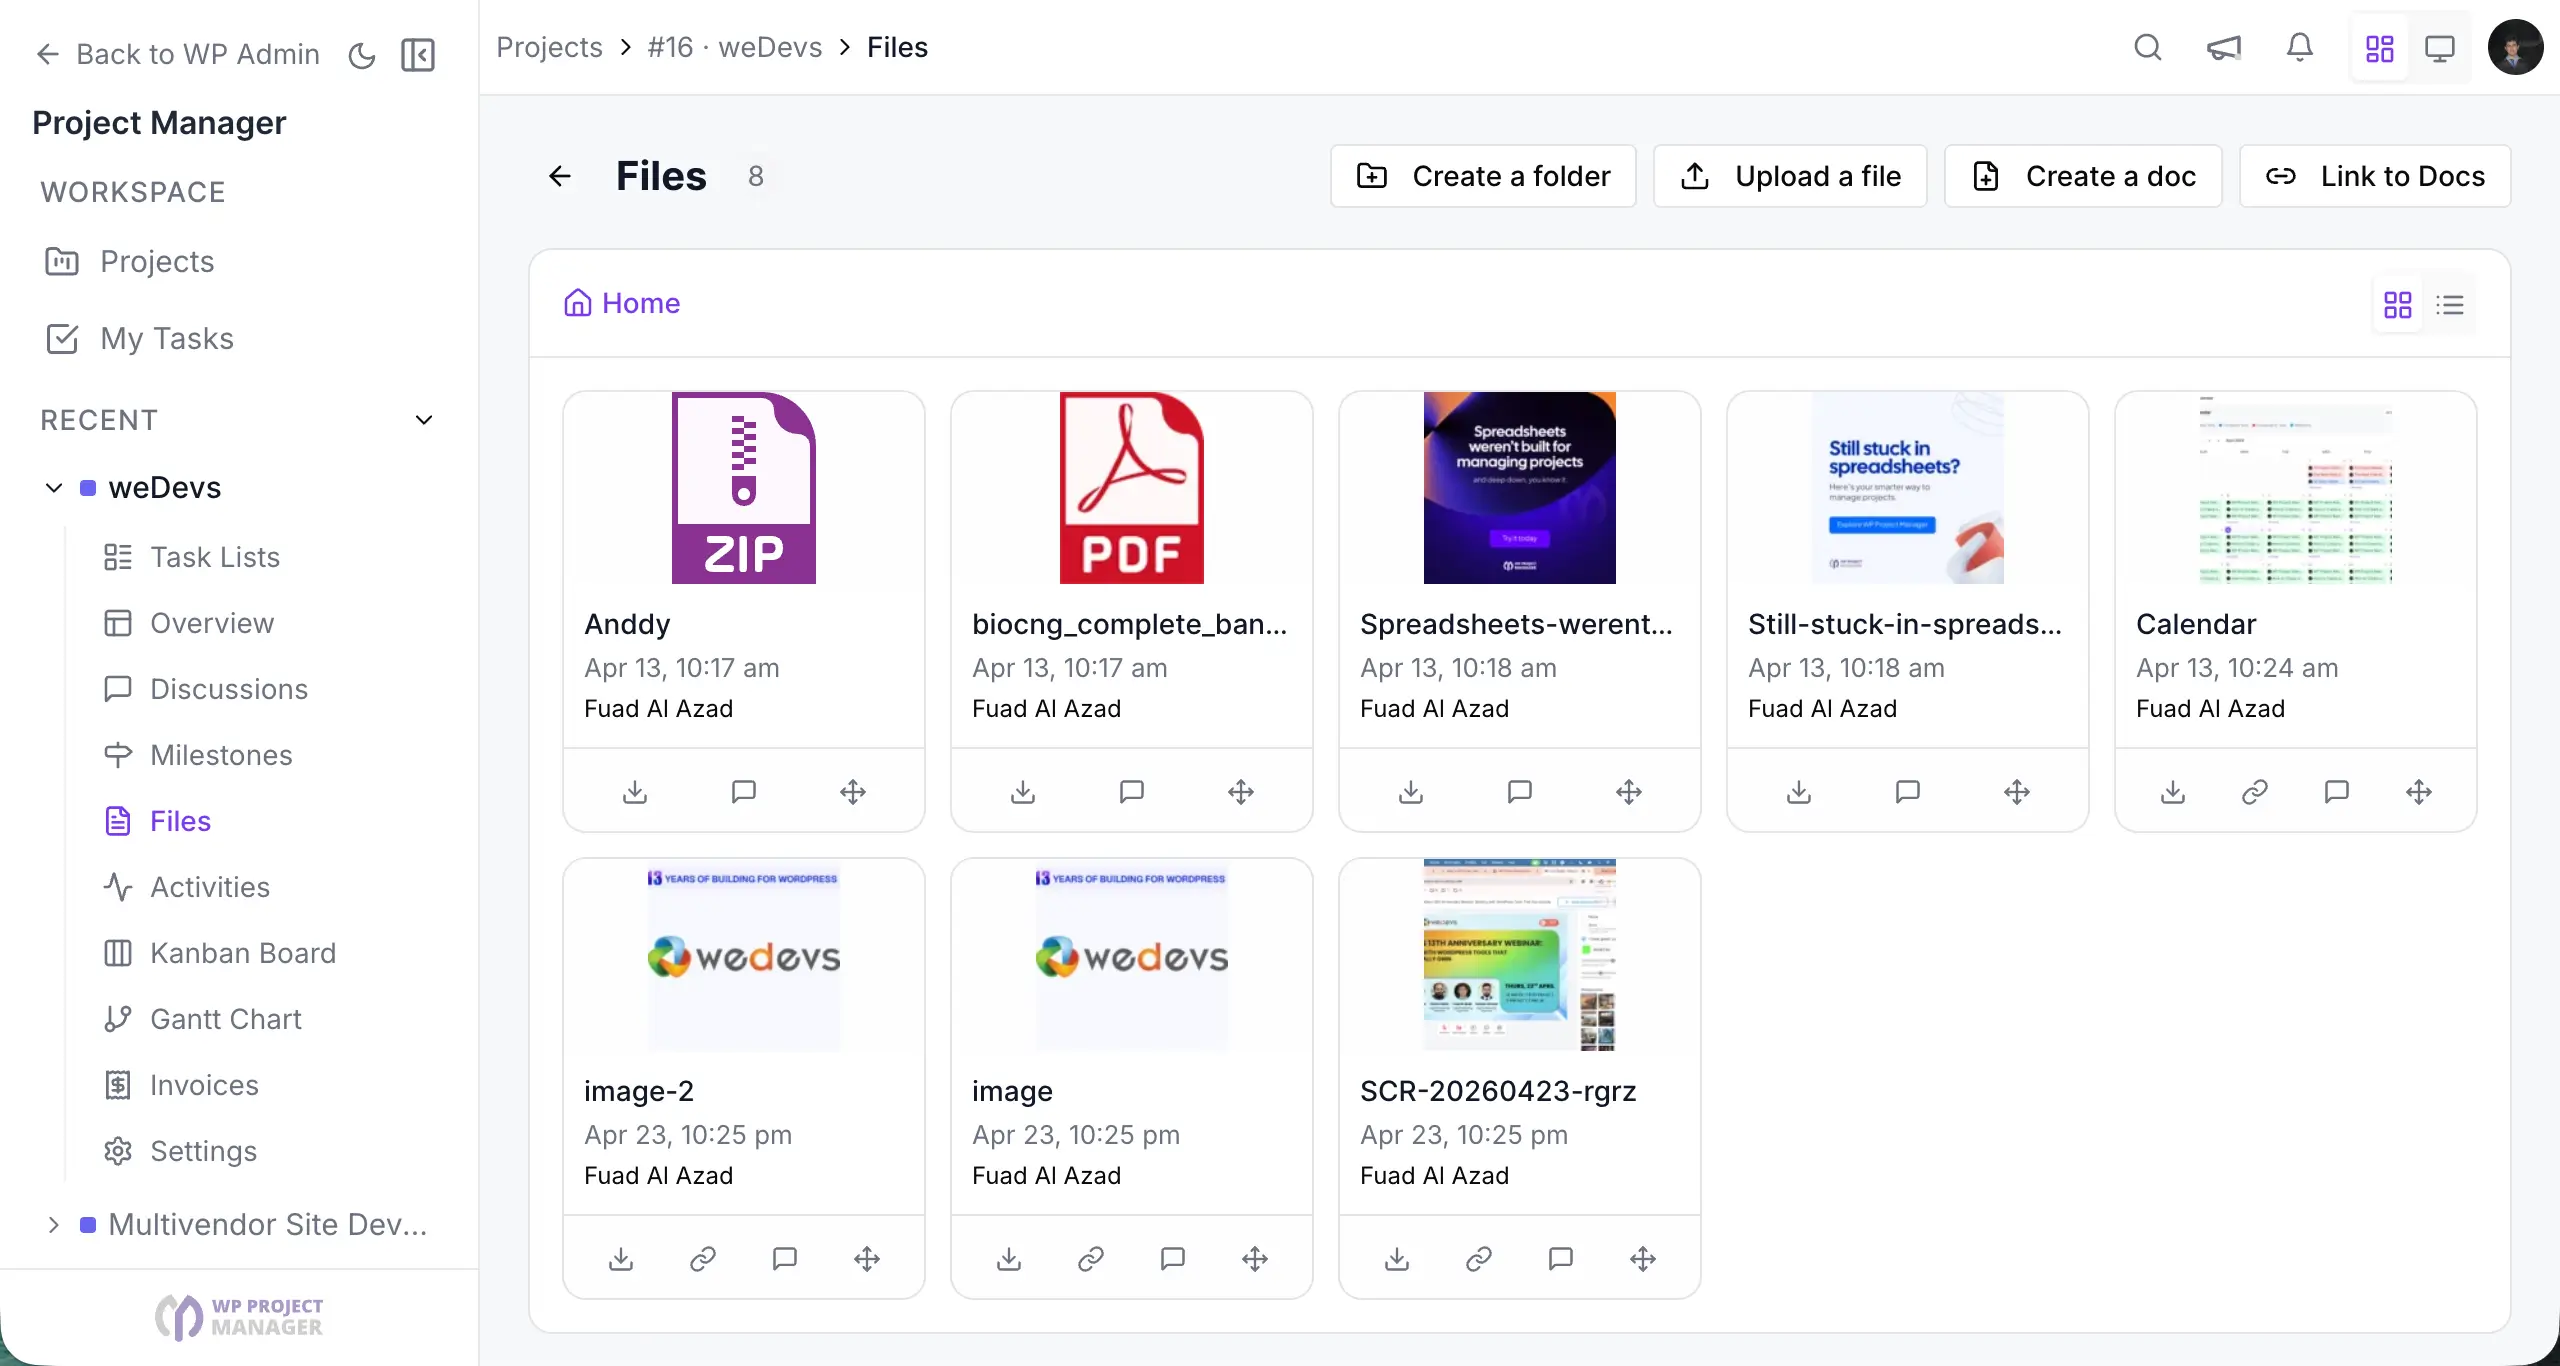
Uploading a file
Simply go to the Files tab from any Project and click on the + Upload a file button.
Click on the Attach a file button and choose the file from your computer.
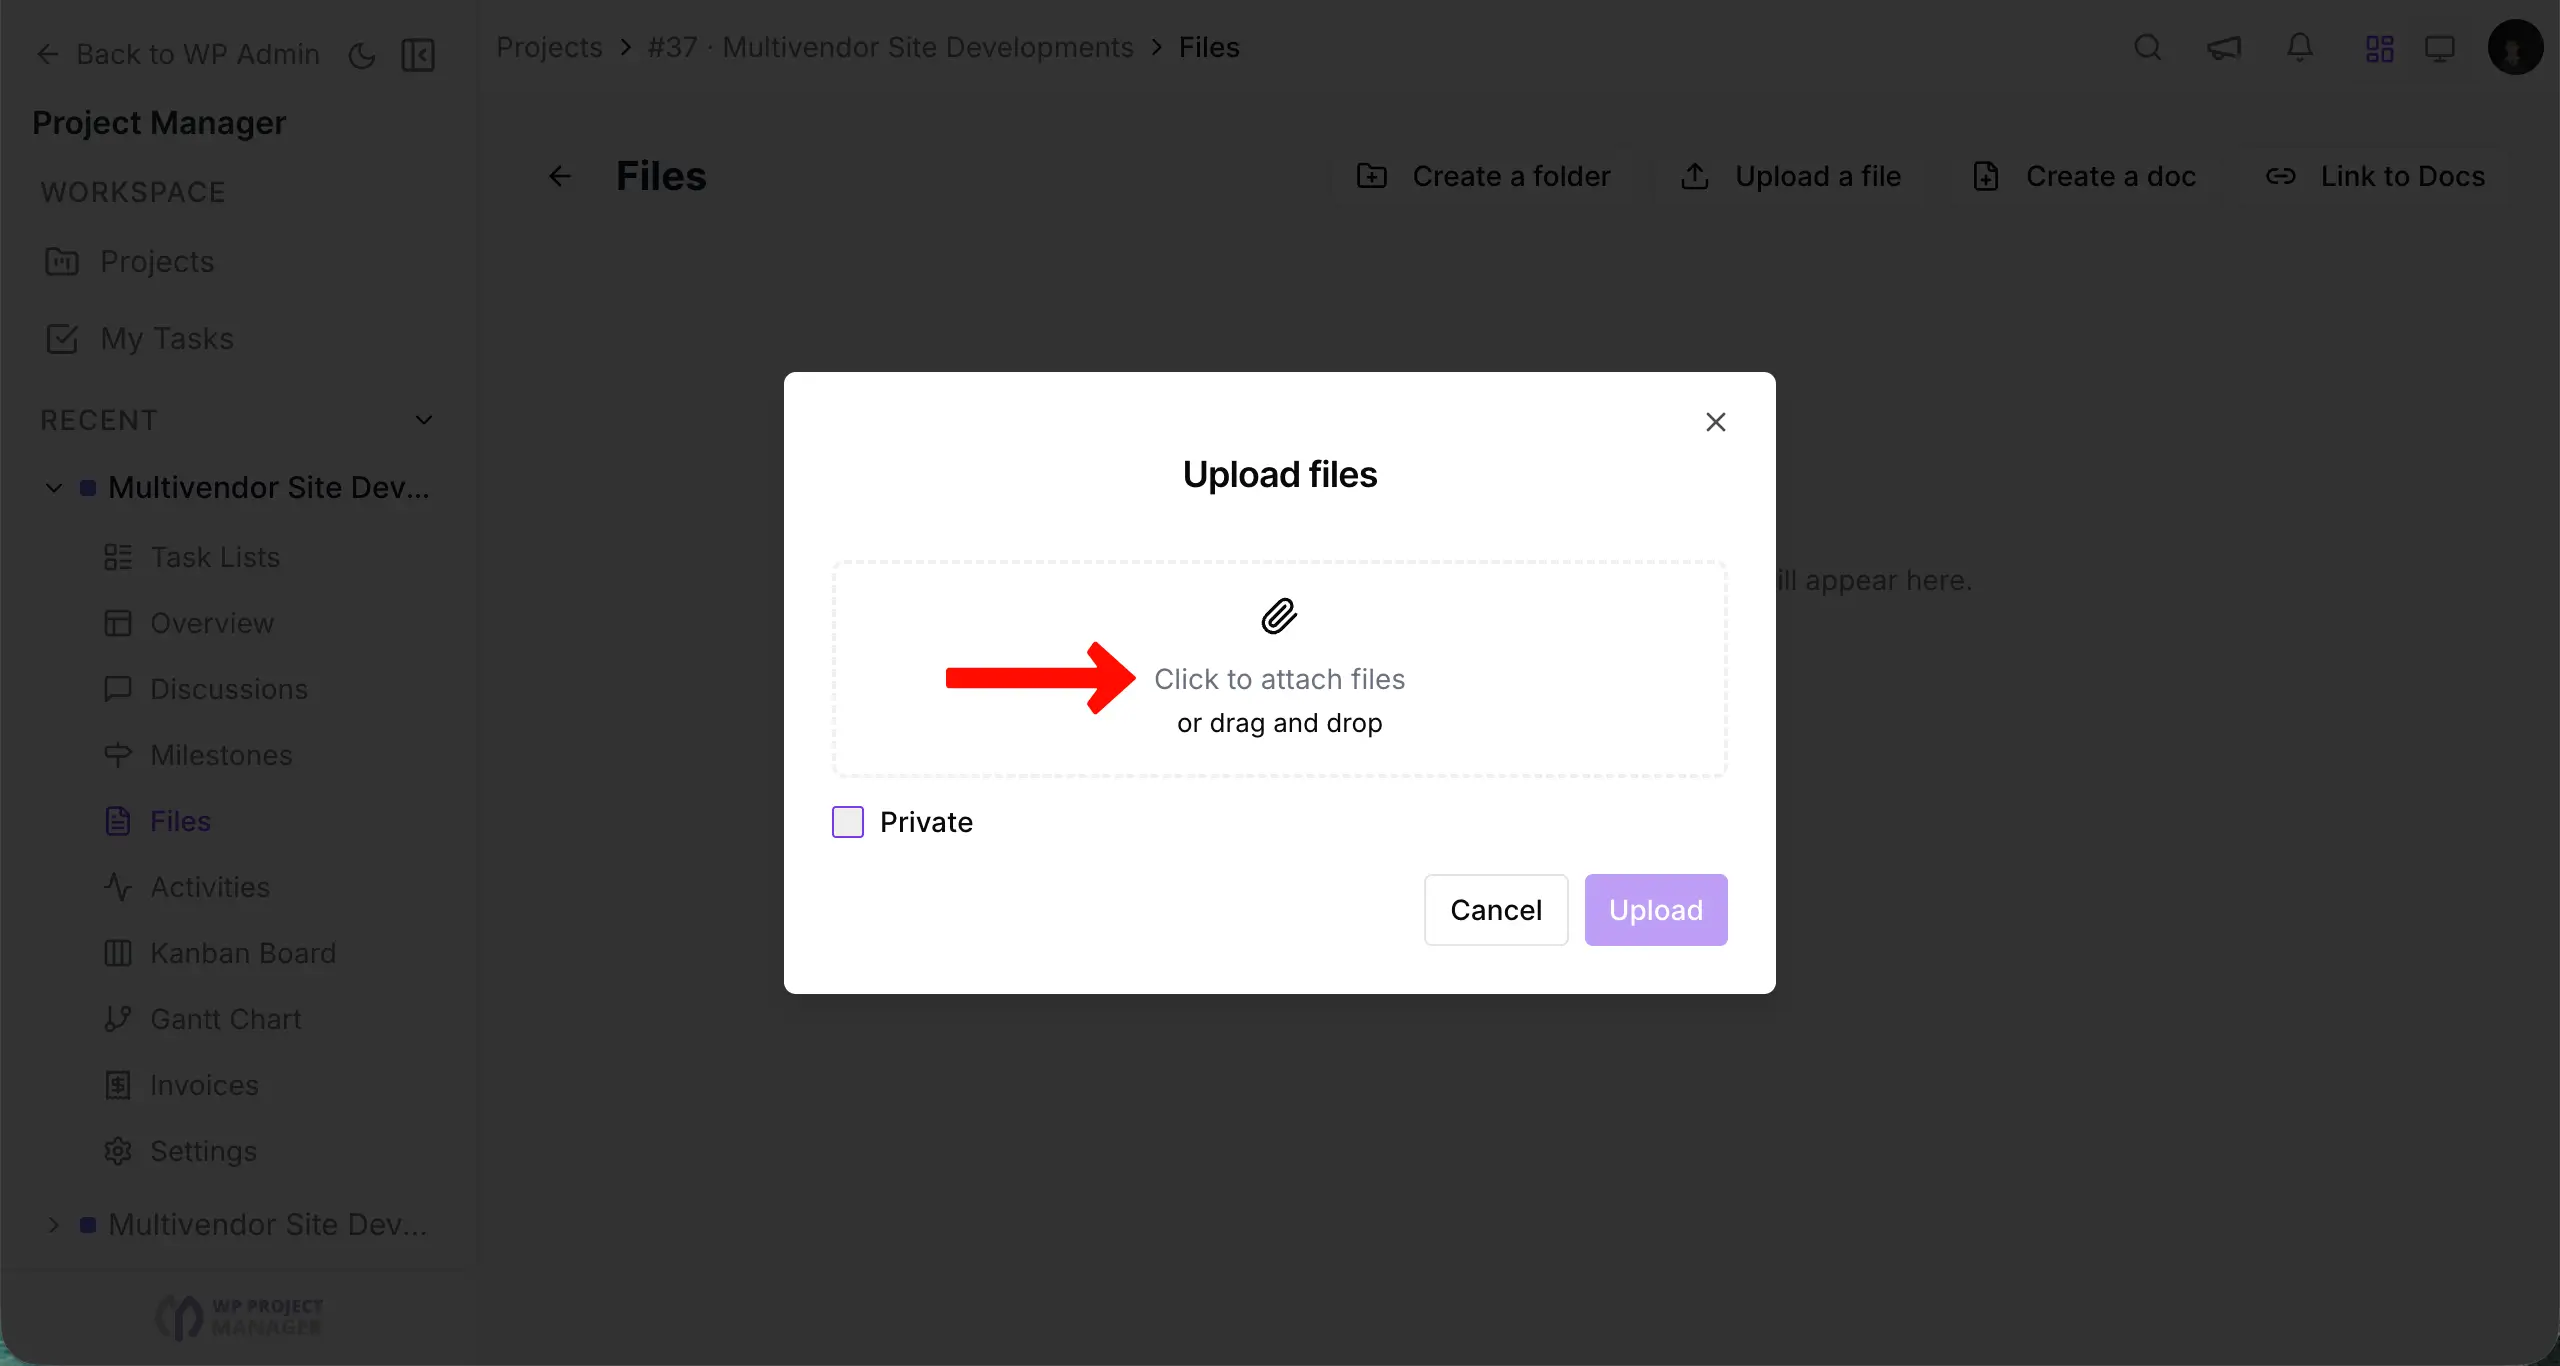
You can add multiple files at once and choose more if you need to. To proceed with uploading, click on Upload.
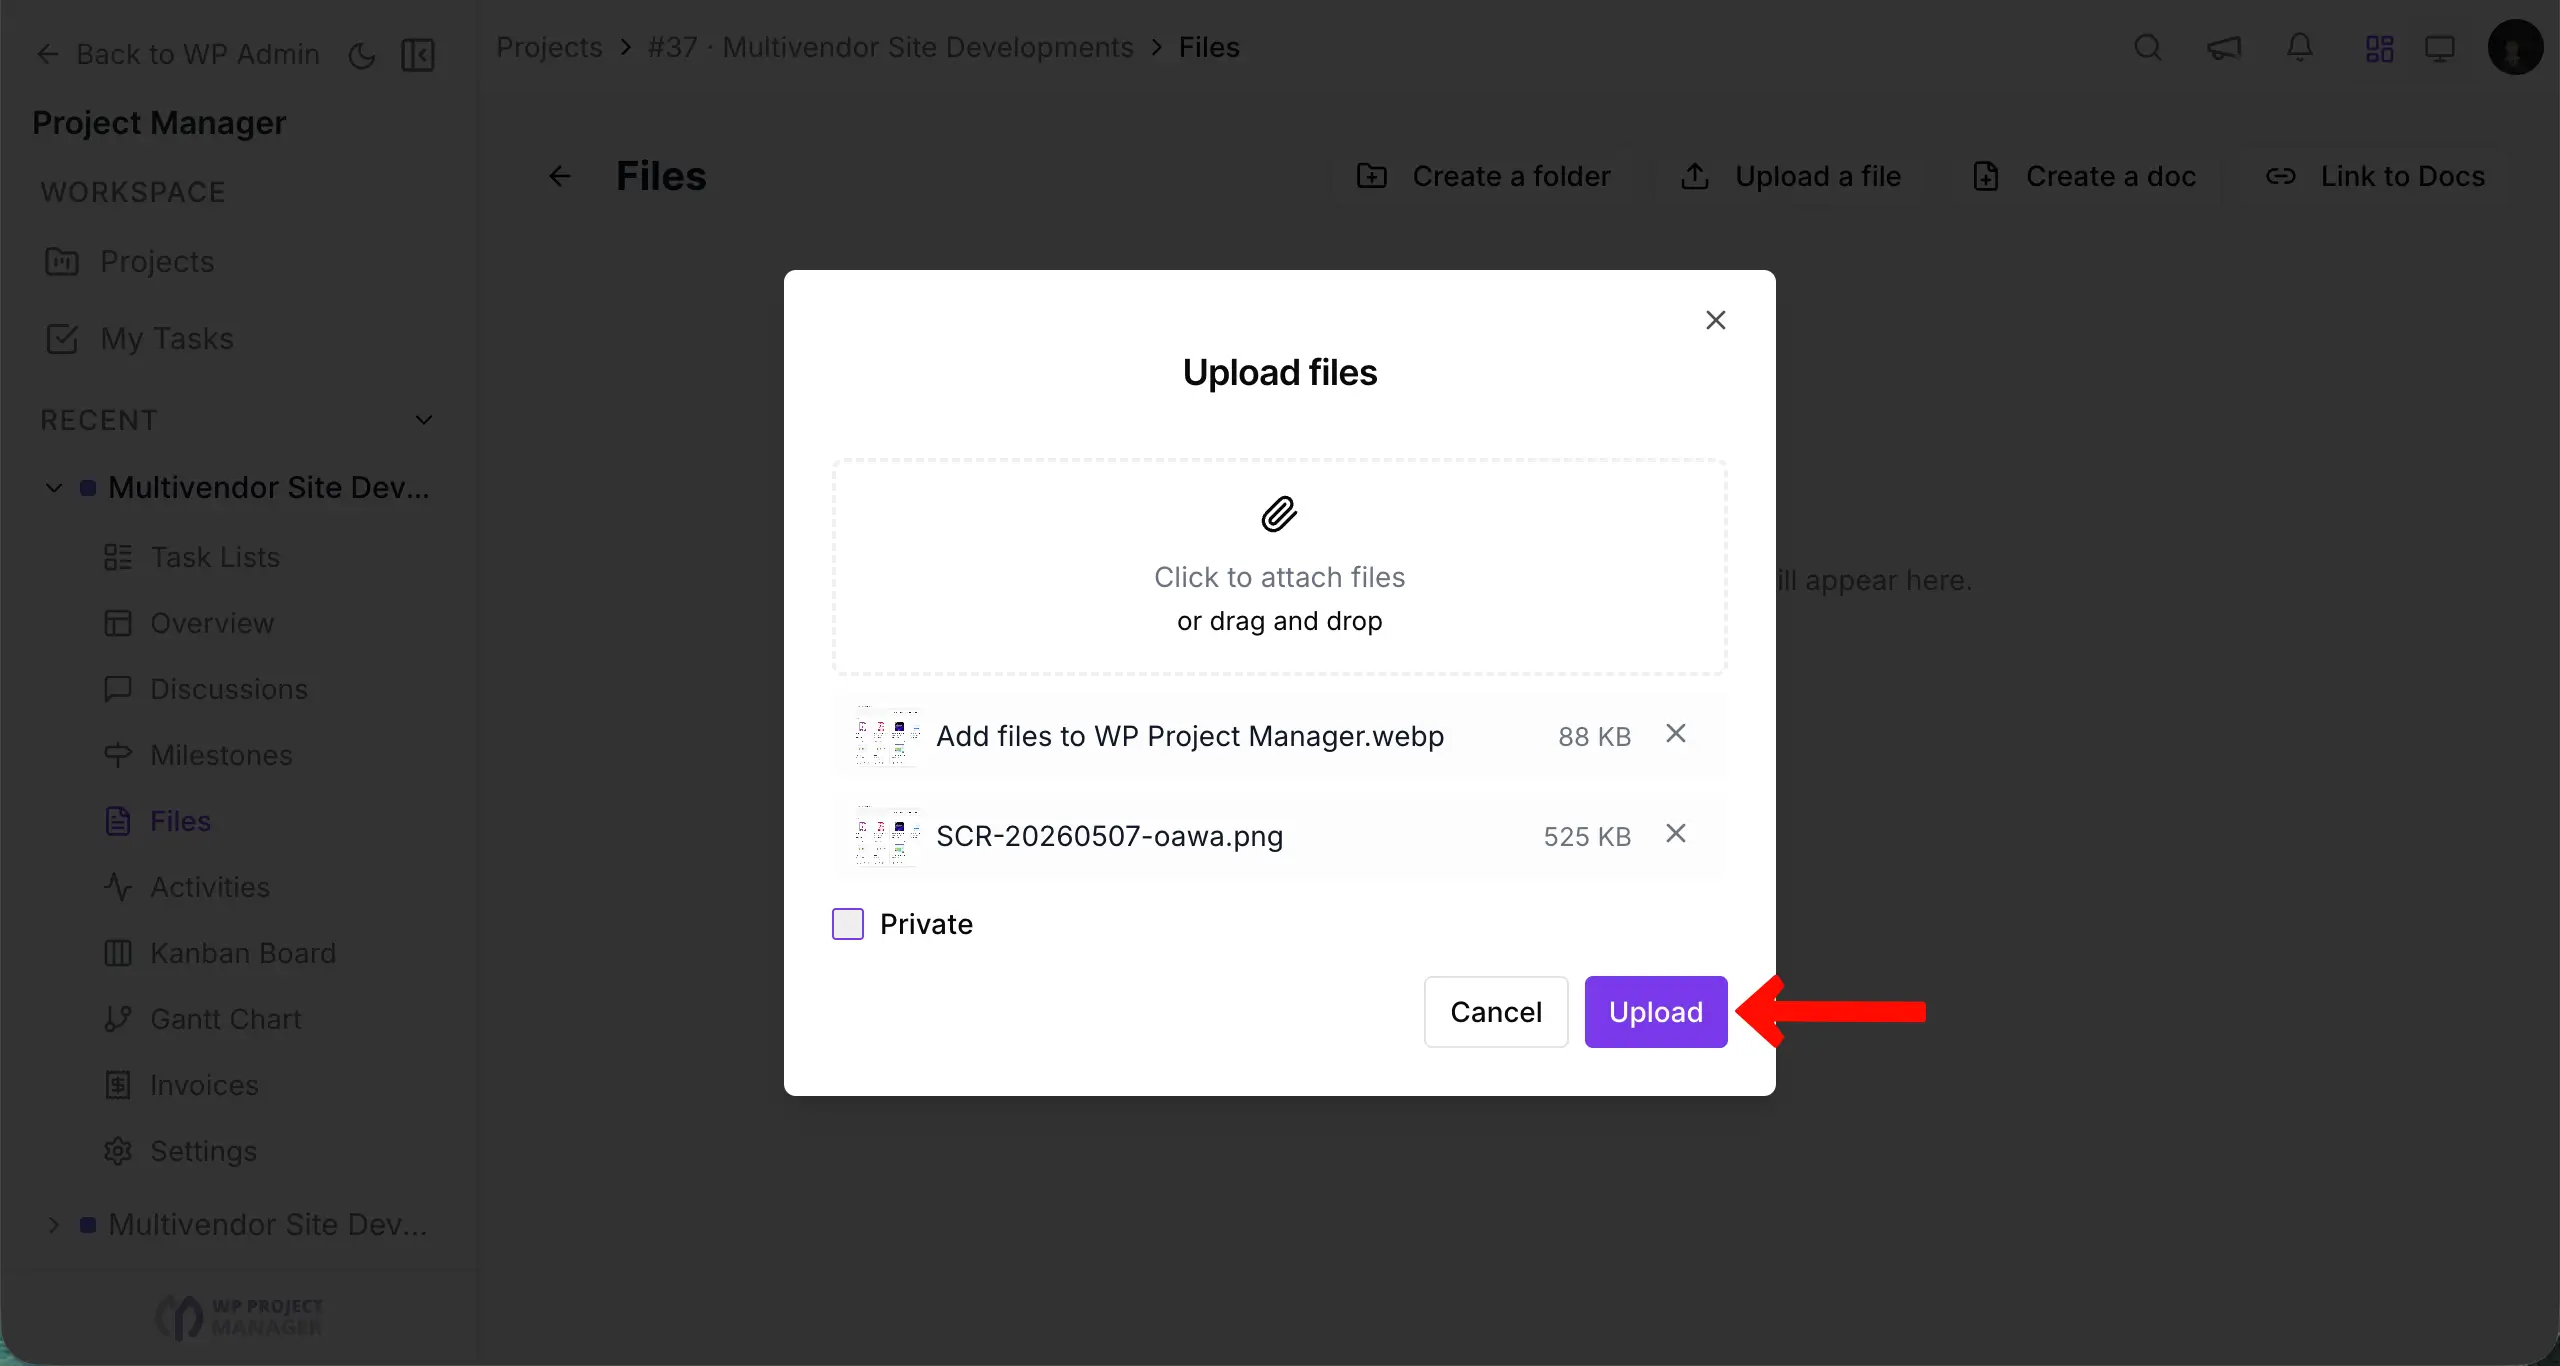
Thus, you can add as many files as you want to the place.
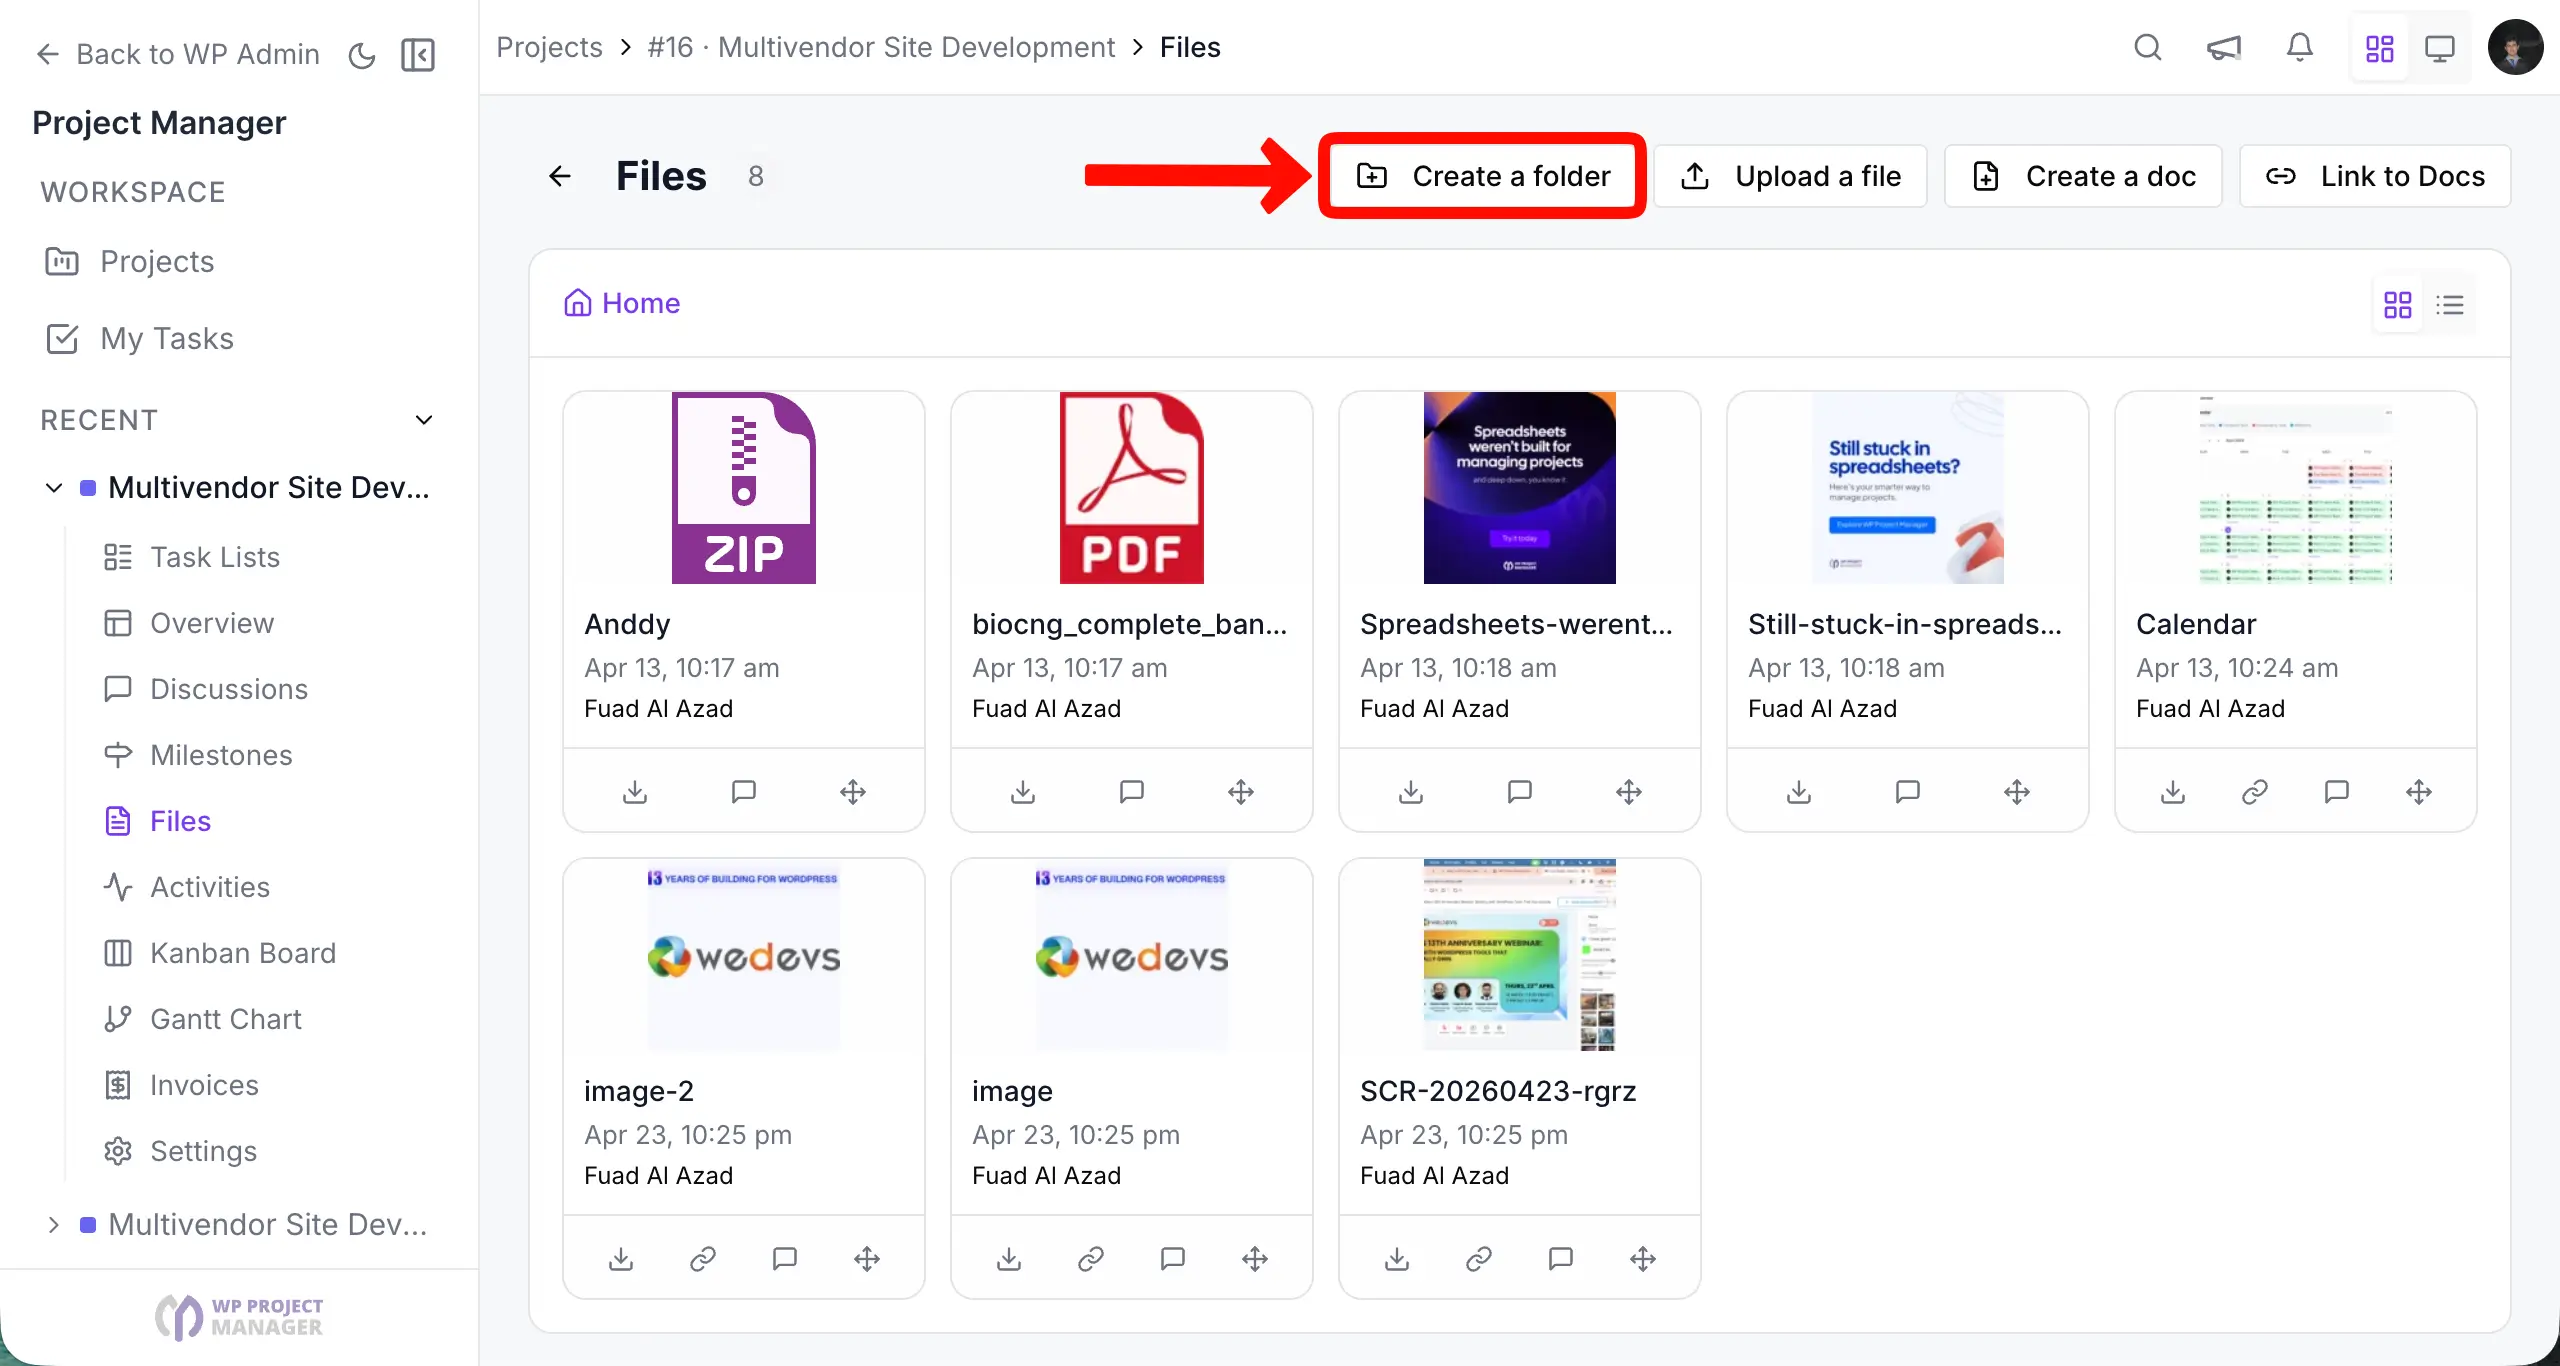
Creating a folder
Simply click on + Create a folder button.
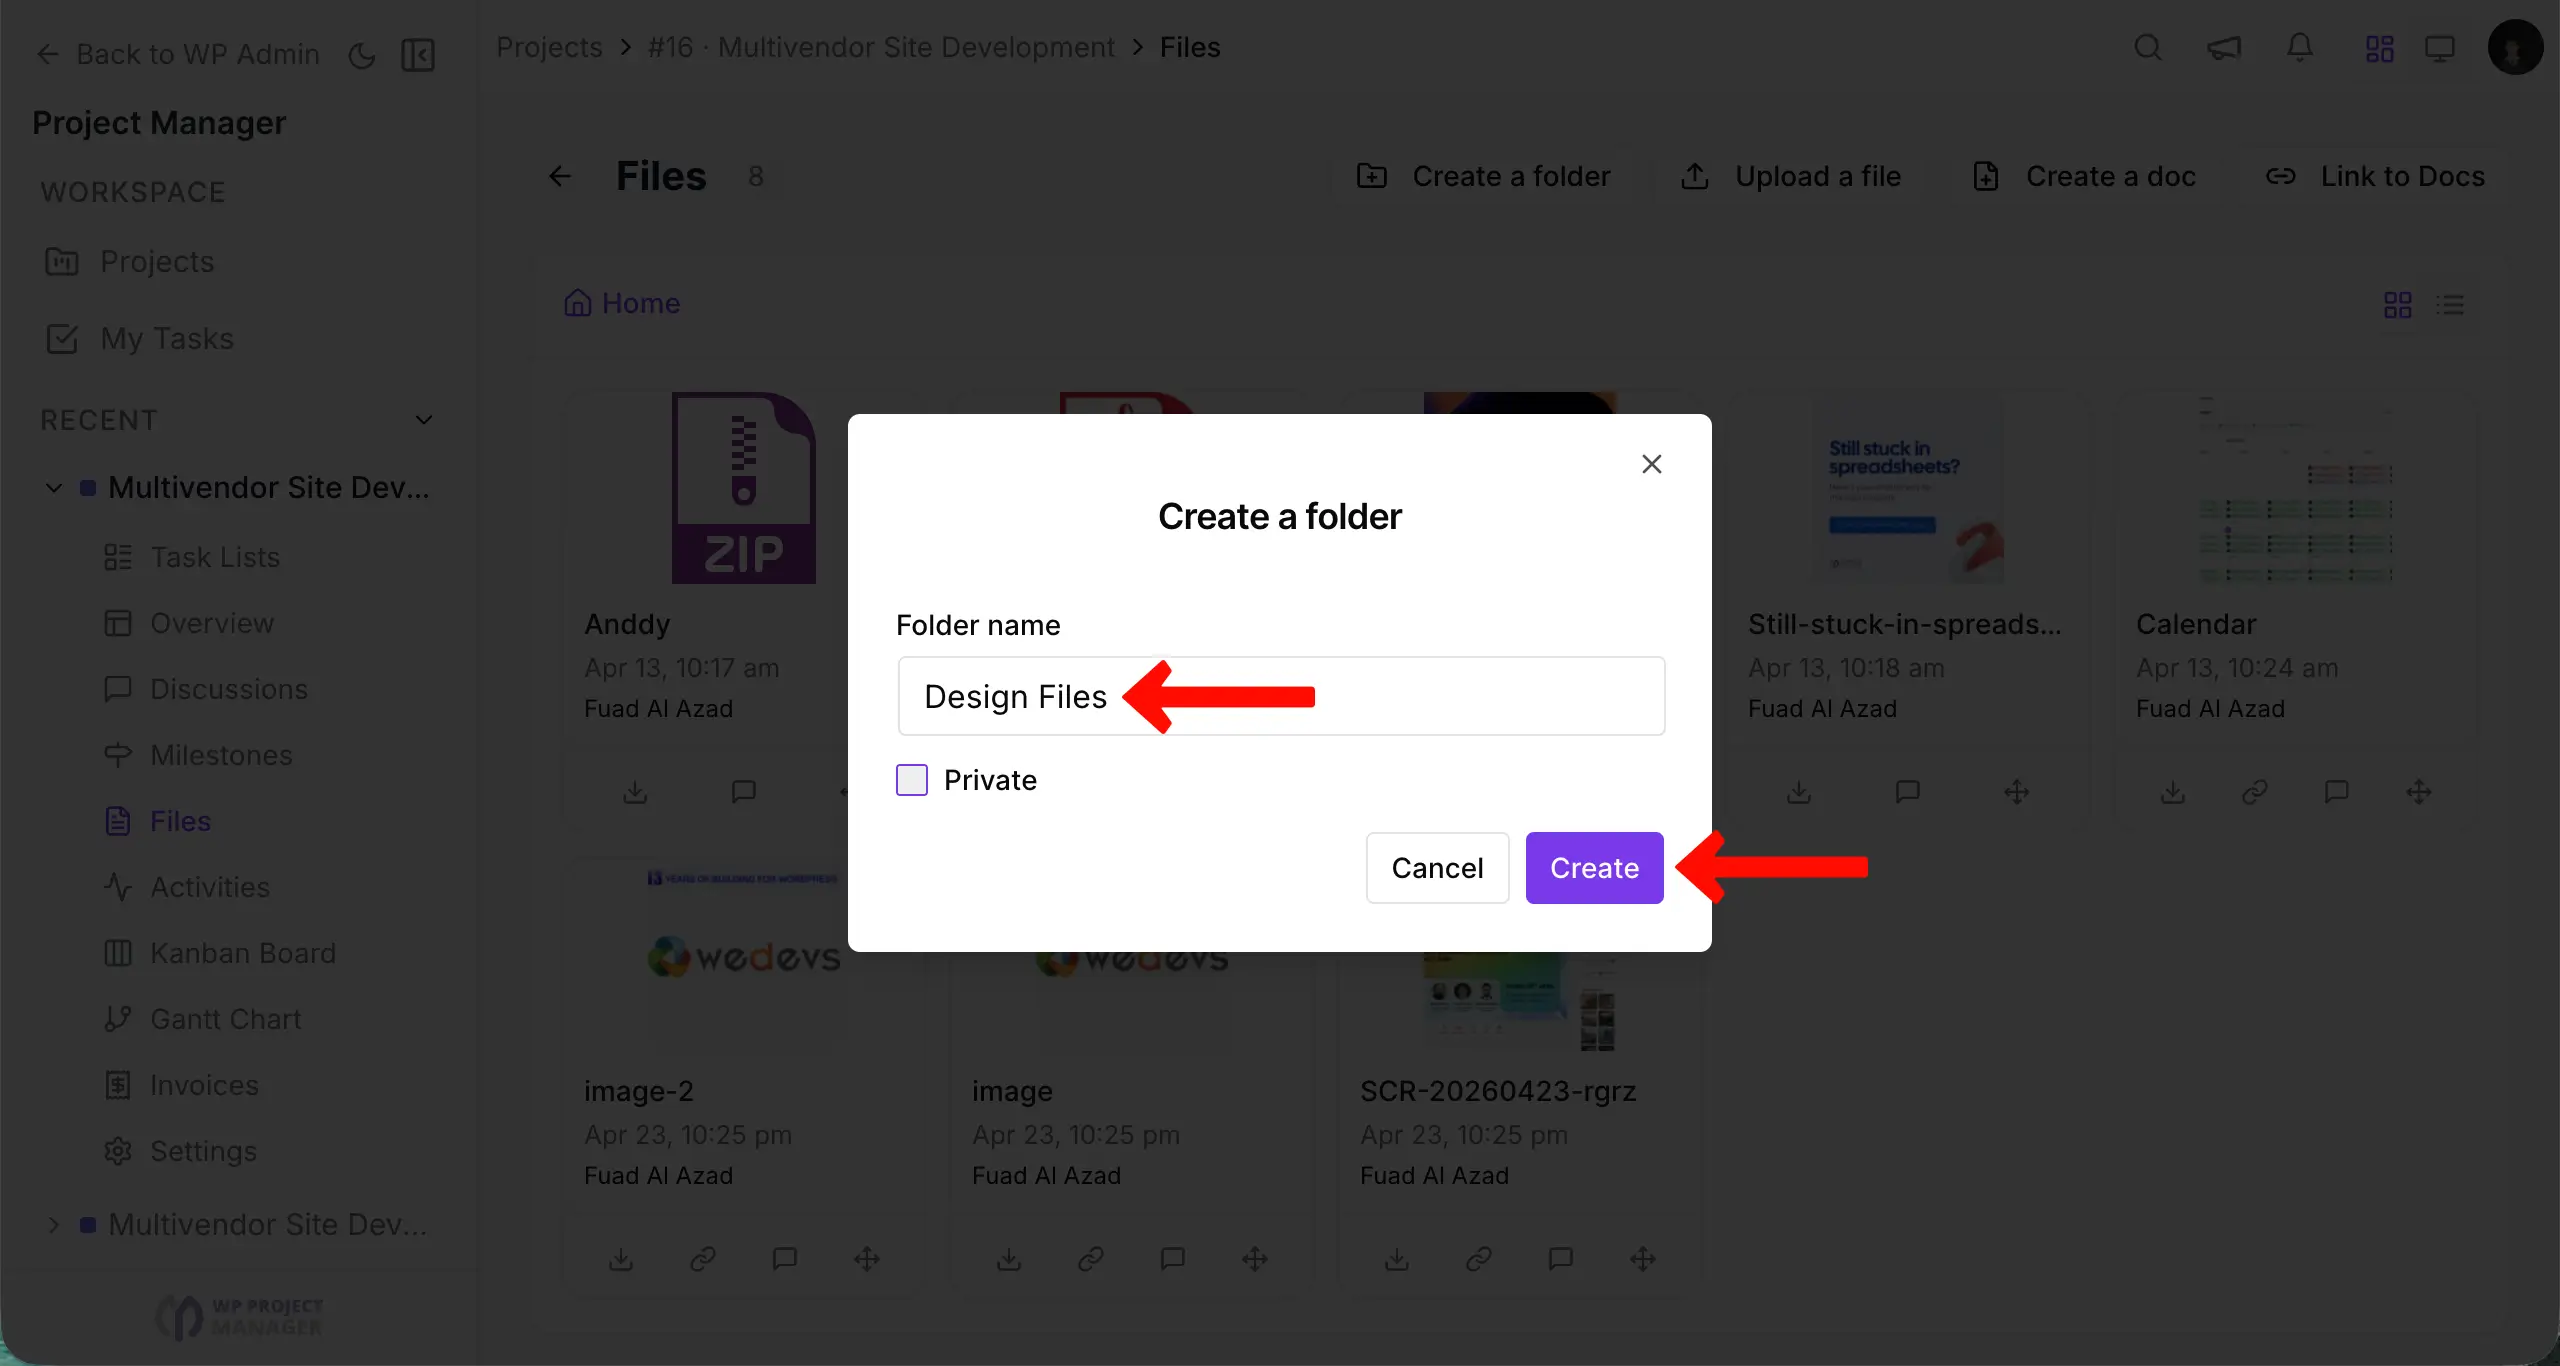
Enter the name of the folder. Tick to make if you want to make this private. Now, click on the Create button to complete the action.
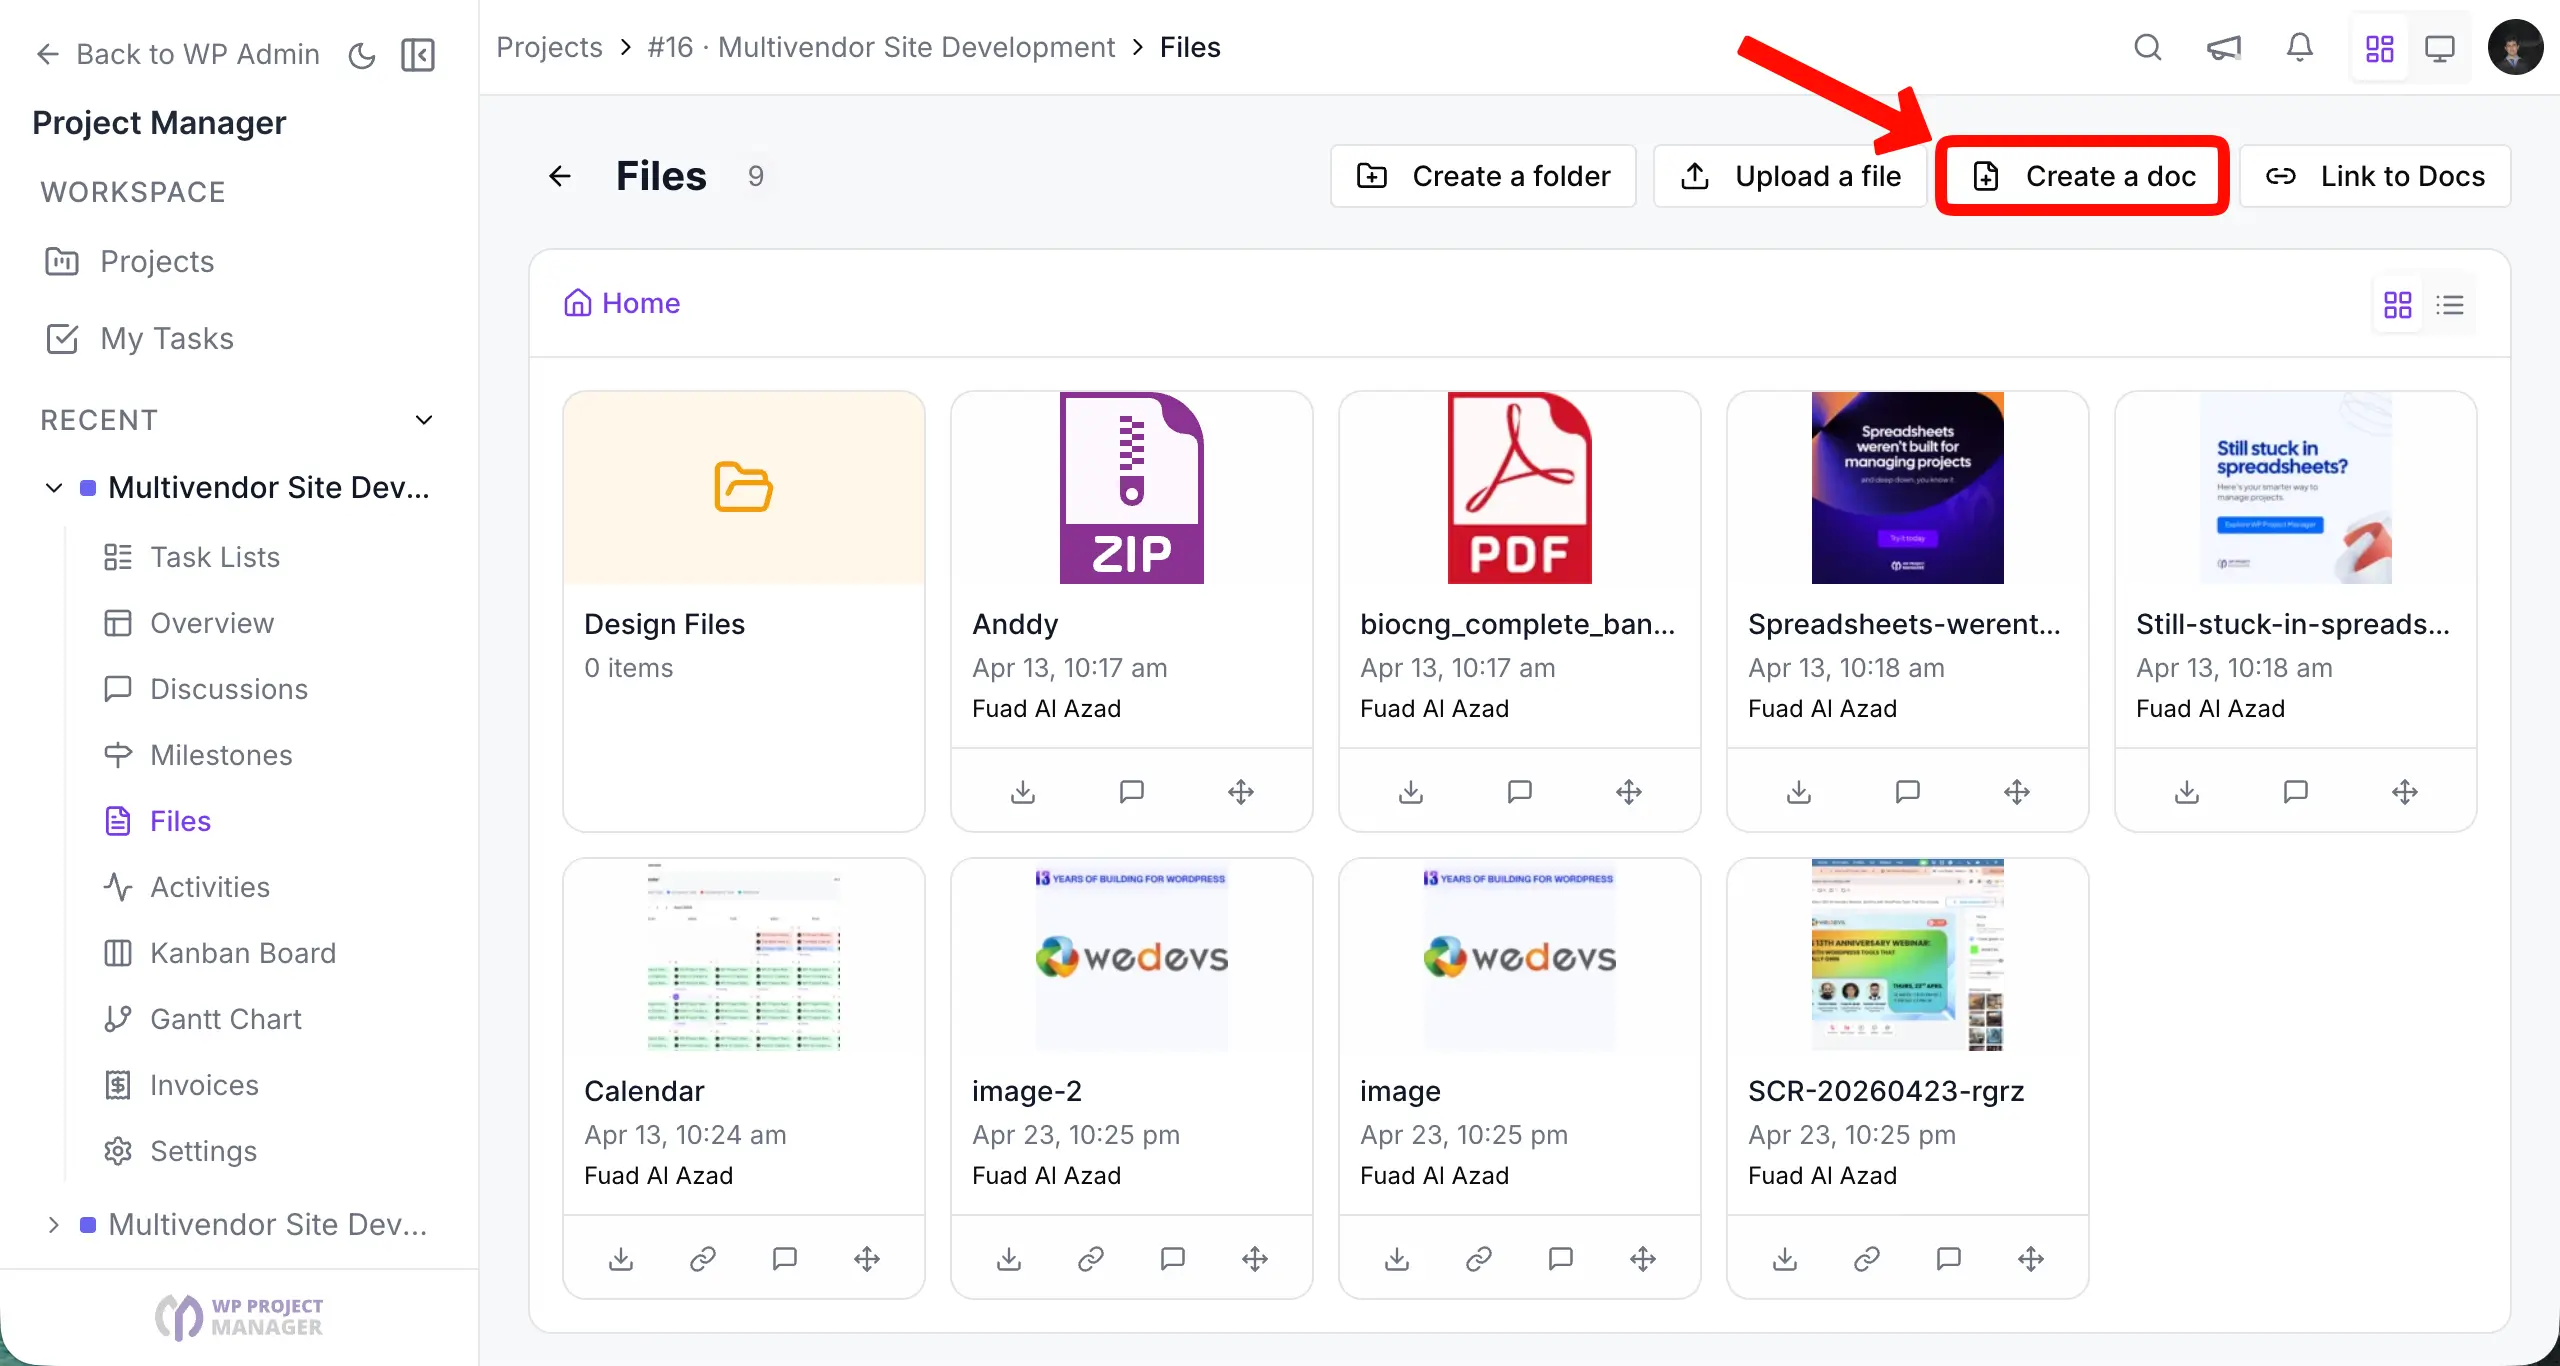
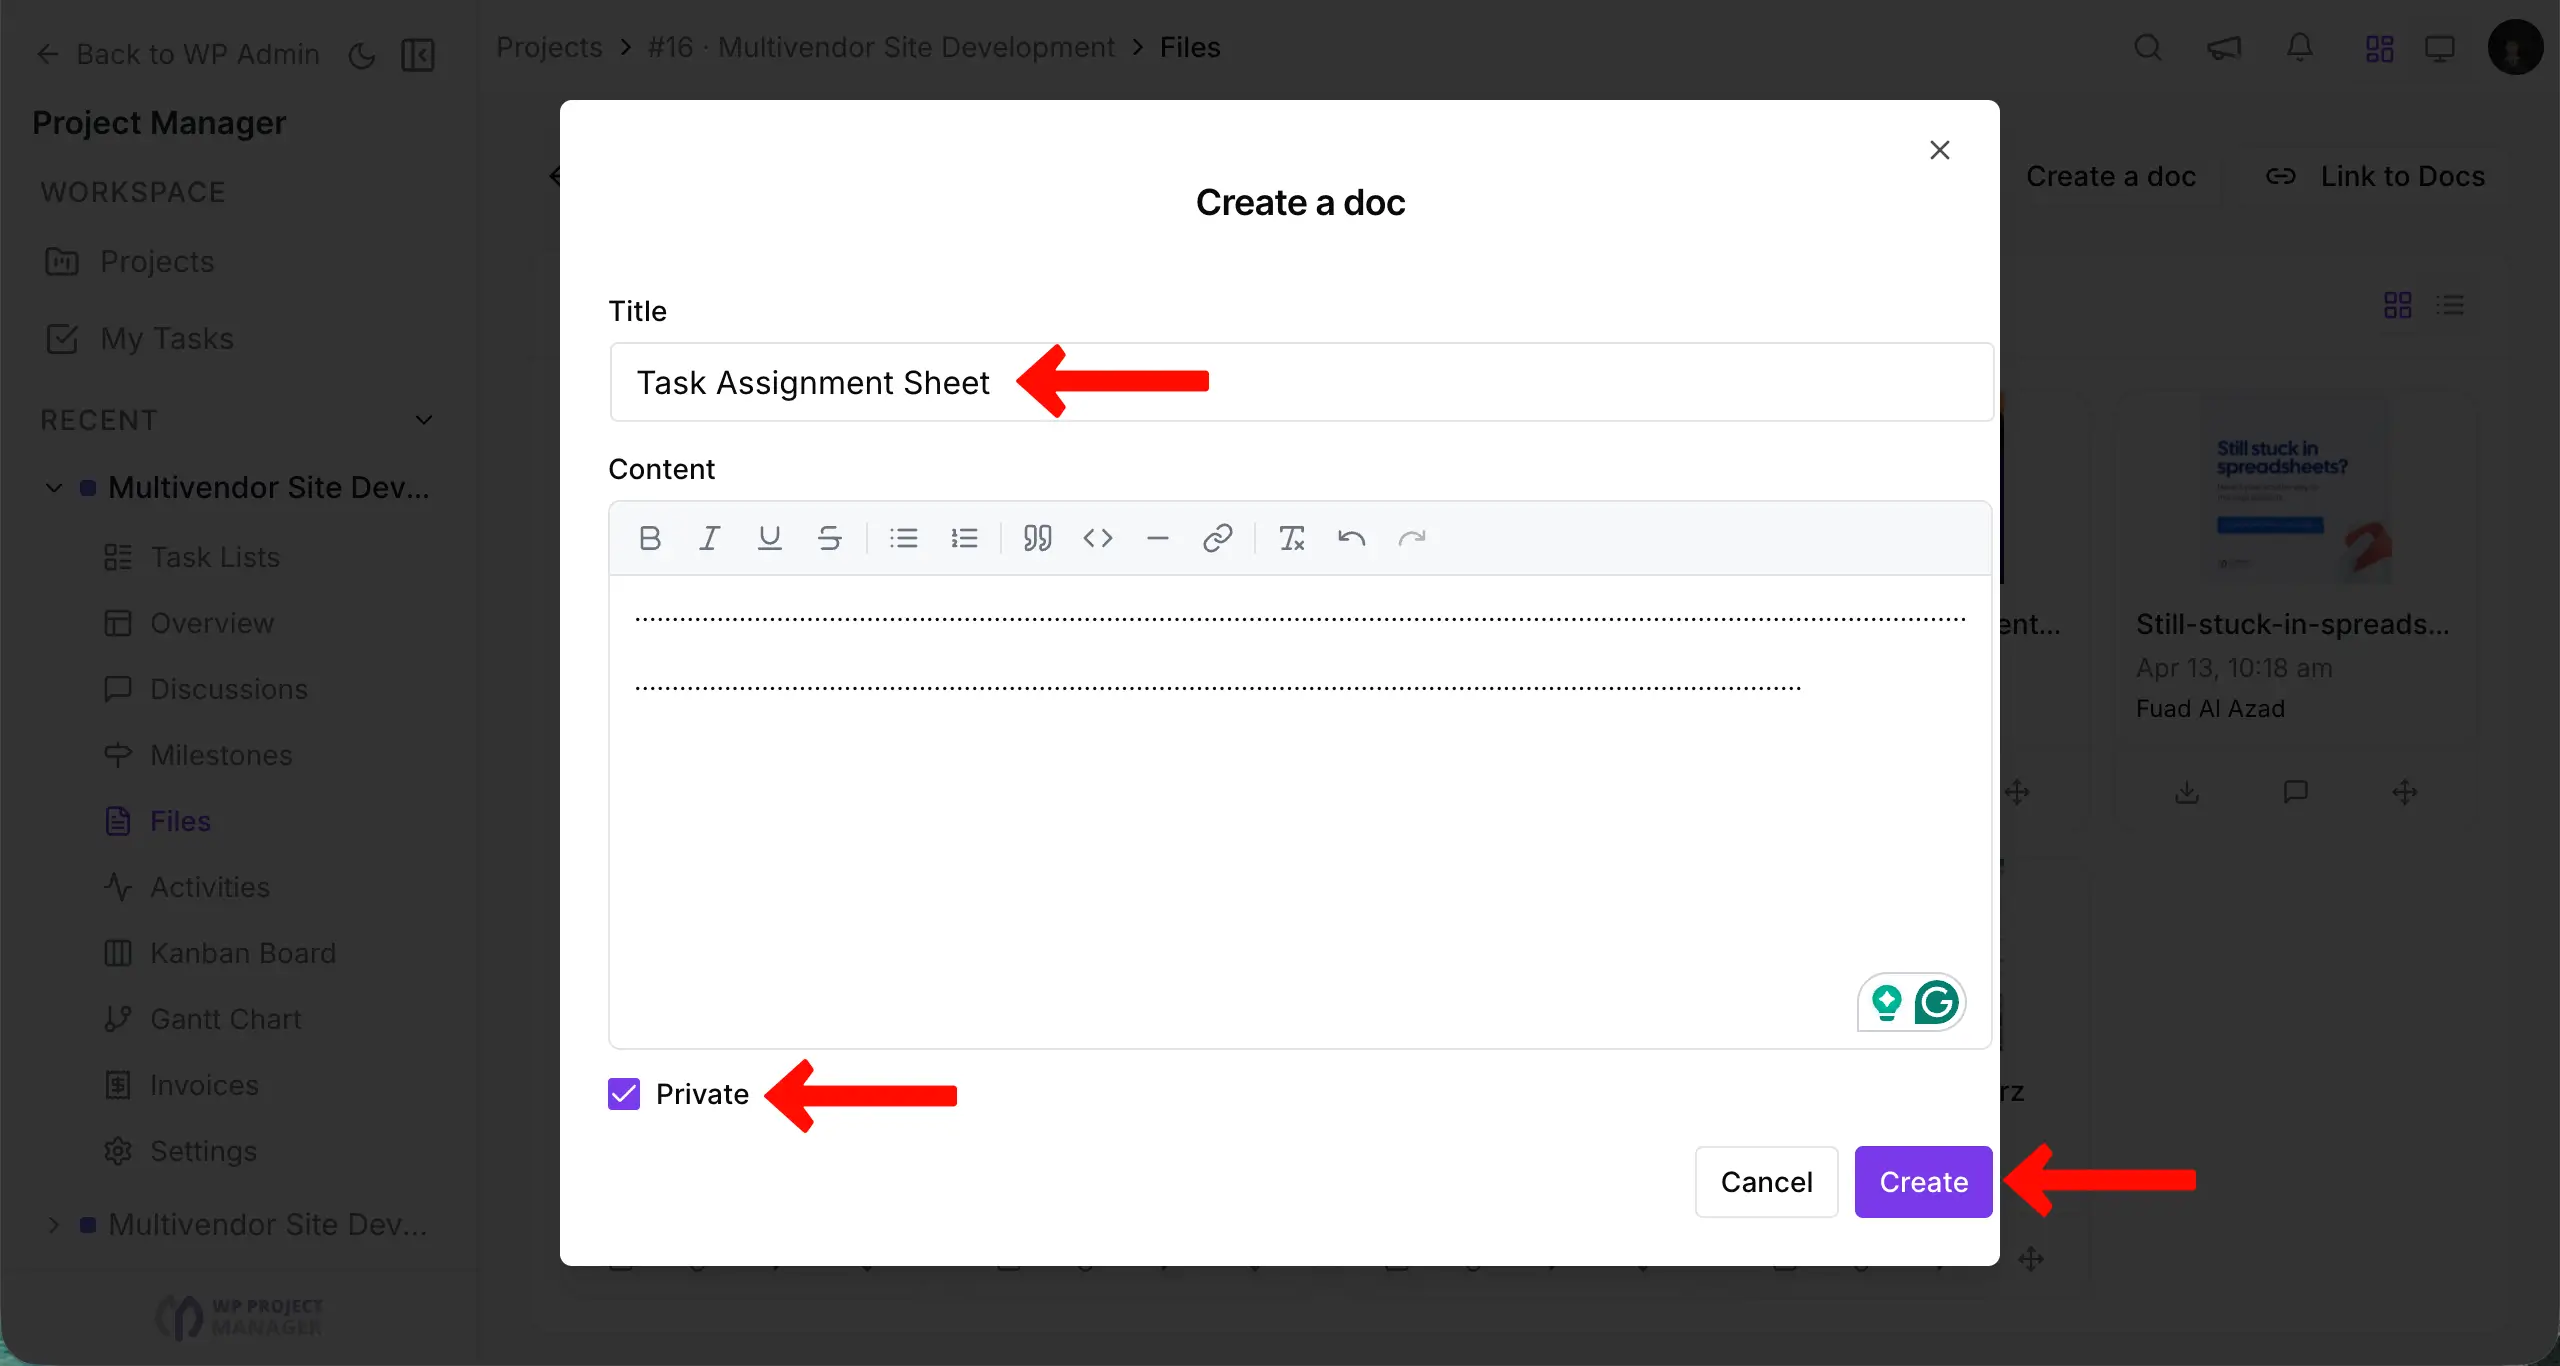
Creating a Document file
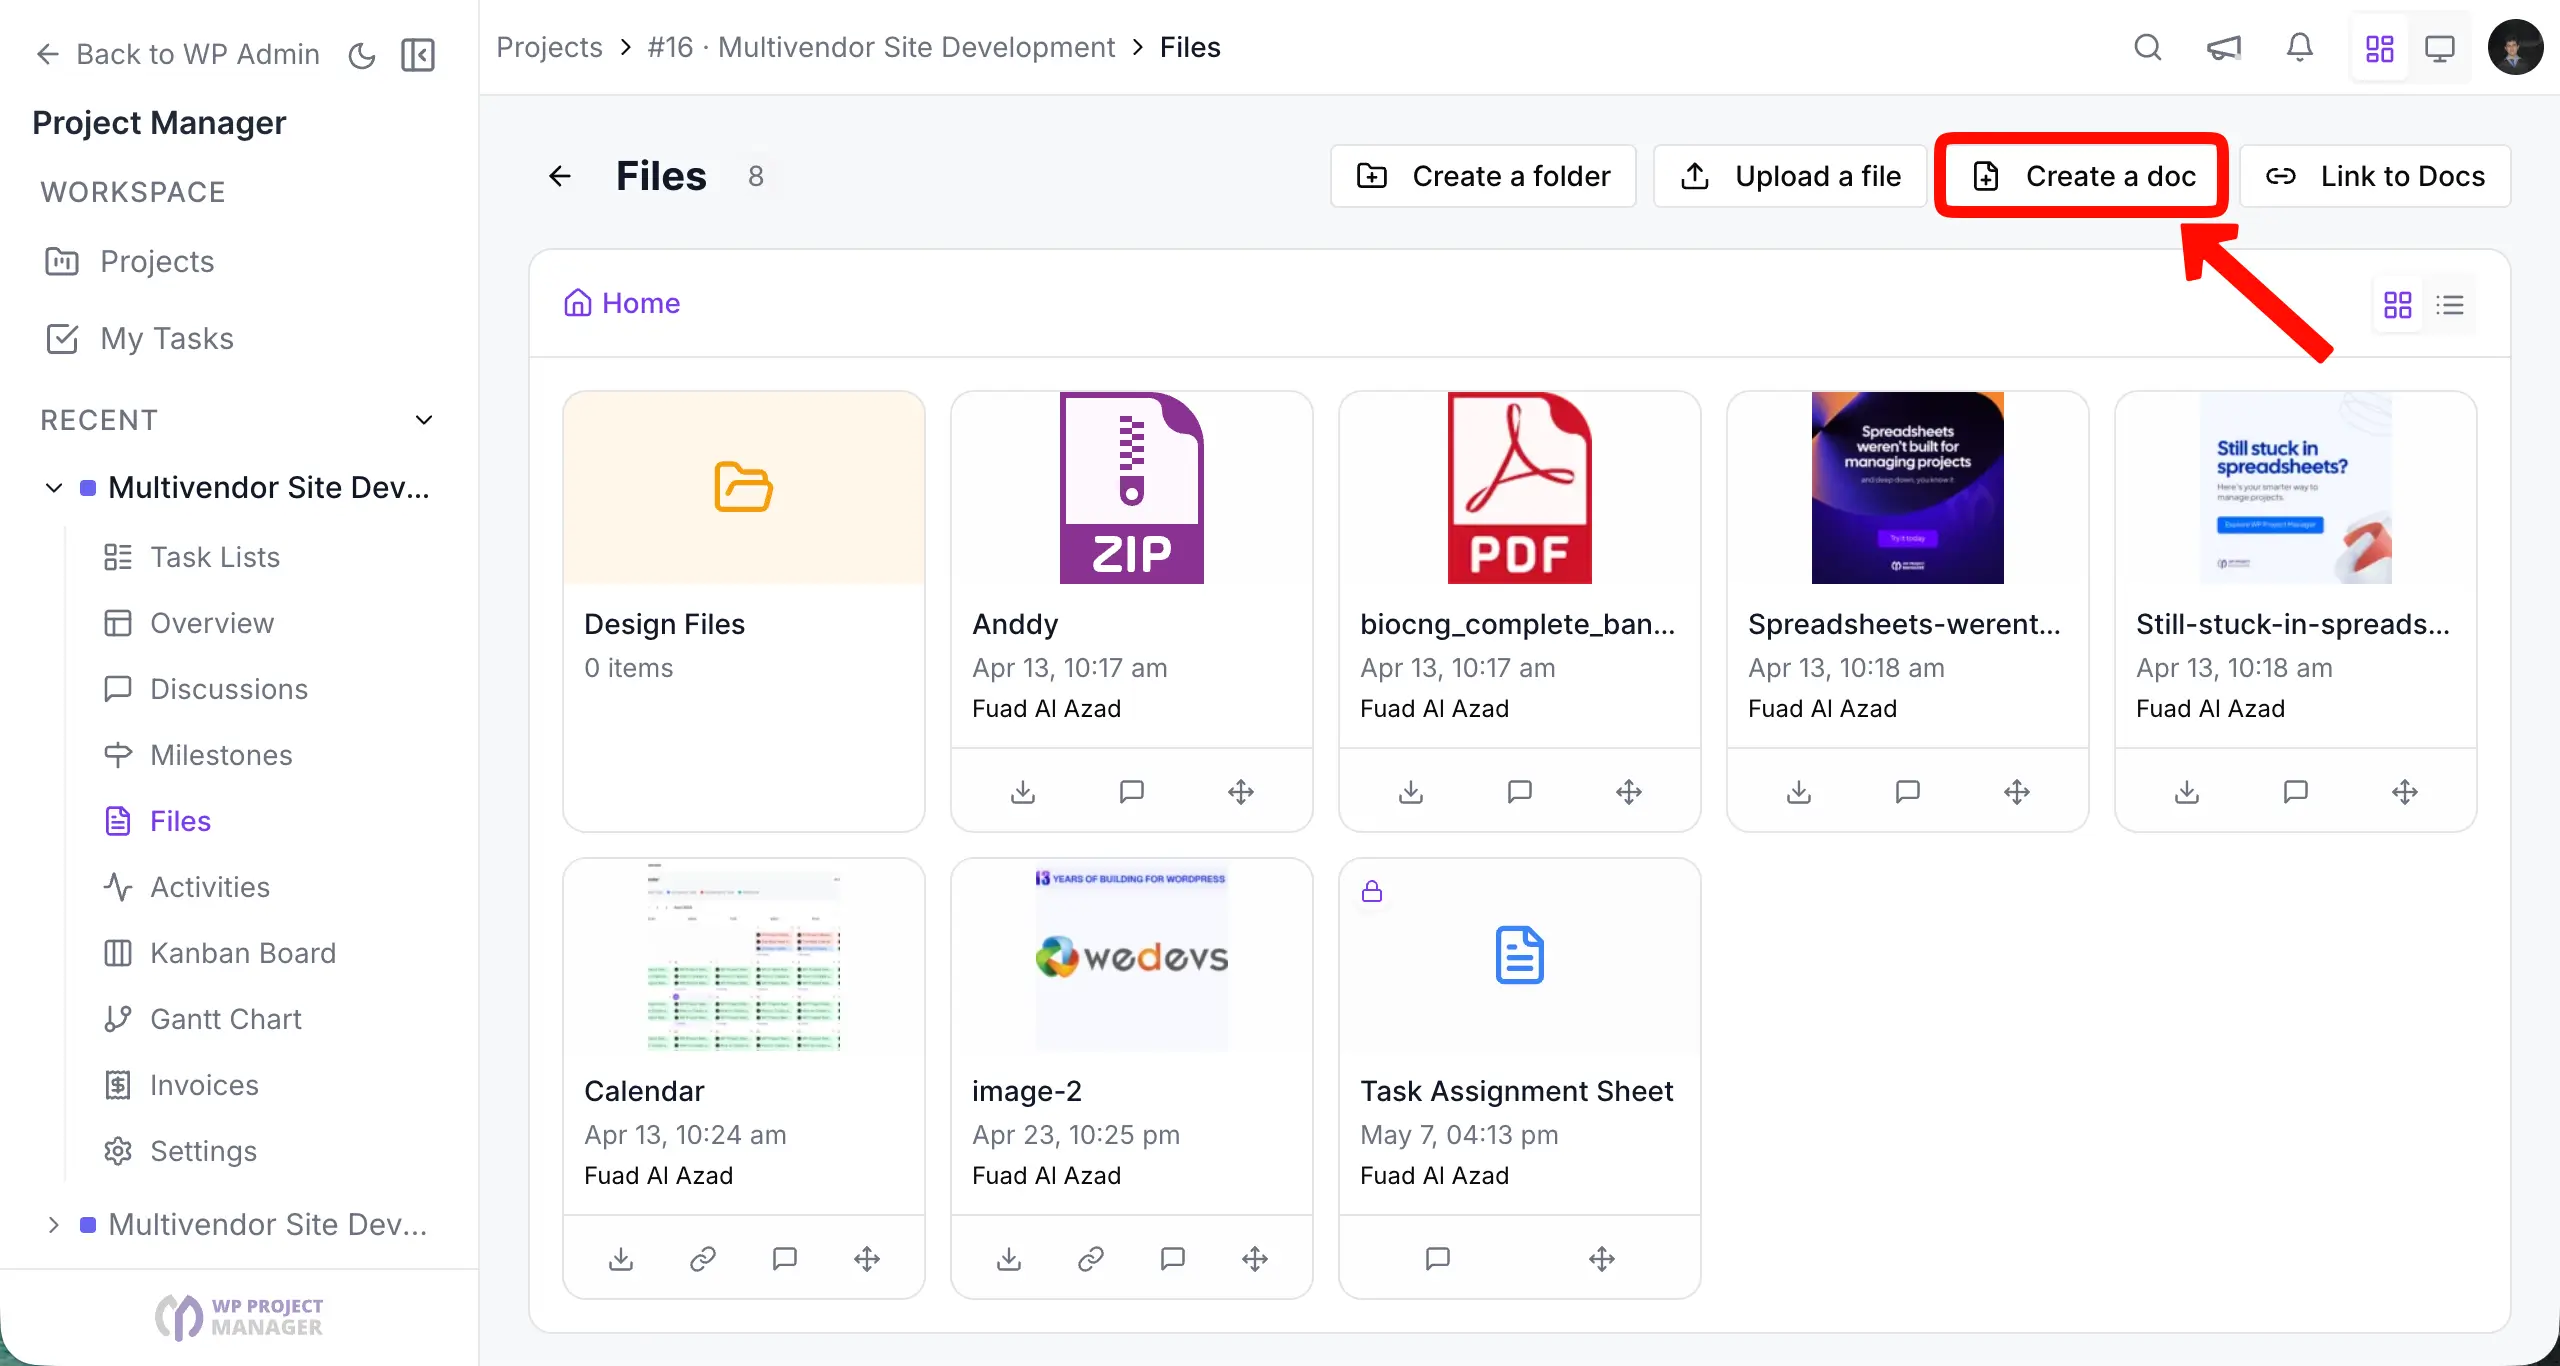
To create a document file, click on + Create a doc.
Enter the document title. Write the things you need to note. Click Create a doc.
You can also make this document file private by checking Make this private before creating the doc.
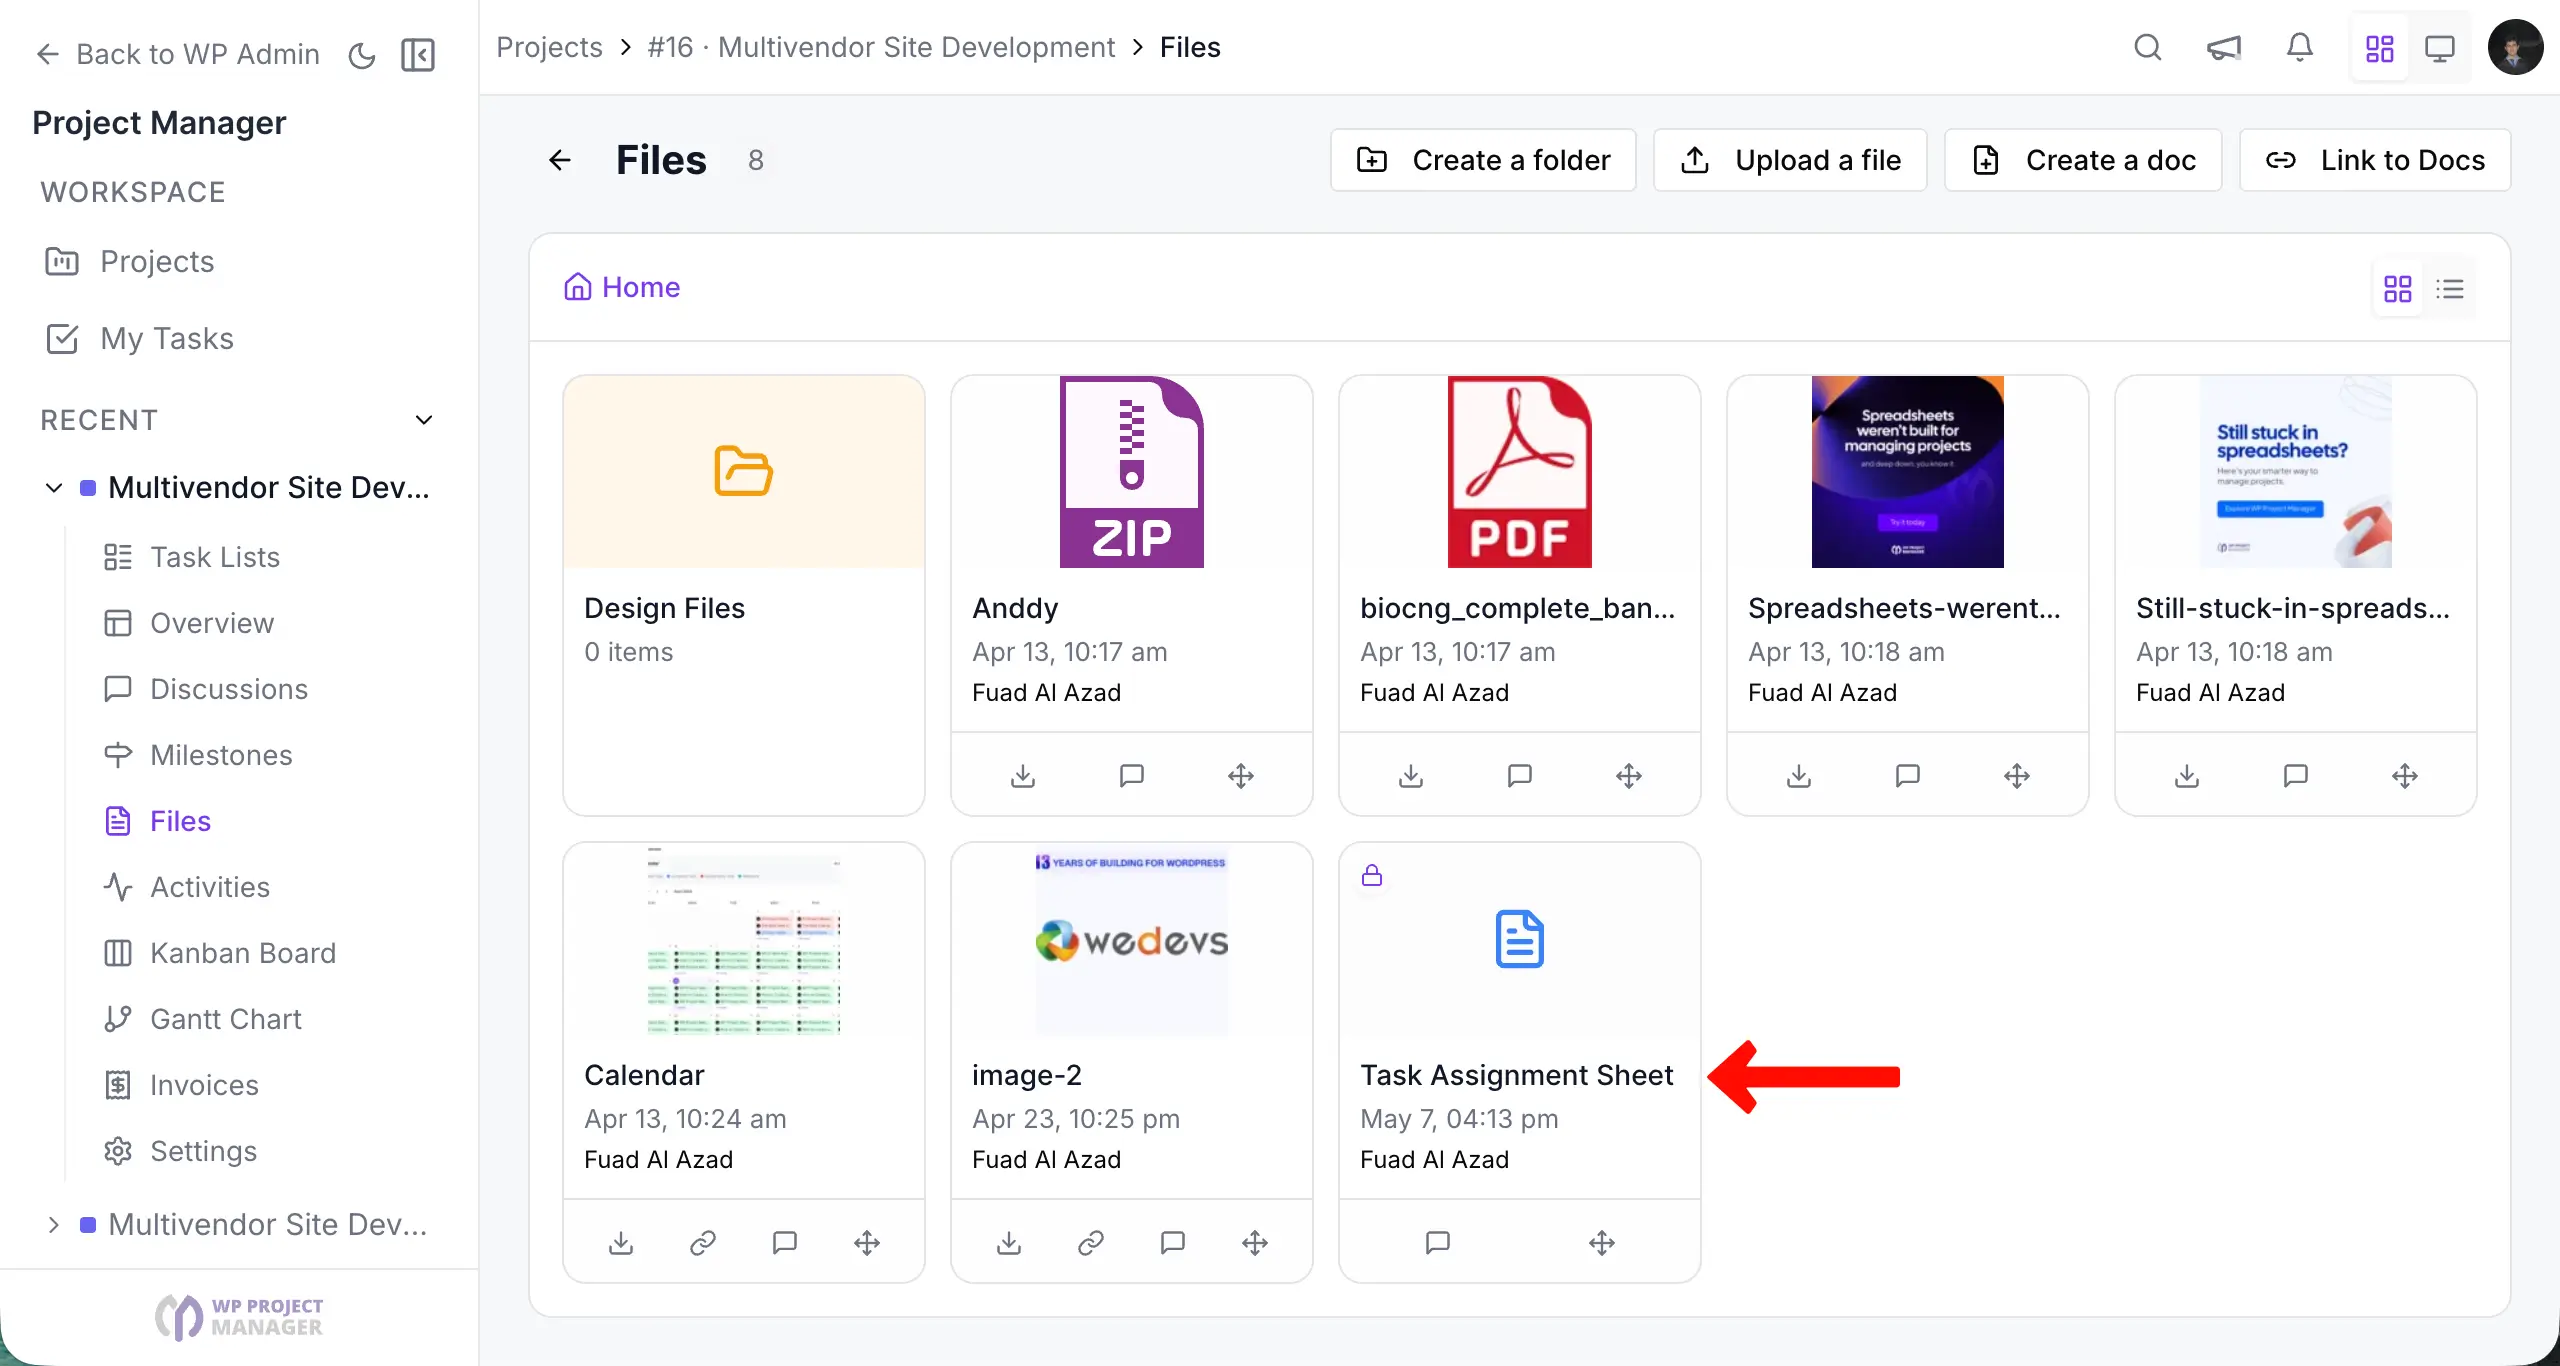
So, your doc has been created in WP Project Manager.
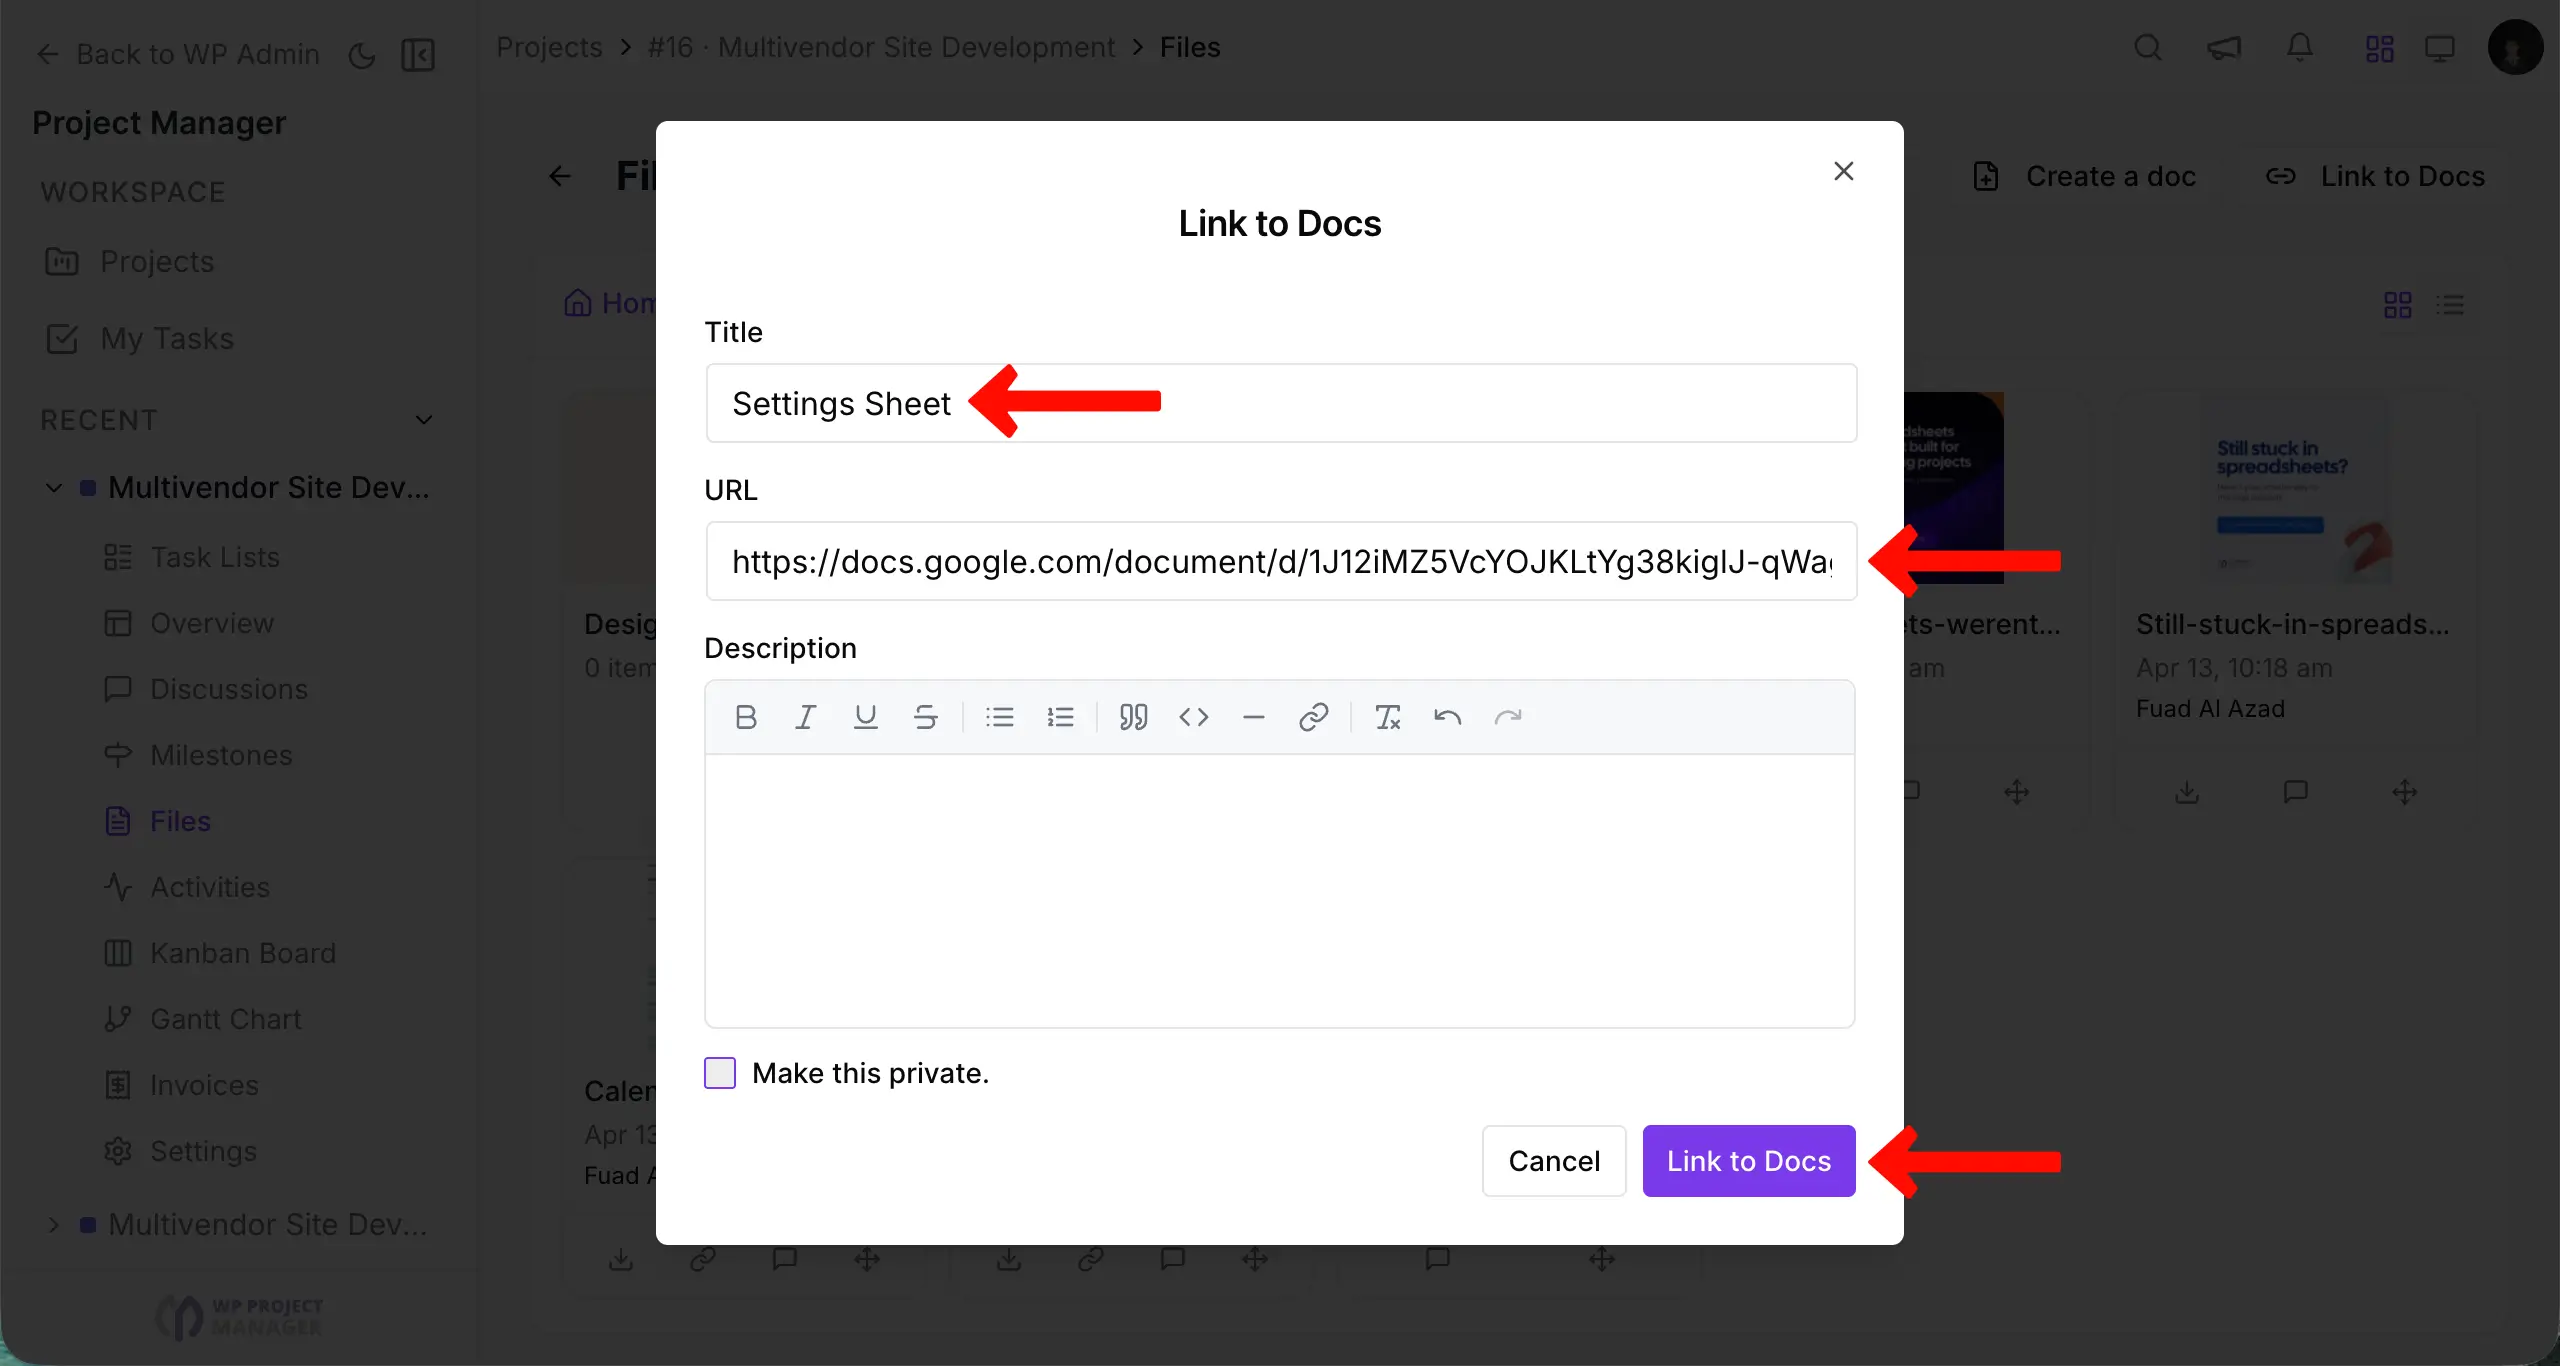
Linking an external doc/file to the file manager
Simply click on the + Link to Doc.
Enter the Title of the doc. Provide the link to the doc. Add notes if required. Click Link to Doc.
View the linked Doc.