

How to use WPUF Customizer
Requirements
1. WPUF-FREE
2. WPUF PRO
If you are only running the free version, you can view the Billing Address field. Whereas, if you are using the pro version, you can view all three options.
Configuration
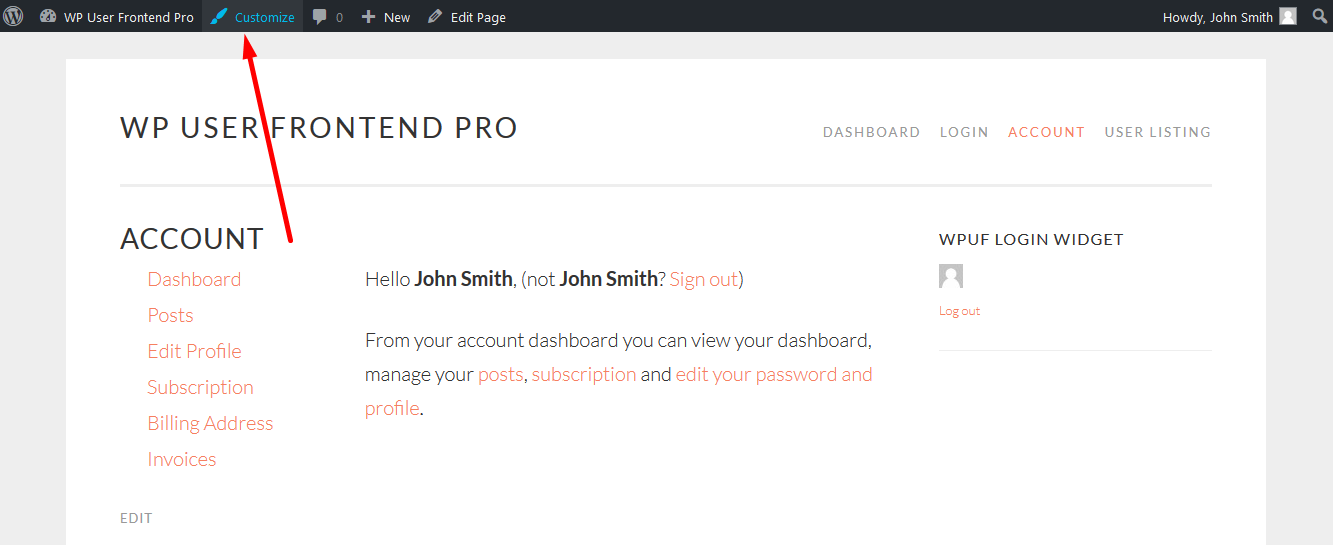
1. You can access the Customizer from any page or post on your site: just go to the menu bar in the top-left corner of the screen and click Customize.
2. Click on Customize>WP User Frontend.
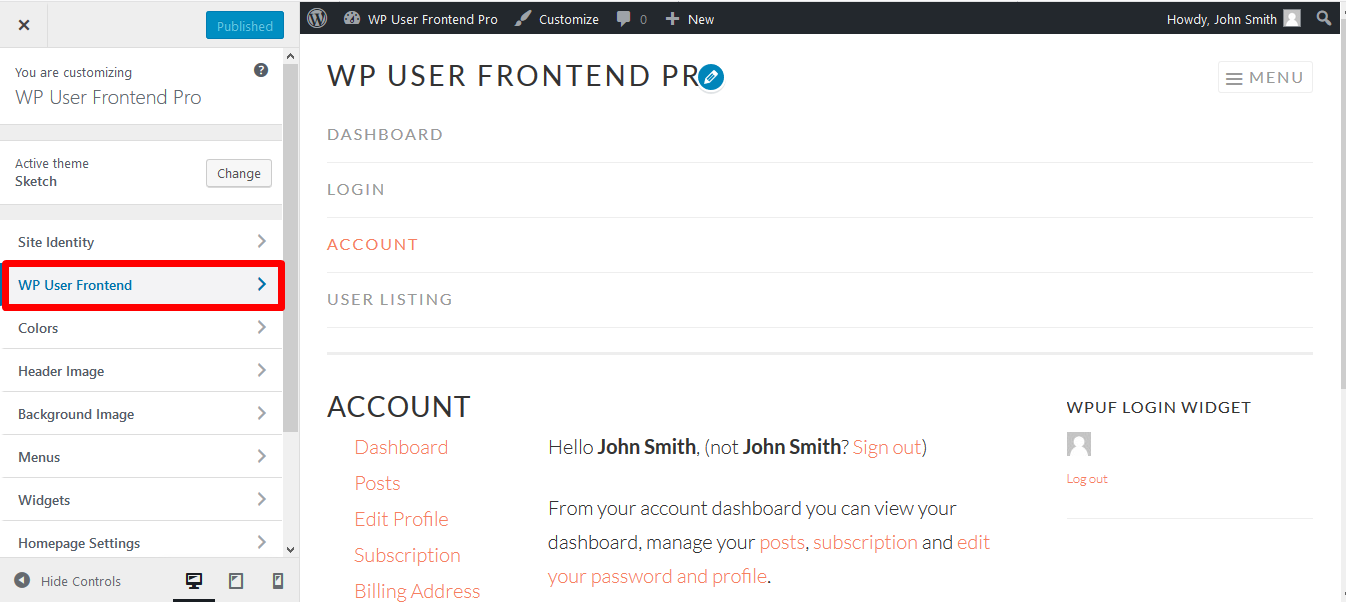
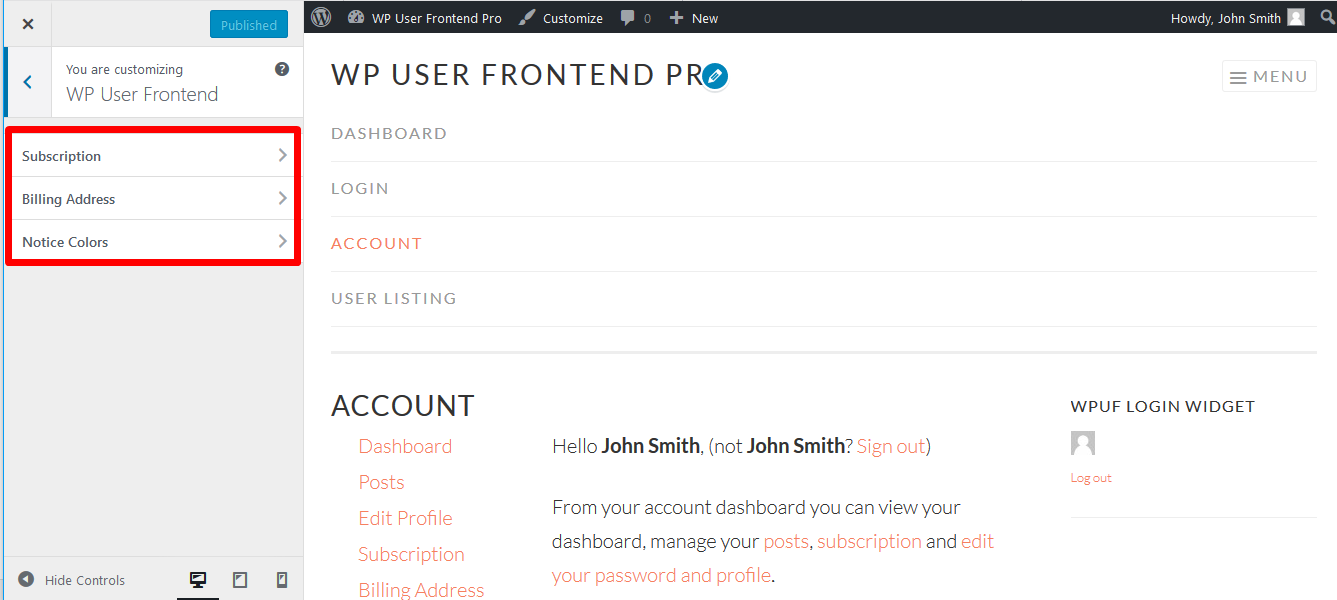
3. When you click on WP User Frontend, you will see the following the 3 settings: Subscription, Billing Address, and Notice Colors.
Subscription
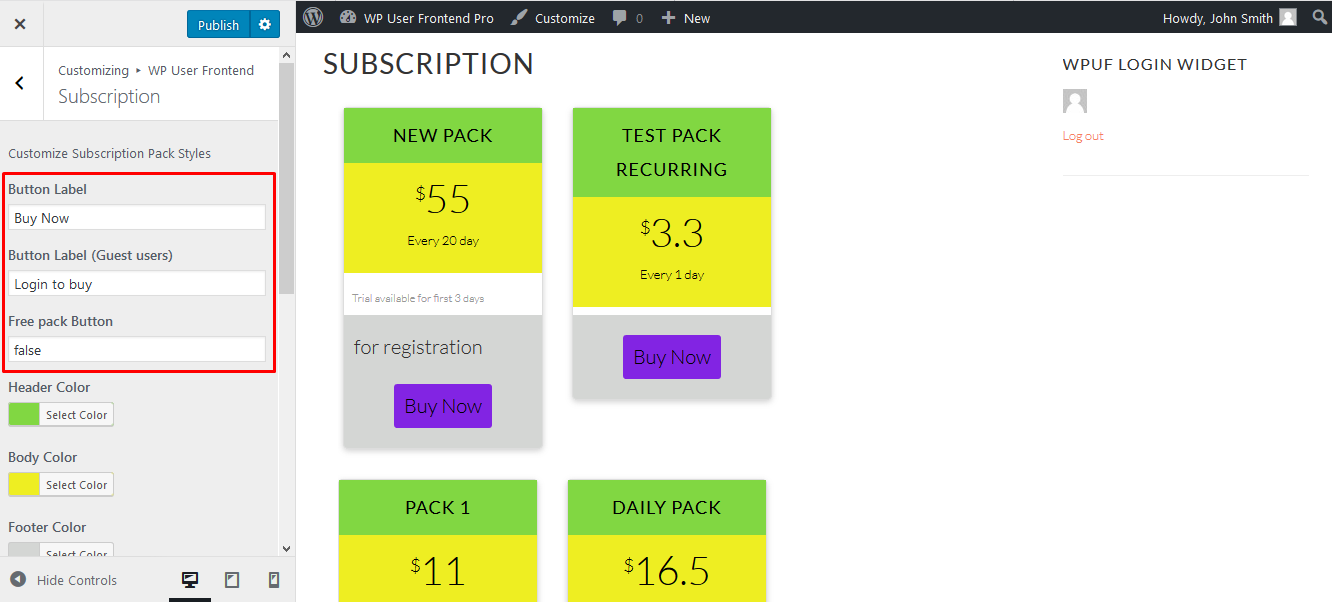
- Click on Subscription to view the available options:
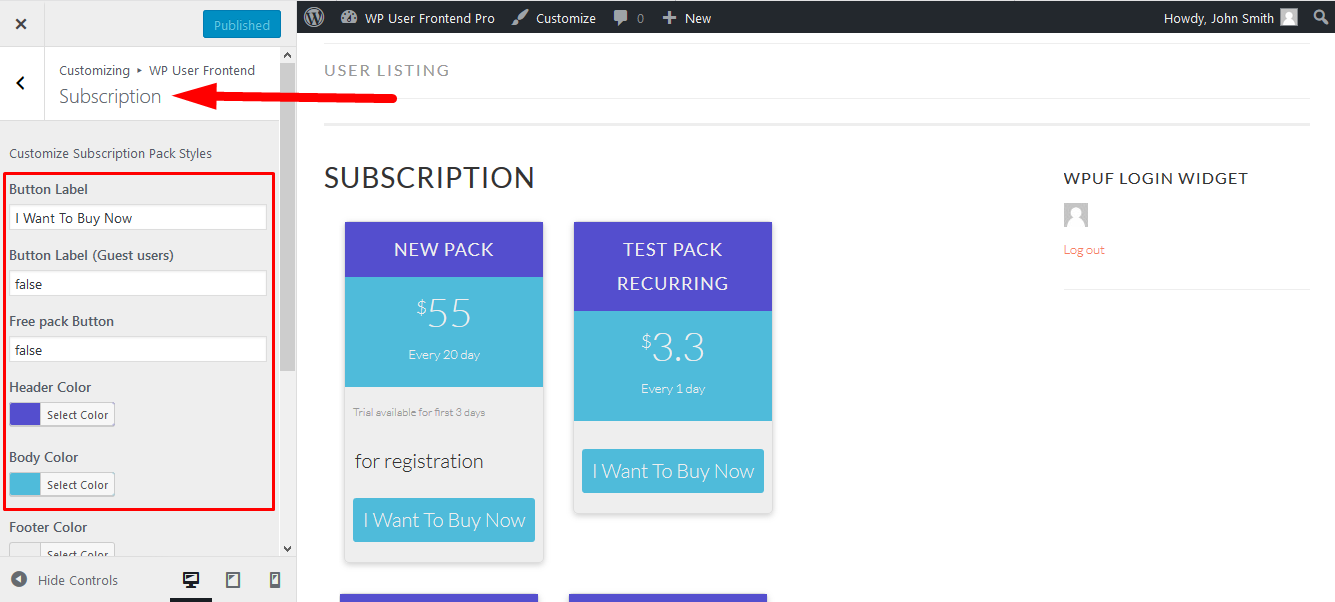
2. From here you can change the button labels for registered and guest users, and the button labels for free packs.
The customizer dynamically changes the texts and previews them in real-time.
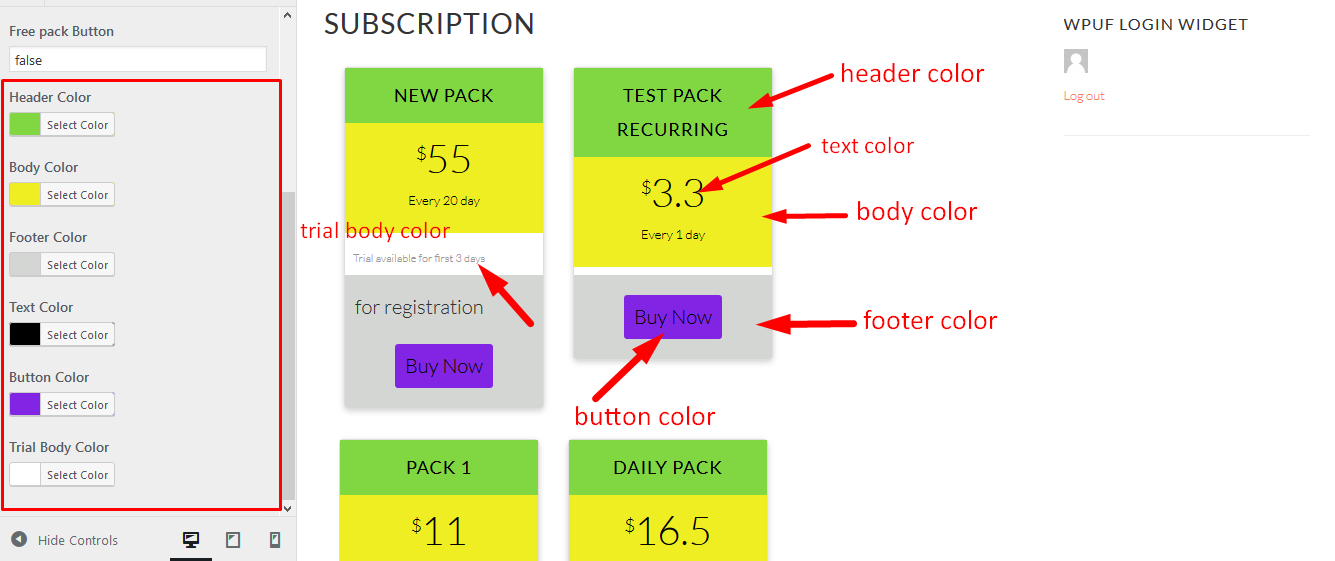
3. You can also change the colors for the header, body, footer, text, button, and trial body of your subscription packs and preview the changes in real-time before saving them.
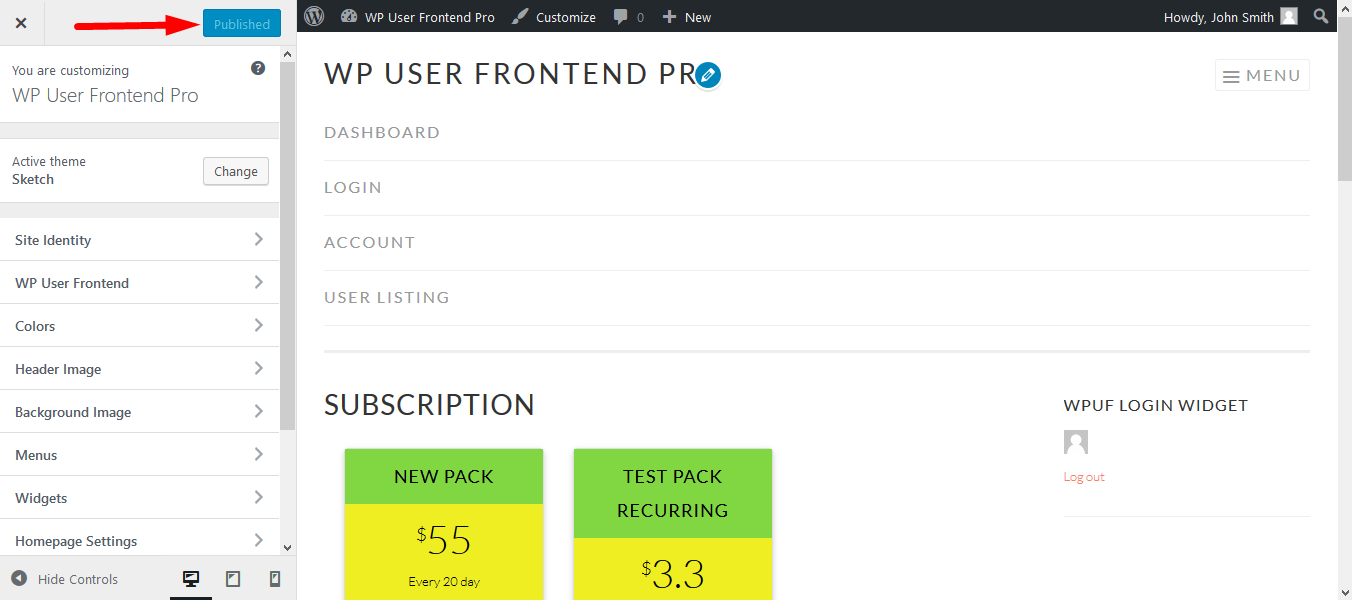
4. When you are done modifying, click on Publish on the top right of the widget to save the changes on your page.
Billing Address
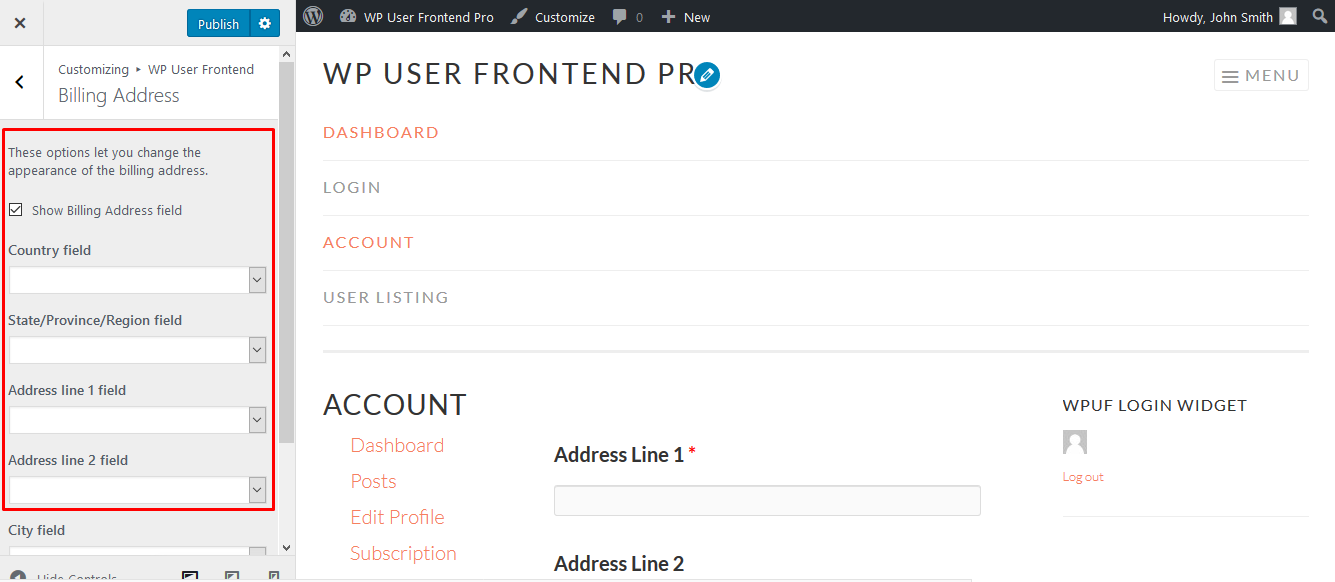
1. Go back and click on Billing Address:
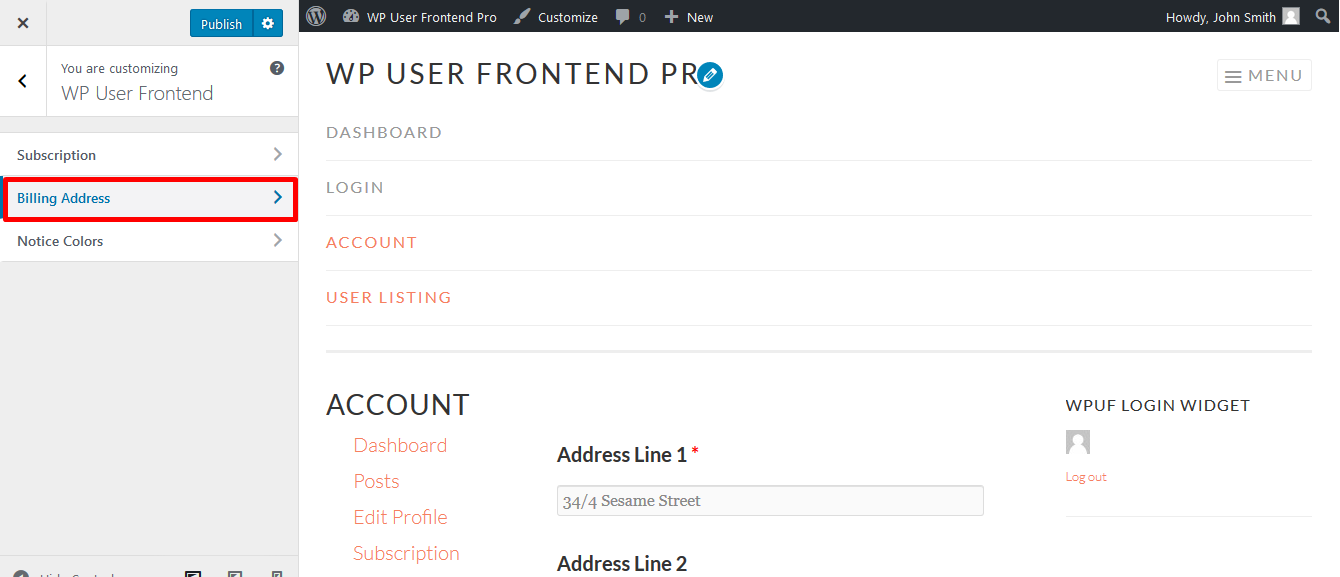
2. When you click on Billing Address, you can view the fields for your billing address.
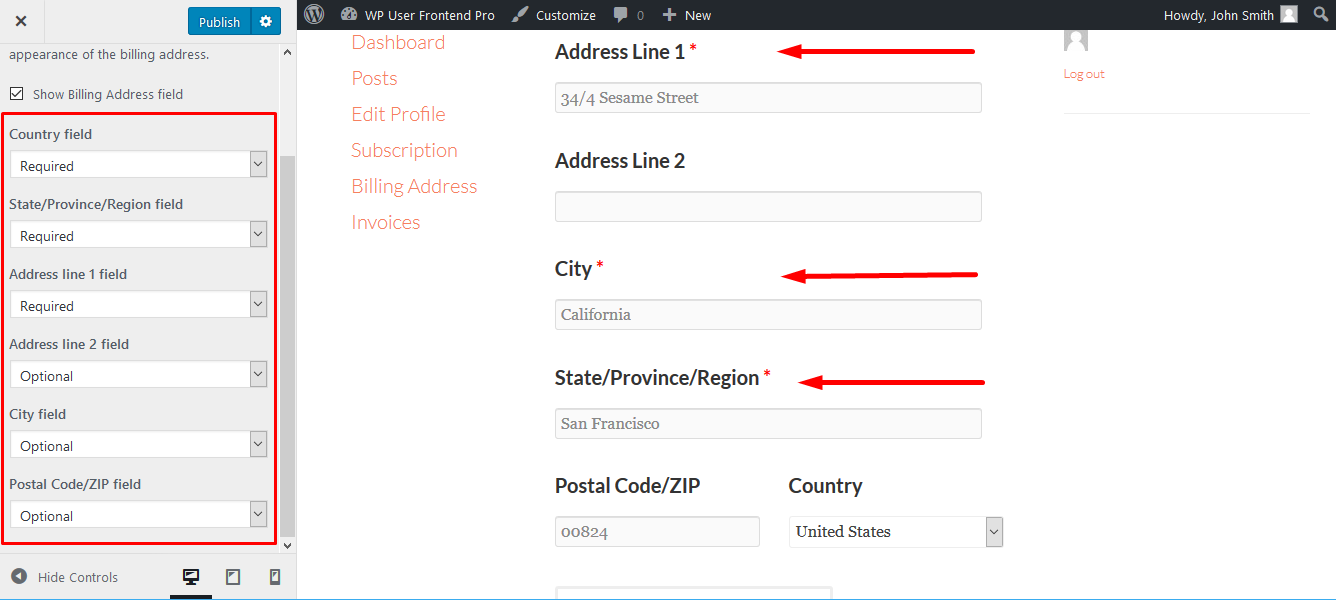
3. You have the option to make each field Required, Optional, or Hidden. You can view the changes on the screen as you make modifications.
4. Select as desired and click on Publish.
Notice Colors
These options let you customize the look of Info Messages like Error, Warning etc.
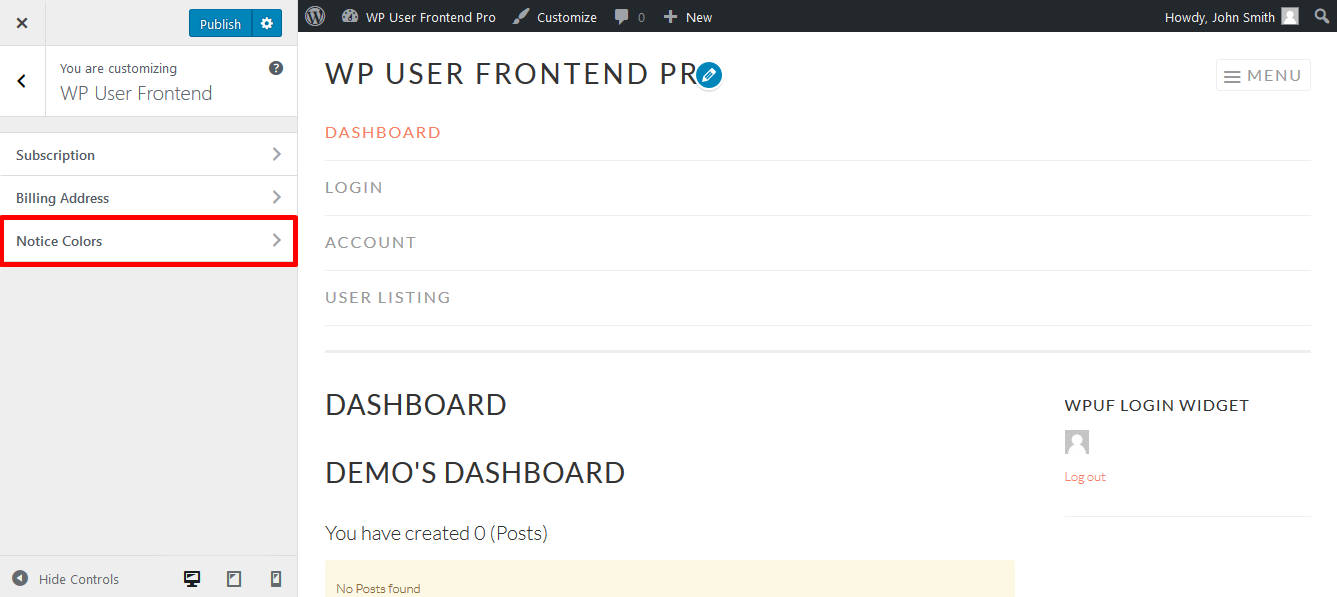
- Go back to the menu and click on Notice Colors to find the options.
- From here you can select the color as you like for the backgrounds.
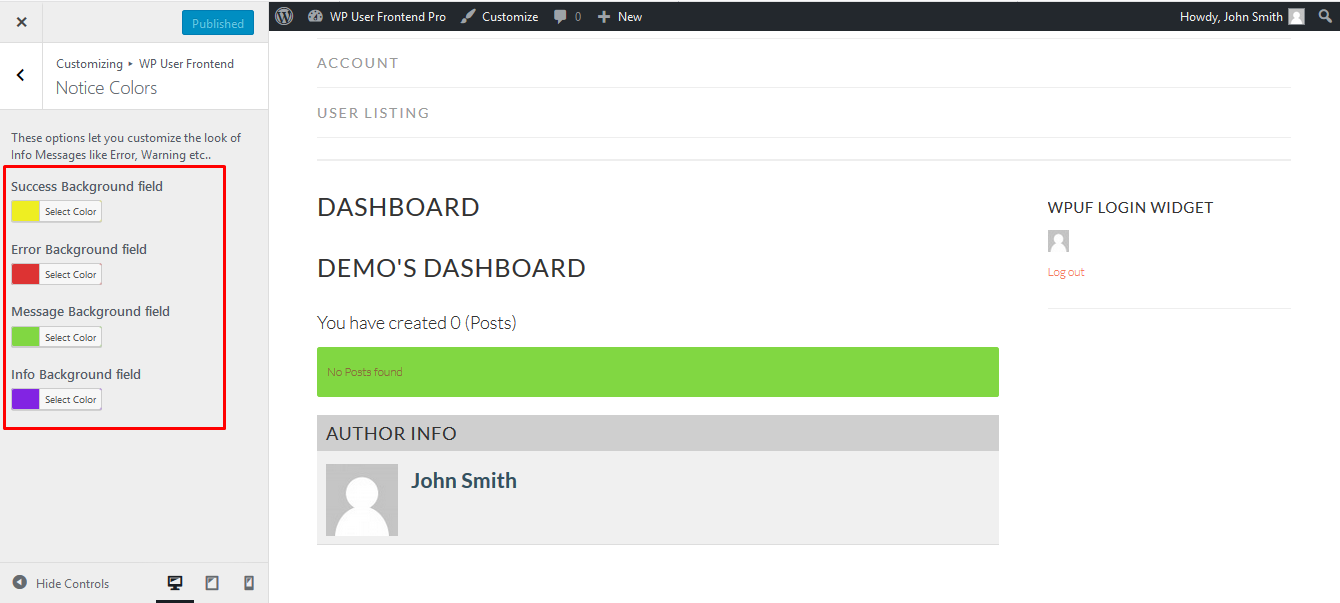
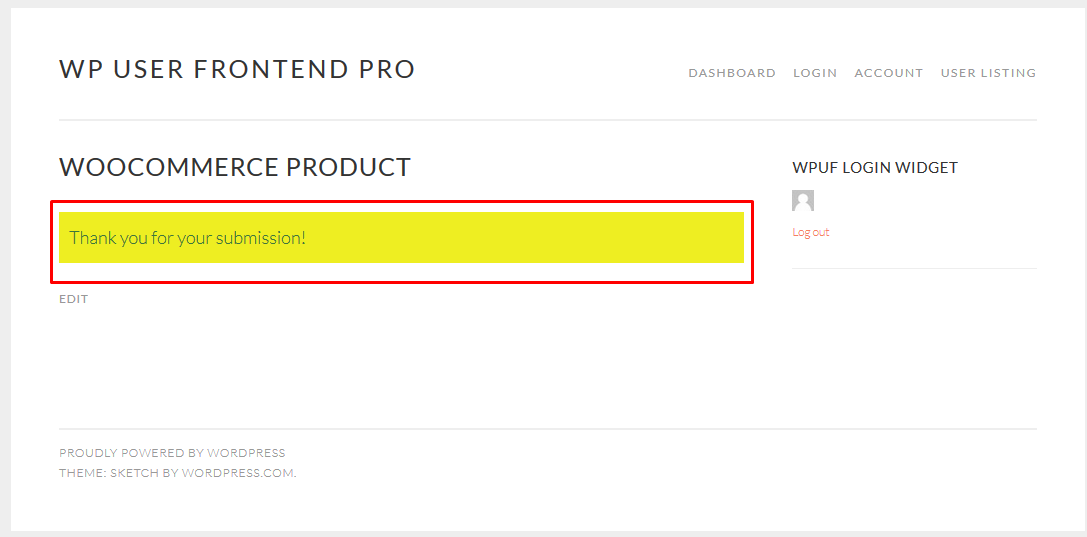
Success Background refers to the background of the message shown when a user submits a post form.
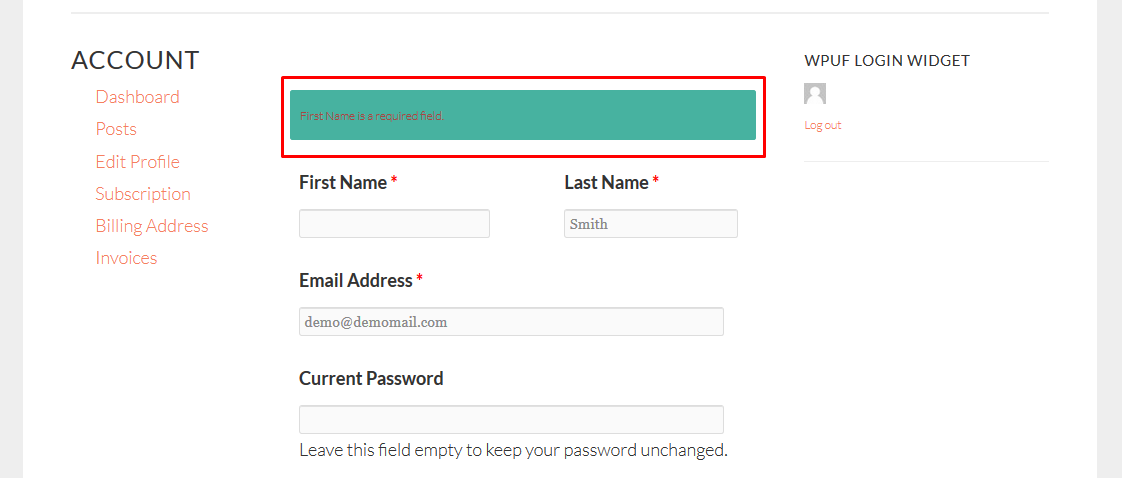
Error Background refers to the background of messages shown when required fields in a form are left empty.
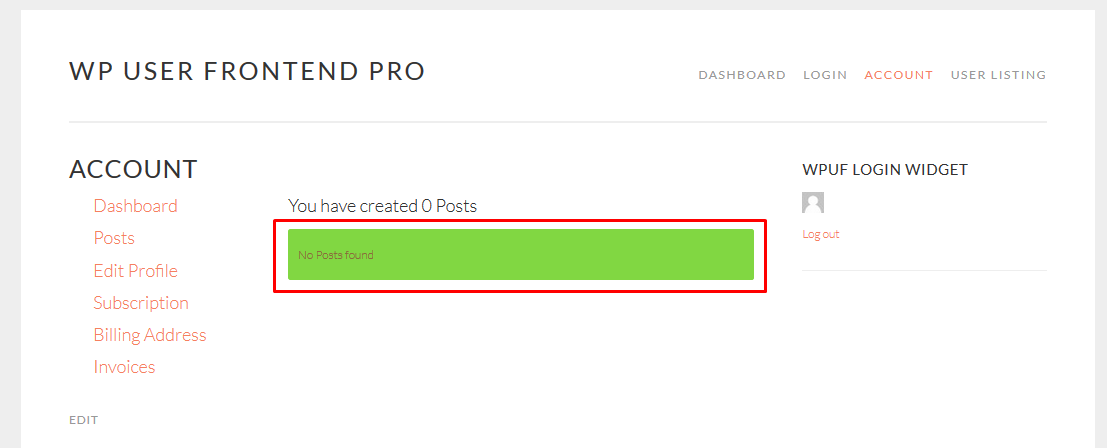
Message Background refers to the background of notices that are displayed in various places around the site.
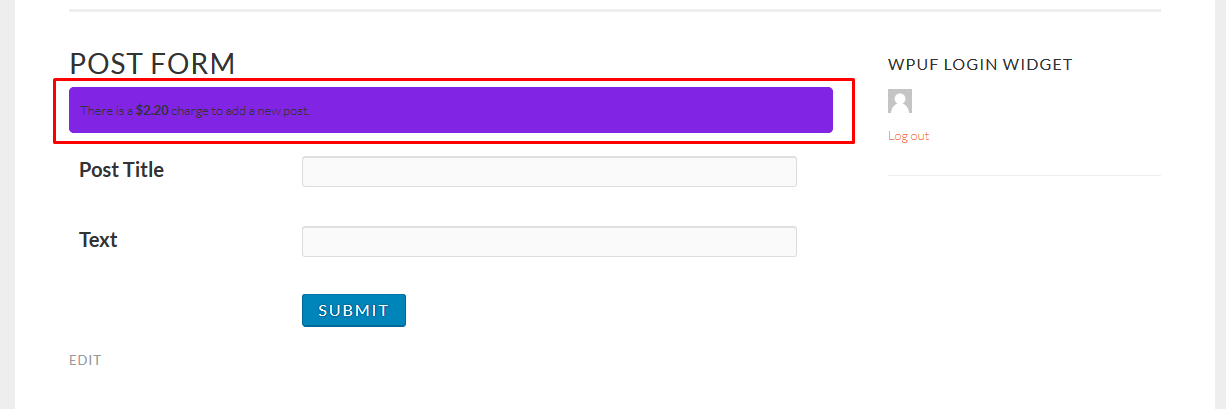
Info background refers to the background of messages that show up in post forms and displays some additional information about the post.
3. Click on Publish to save the changes.
That's all about configuring WPUF Customizer.