How to Configure WPUF Setup Wizard
Upon activation of WP User Frontend Free, you will immediately be taken to the Setup Wizard which will guide you through some basic settings. It will require only a few seconds to configure them.
Follow these simple steps to get started
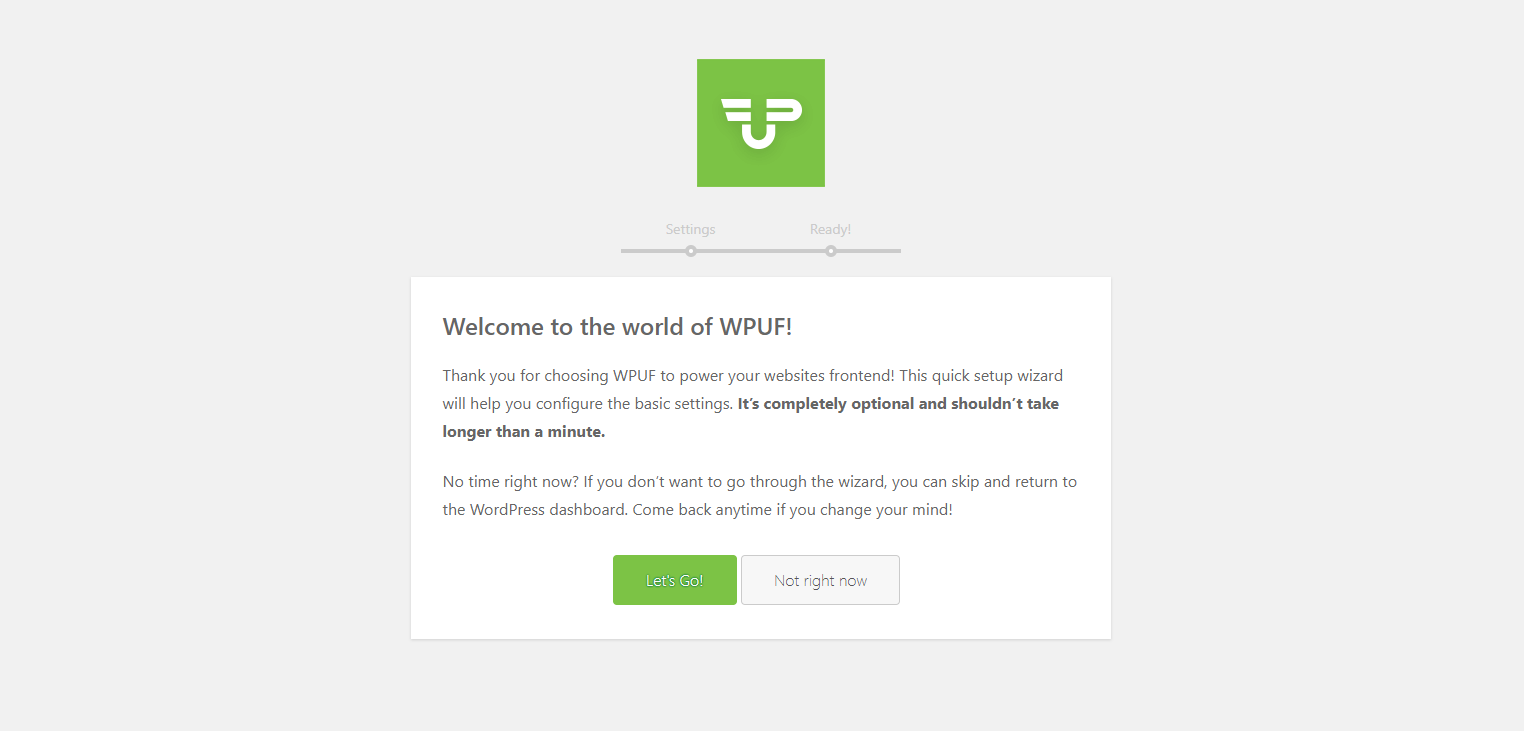
Step: 1
Click on the ‘Let's Go!' button to proceed with the setup process otherwise hit the ‘Not right now' button in order to skip the Setup Wizard.
Step: 2
After having clicked on the ‘Let's Go!' button, you will be landed on this page:
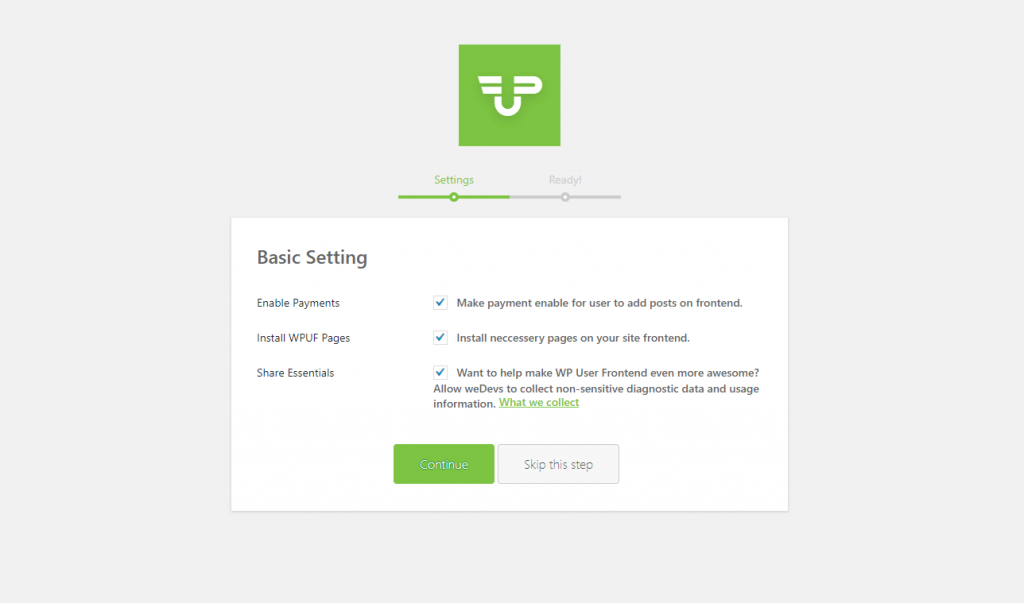
As demonstrated in the screenshot, there are two basic settings. They are:
- Enable Payments: If you want to activate all types of payments for your website then you can simply check the Enable Payments option.
- Install WPUF Pages: If you check the Install WPUF Pages some predefined pages like subscription page, payment page, Payment Success Page, Bank Payment Success Page and so on will be installed automatically with the plugin.
Next, click the Continue button.
Step: 3
In this stage, you will get the following ‘Thank you!' page:
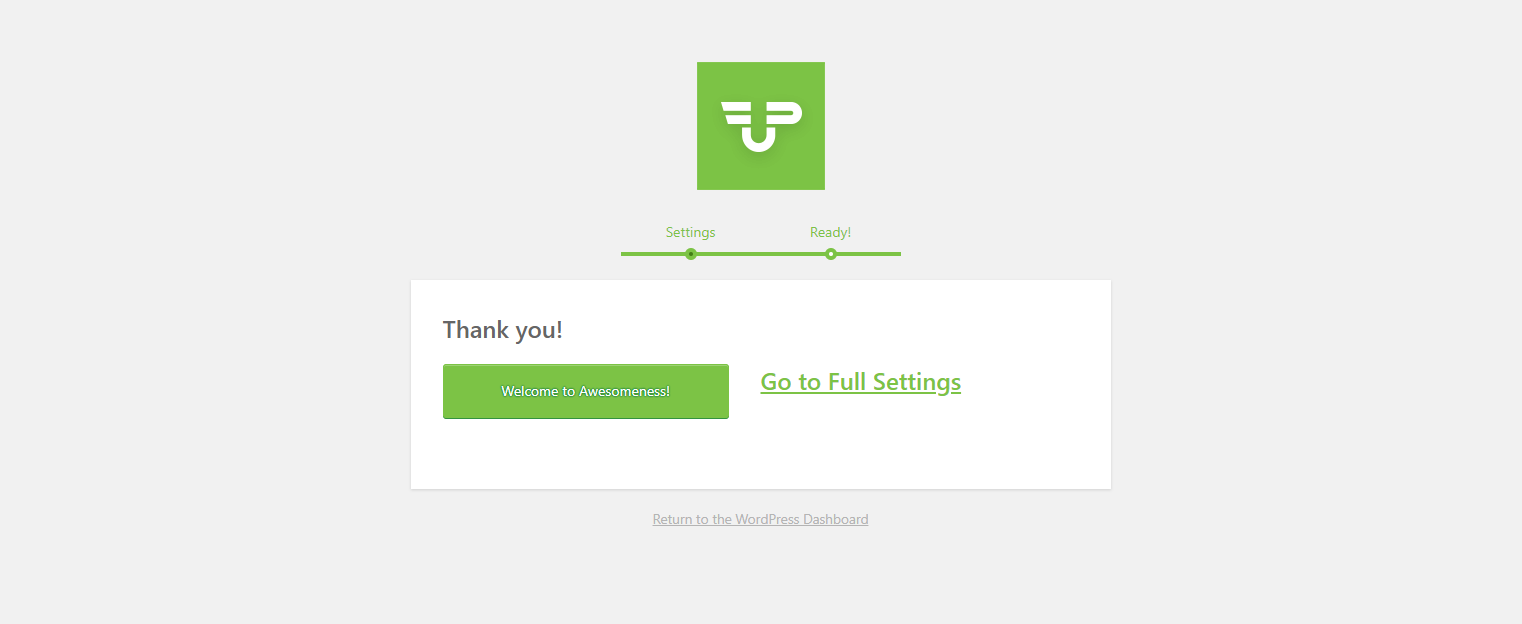
Click on the ‘Welcome to Awesomeness!‘ button if you want to experience a tour of the plugin's features. You can also jump right on to the full settings of the plugin by clicking on the “Go to Full Settings‘ button.
You can directly go back to the WordPress Dashboard using the Return to the WordPress Dashboard option.