How to Edit Forms
Creating the Edit and Dashboard pages
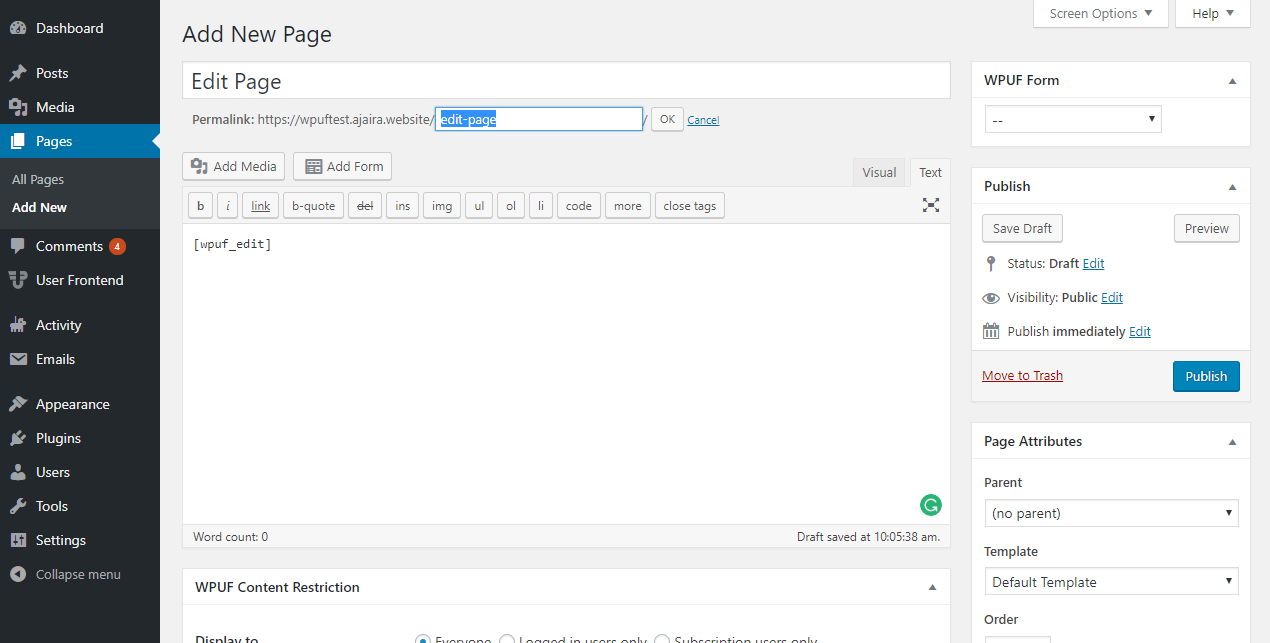
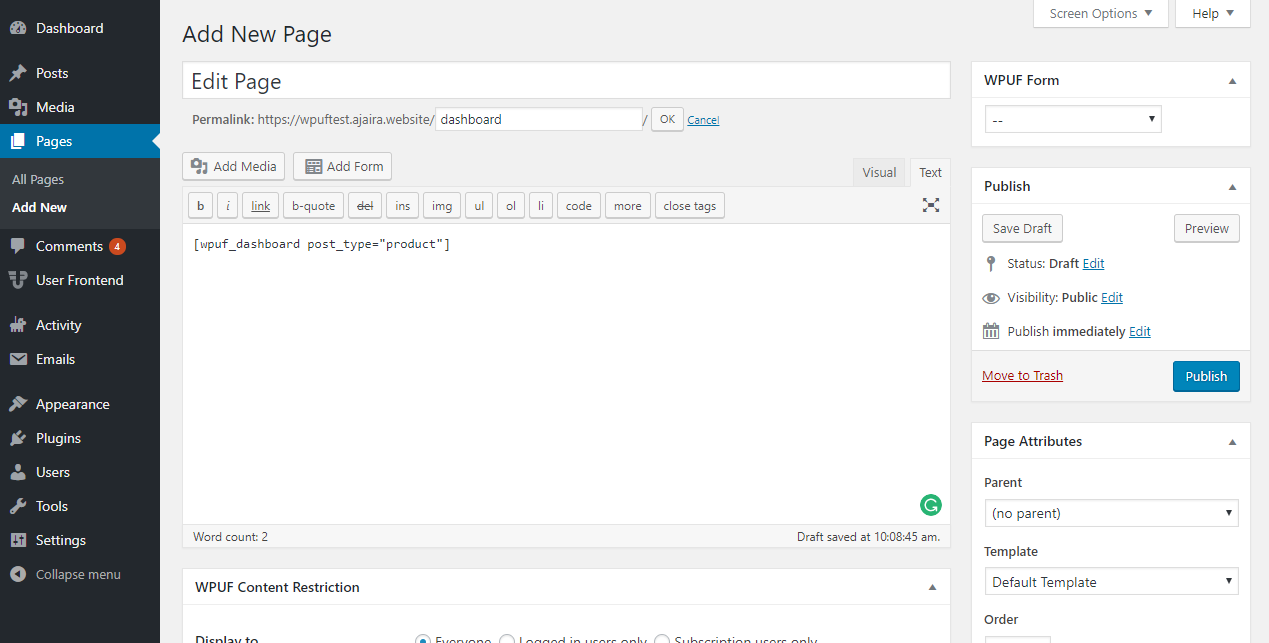
Go to Dashboard > Pages > Add new page Create two new pages named Dashboard and Edit and simply paste the shortcodes in them. For Dashboard page use [[wpuf_dashboard post_type="product"]] and use [[wpuf_edit]] in the Edit page.
Now go to WPUF > Settings > General Settings and to enable editing of products, select the page where [[wpuf_edit]] is located from the drop down menu.
Creating the Form
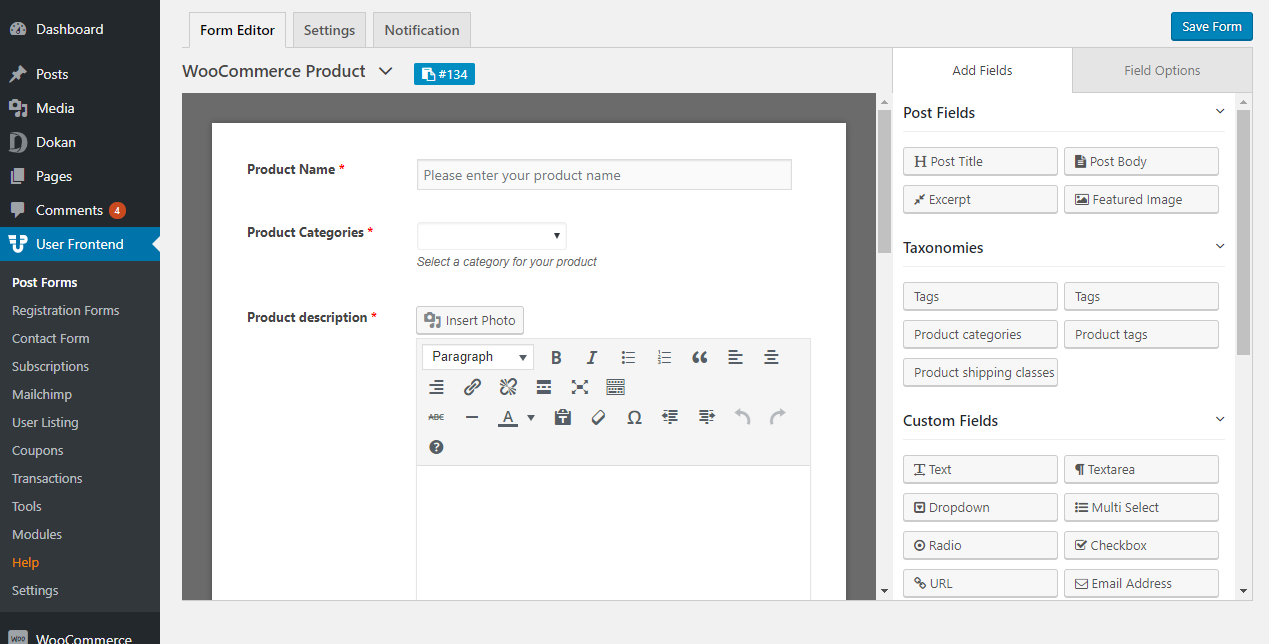
Now we are going to create the form to upload products, currently with these fields only. But you can add more fields as you wish. WPUF > Forms > Add form Now we need to add fields from the right panel. For creating a simple product we will need only 4 fields which are “post title” “post body” “featured image” and a “text” field to add price. Fields which have “This taxonomy is a WooCommerce attribute” must be checked to be positive to work.
Form Fields:
Post title: It will be your product Post: It will be your Product Description Featured Image: This will be your product’s Main Image For the text field, please use _price as the meta key for it to work as the price for WooCommerce.
Custom Taxonomies:
Product_typethe type of product it is. If you want to allow users to post just a simple product, I will recommend you not use this field. Product_cat – You can allow users to choose all categories or specify only one or more. You can also add custom taxonomies for WooCommerce, such as product type (simple, variation, downloadable, etc.), category, tag, and shipping class, if you want the user to set those fields out while uploading. When you are satisfied adding fields to the form, hit save and copy the shortcode for the form.