

Project Dashboard and How to Create a Project in WPPM
Project Dashboard
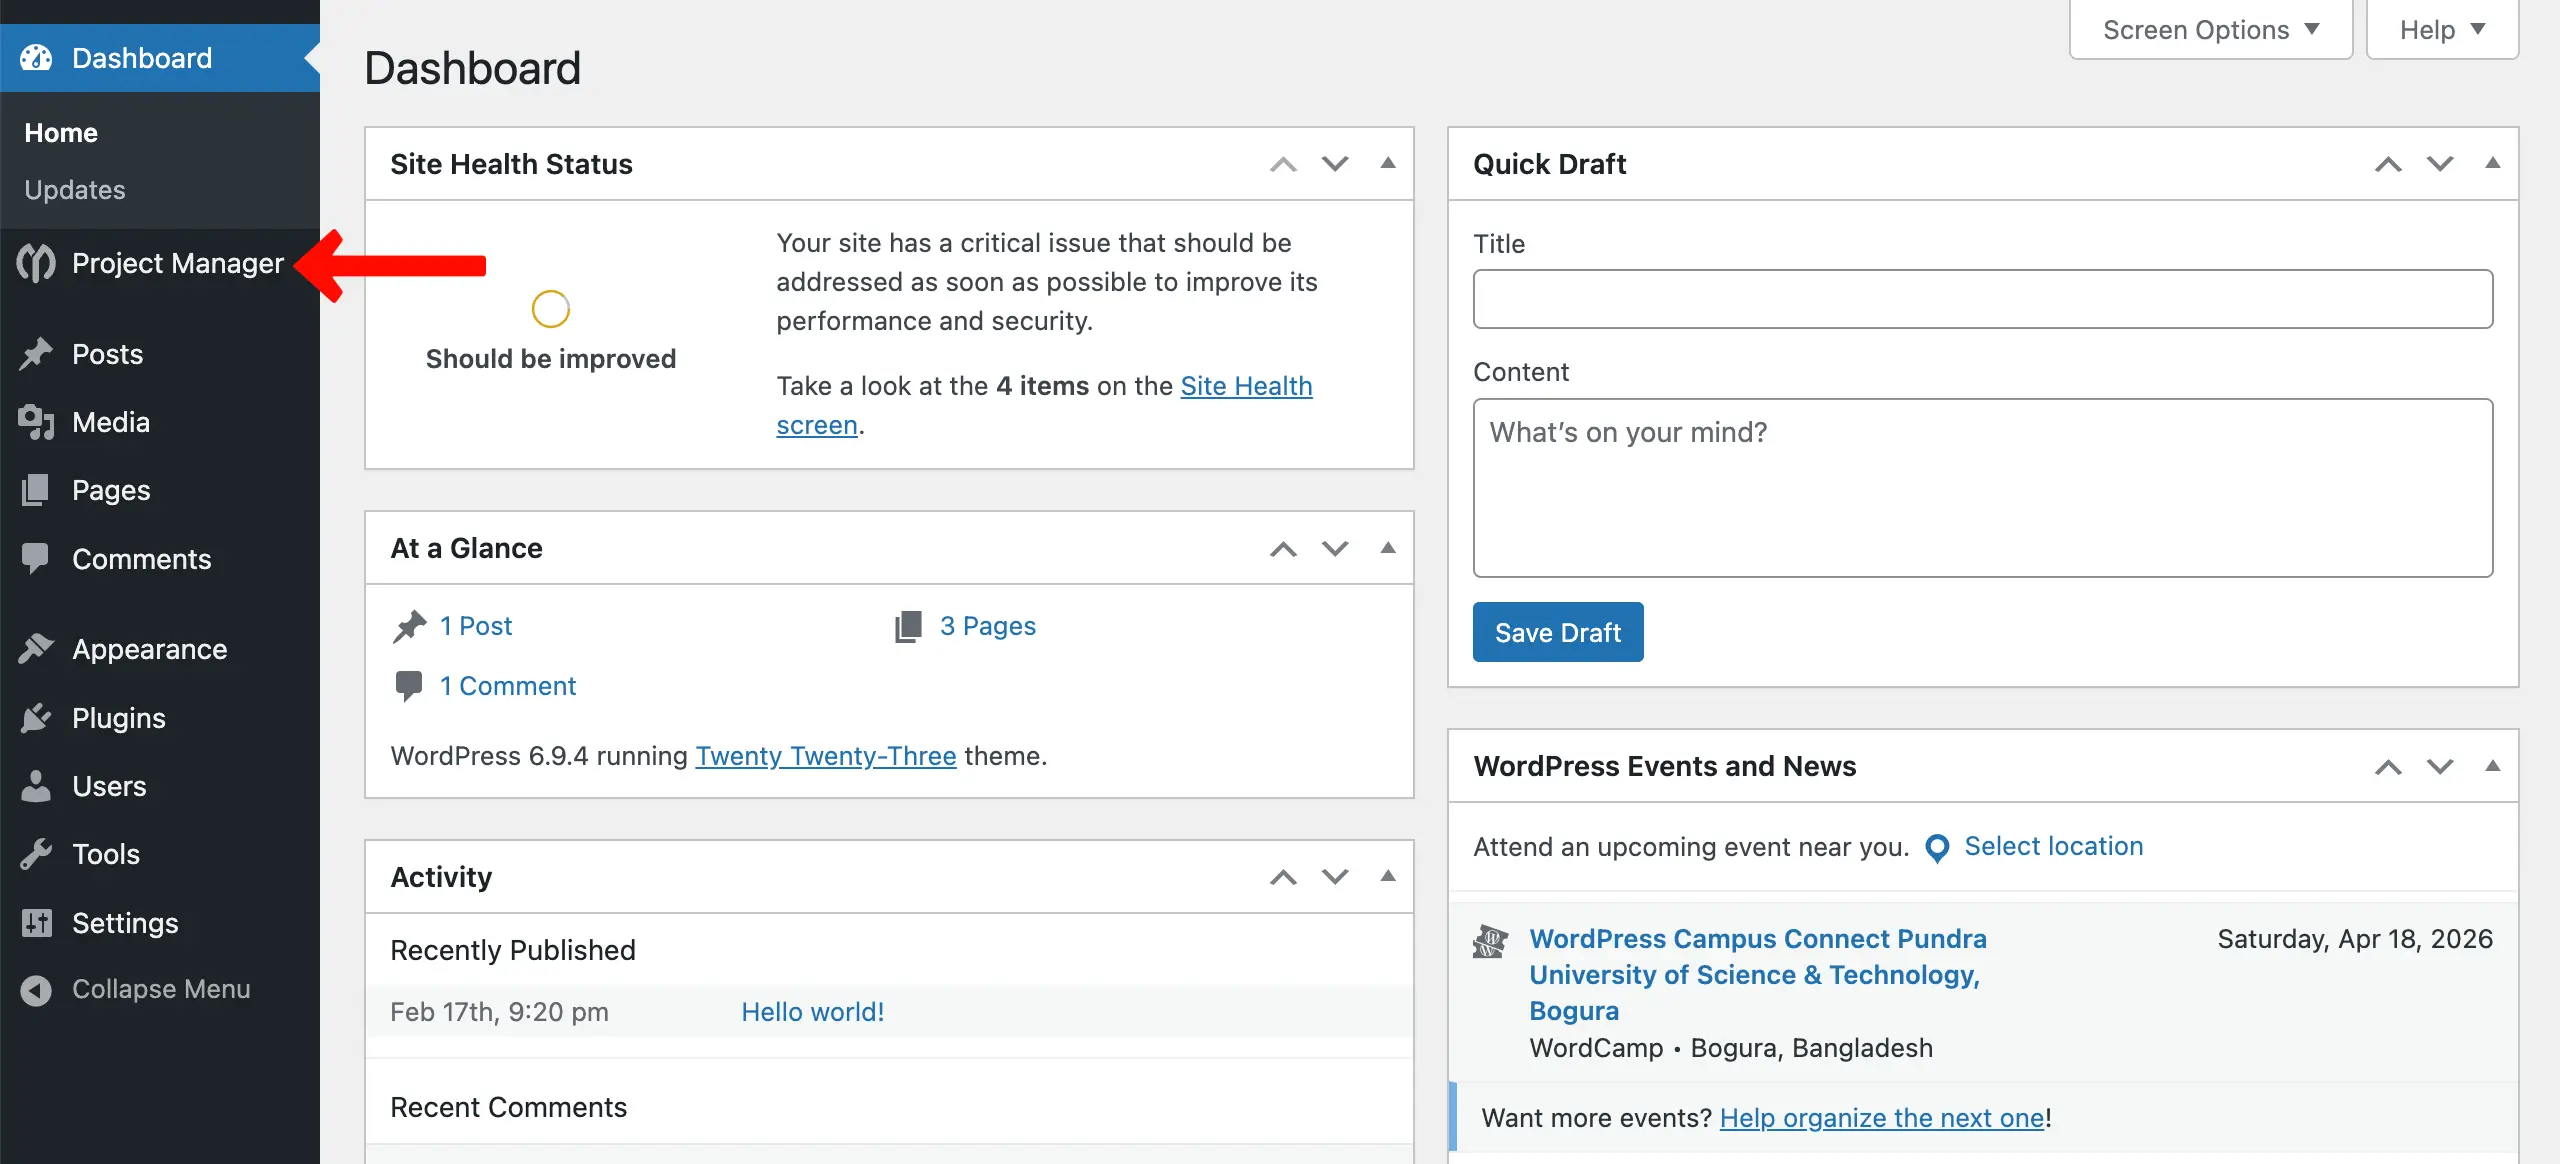
Suppose you have projects created beforehand. You can go to the WP Admin Dashboard → Project Manager.
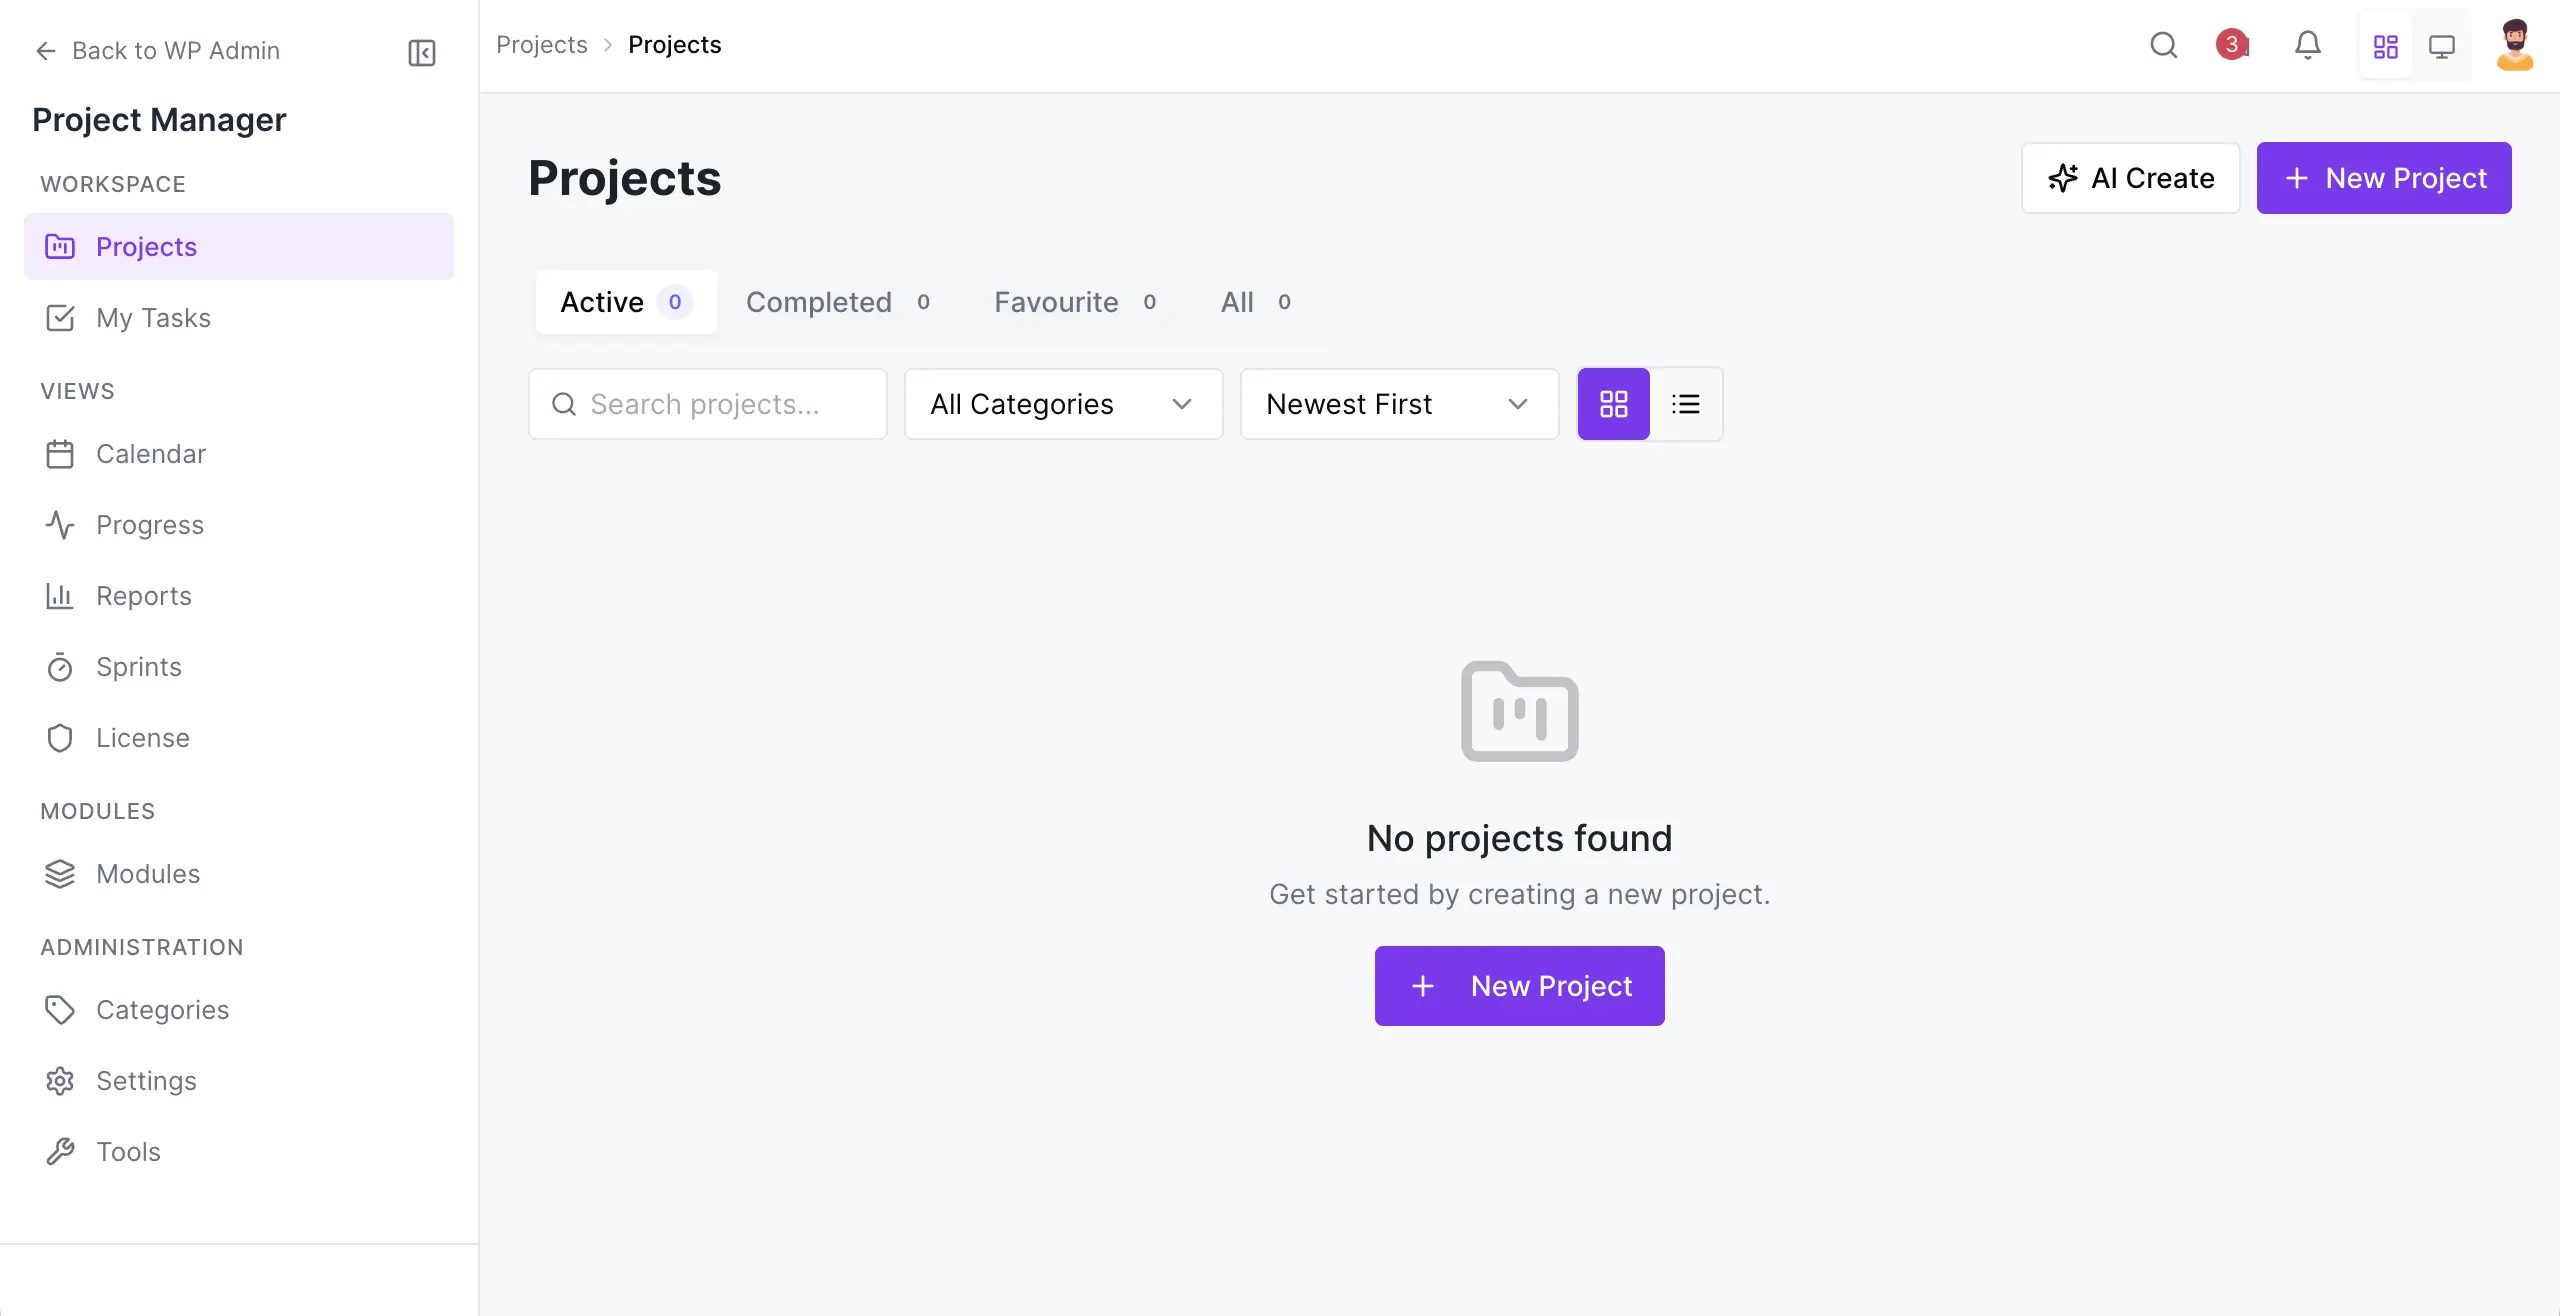
You'll come to the Project Manager dashboard. Here, you'll see all the projects you create. As there is no project yet, it's blank. We'll show you the process of creating a new project now.
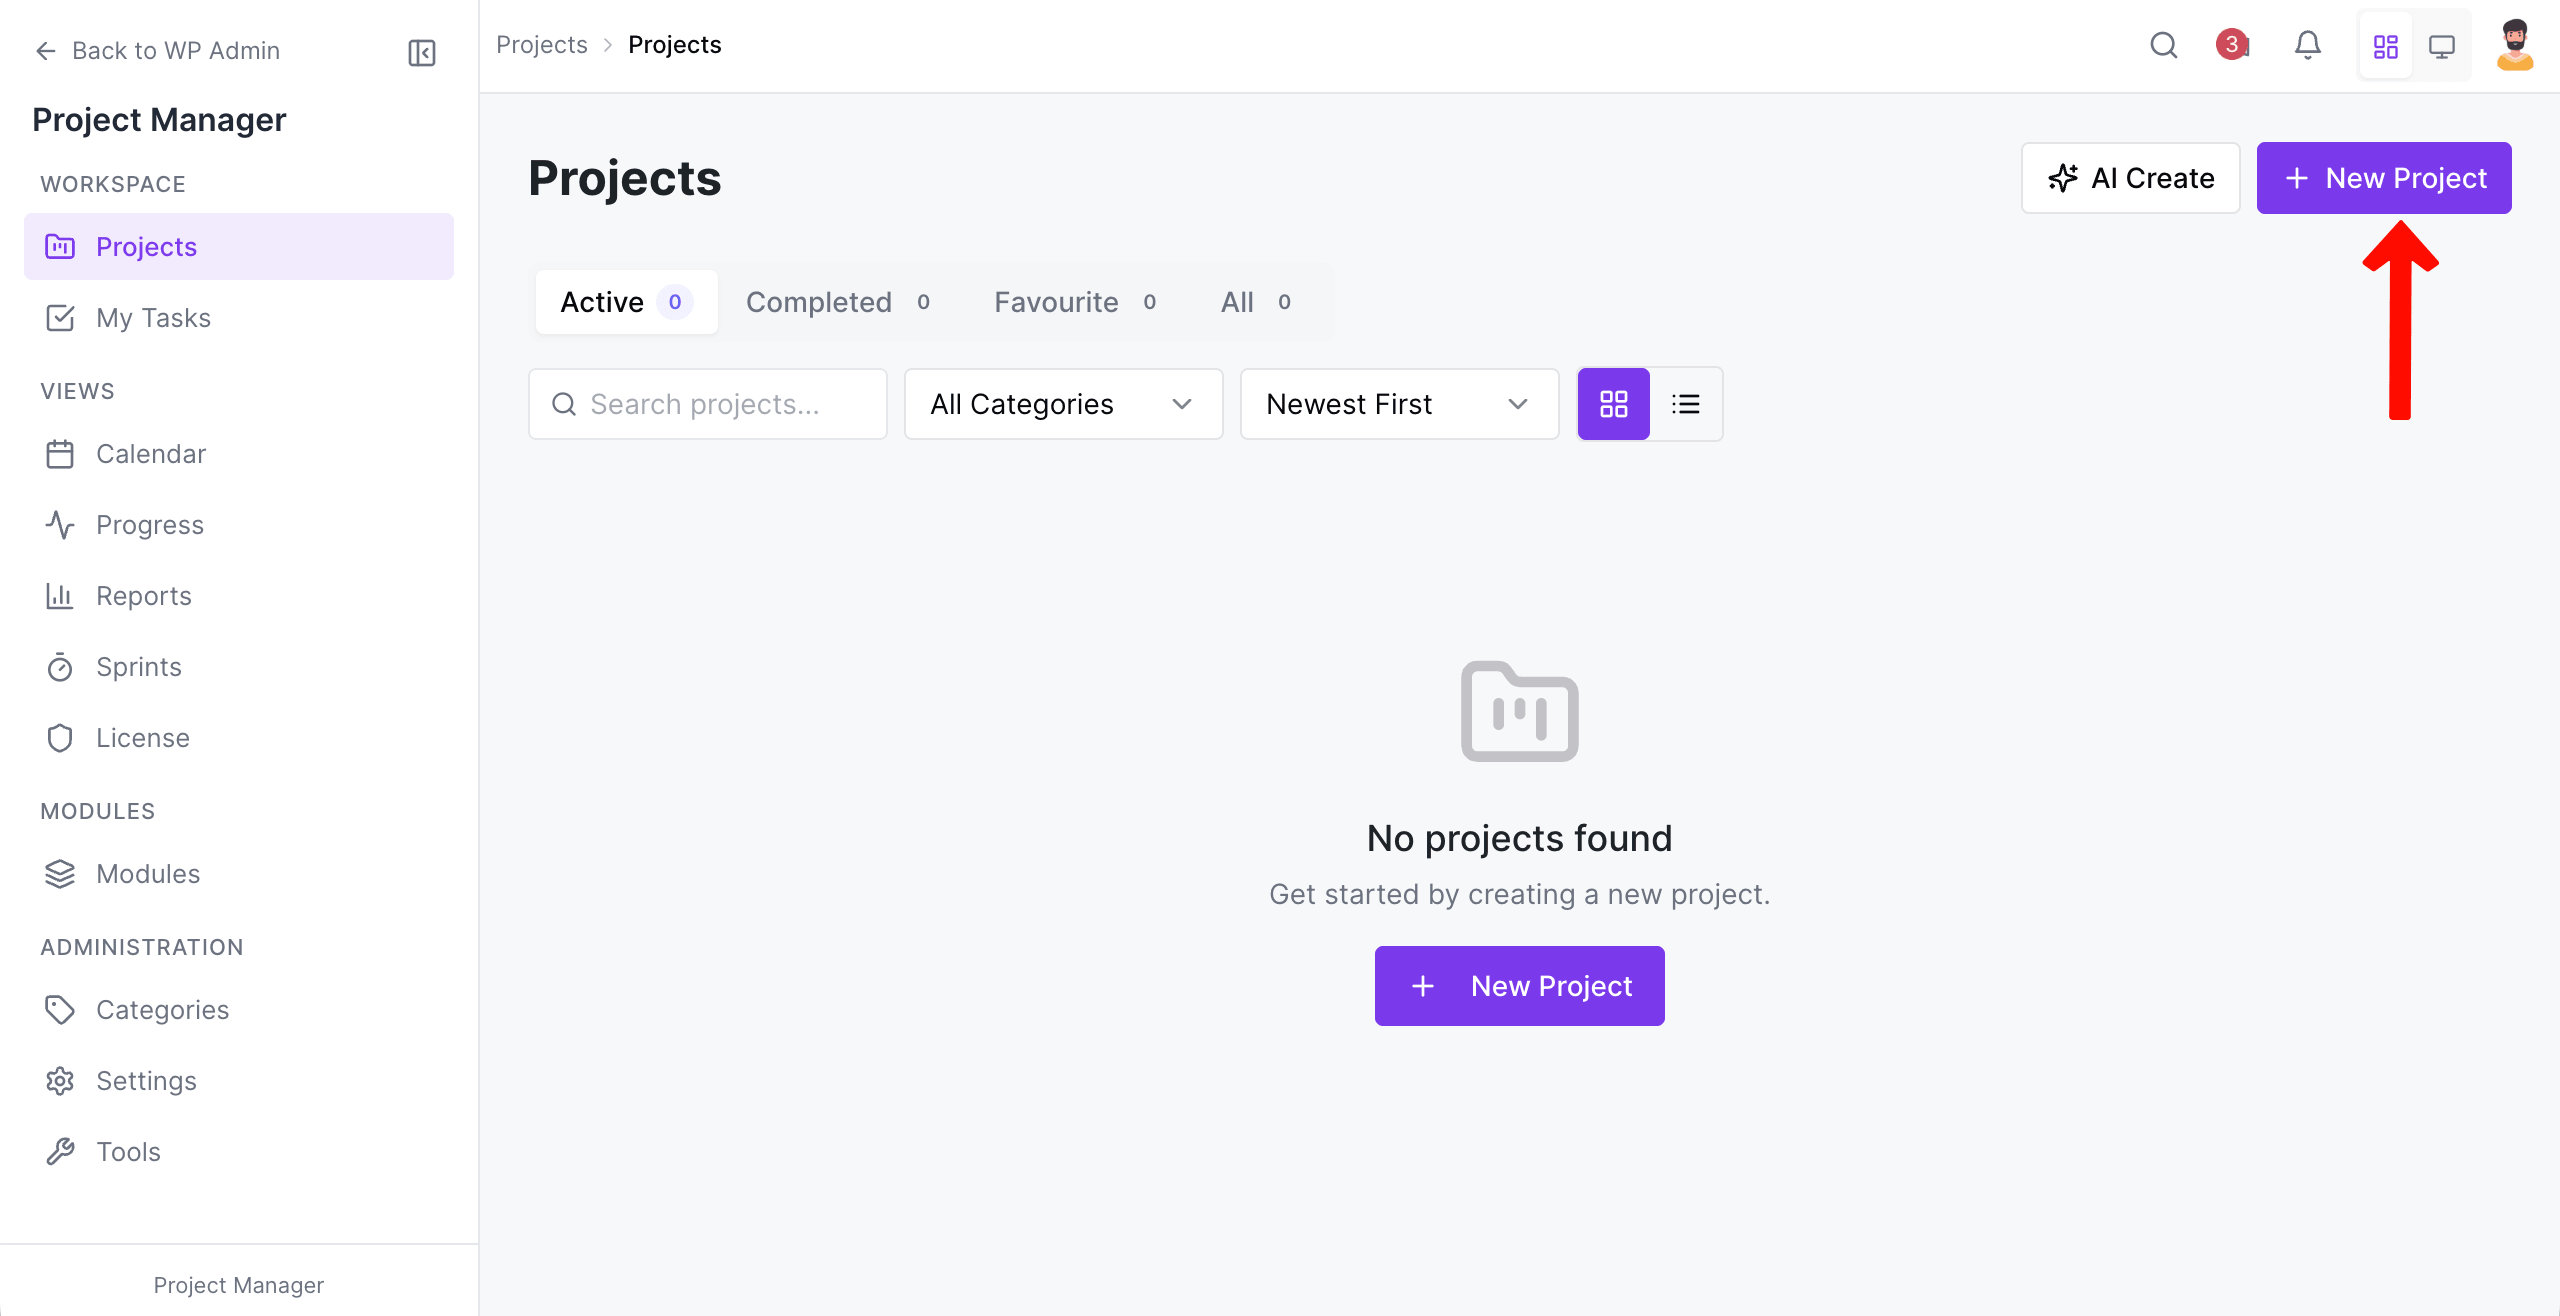
There are two + New Project buttons. Let's click the button in the top-right corner.
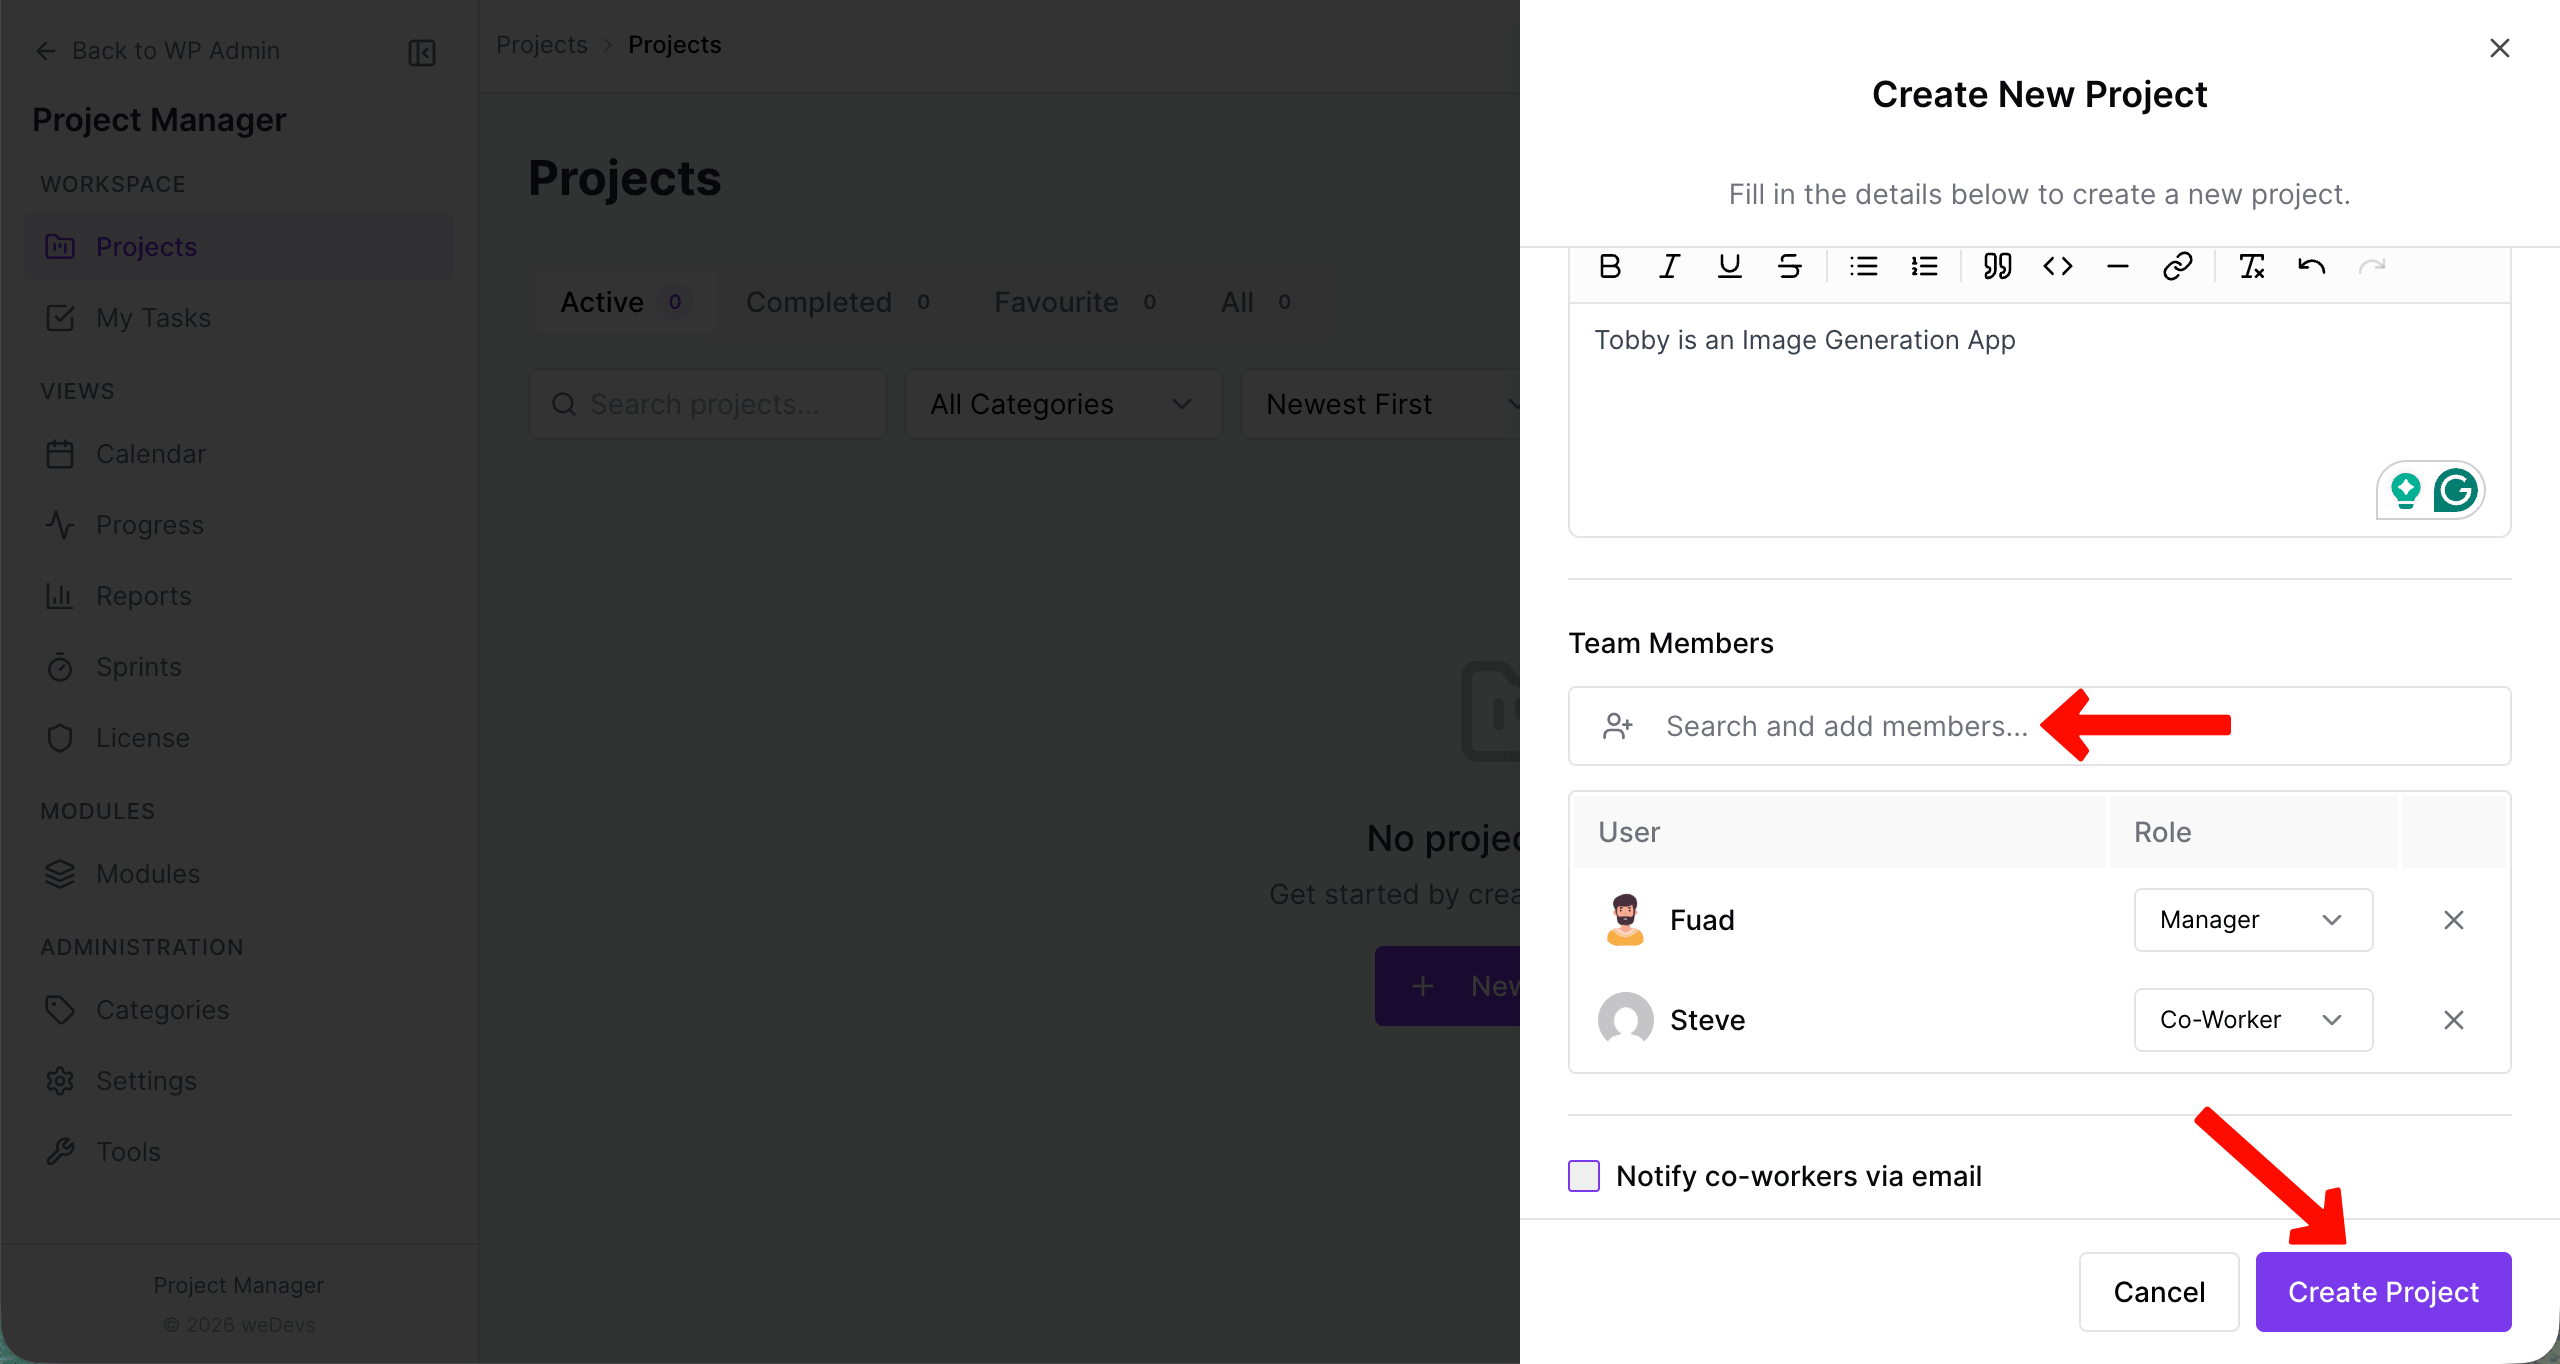
Give a name to the project. Select a category for it. Write a description.
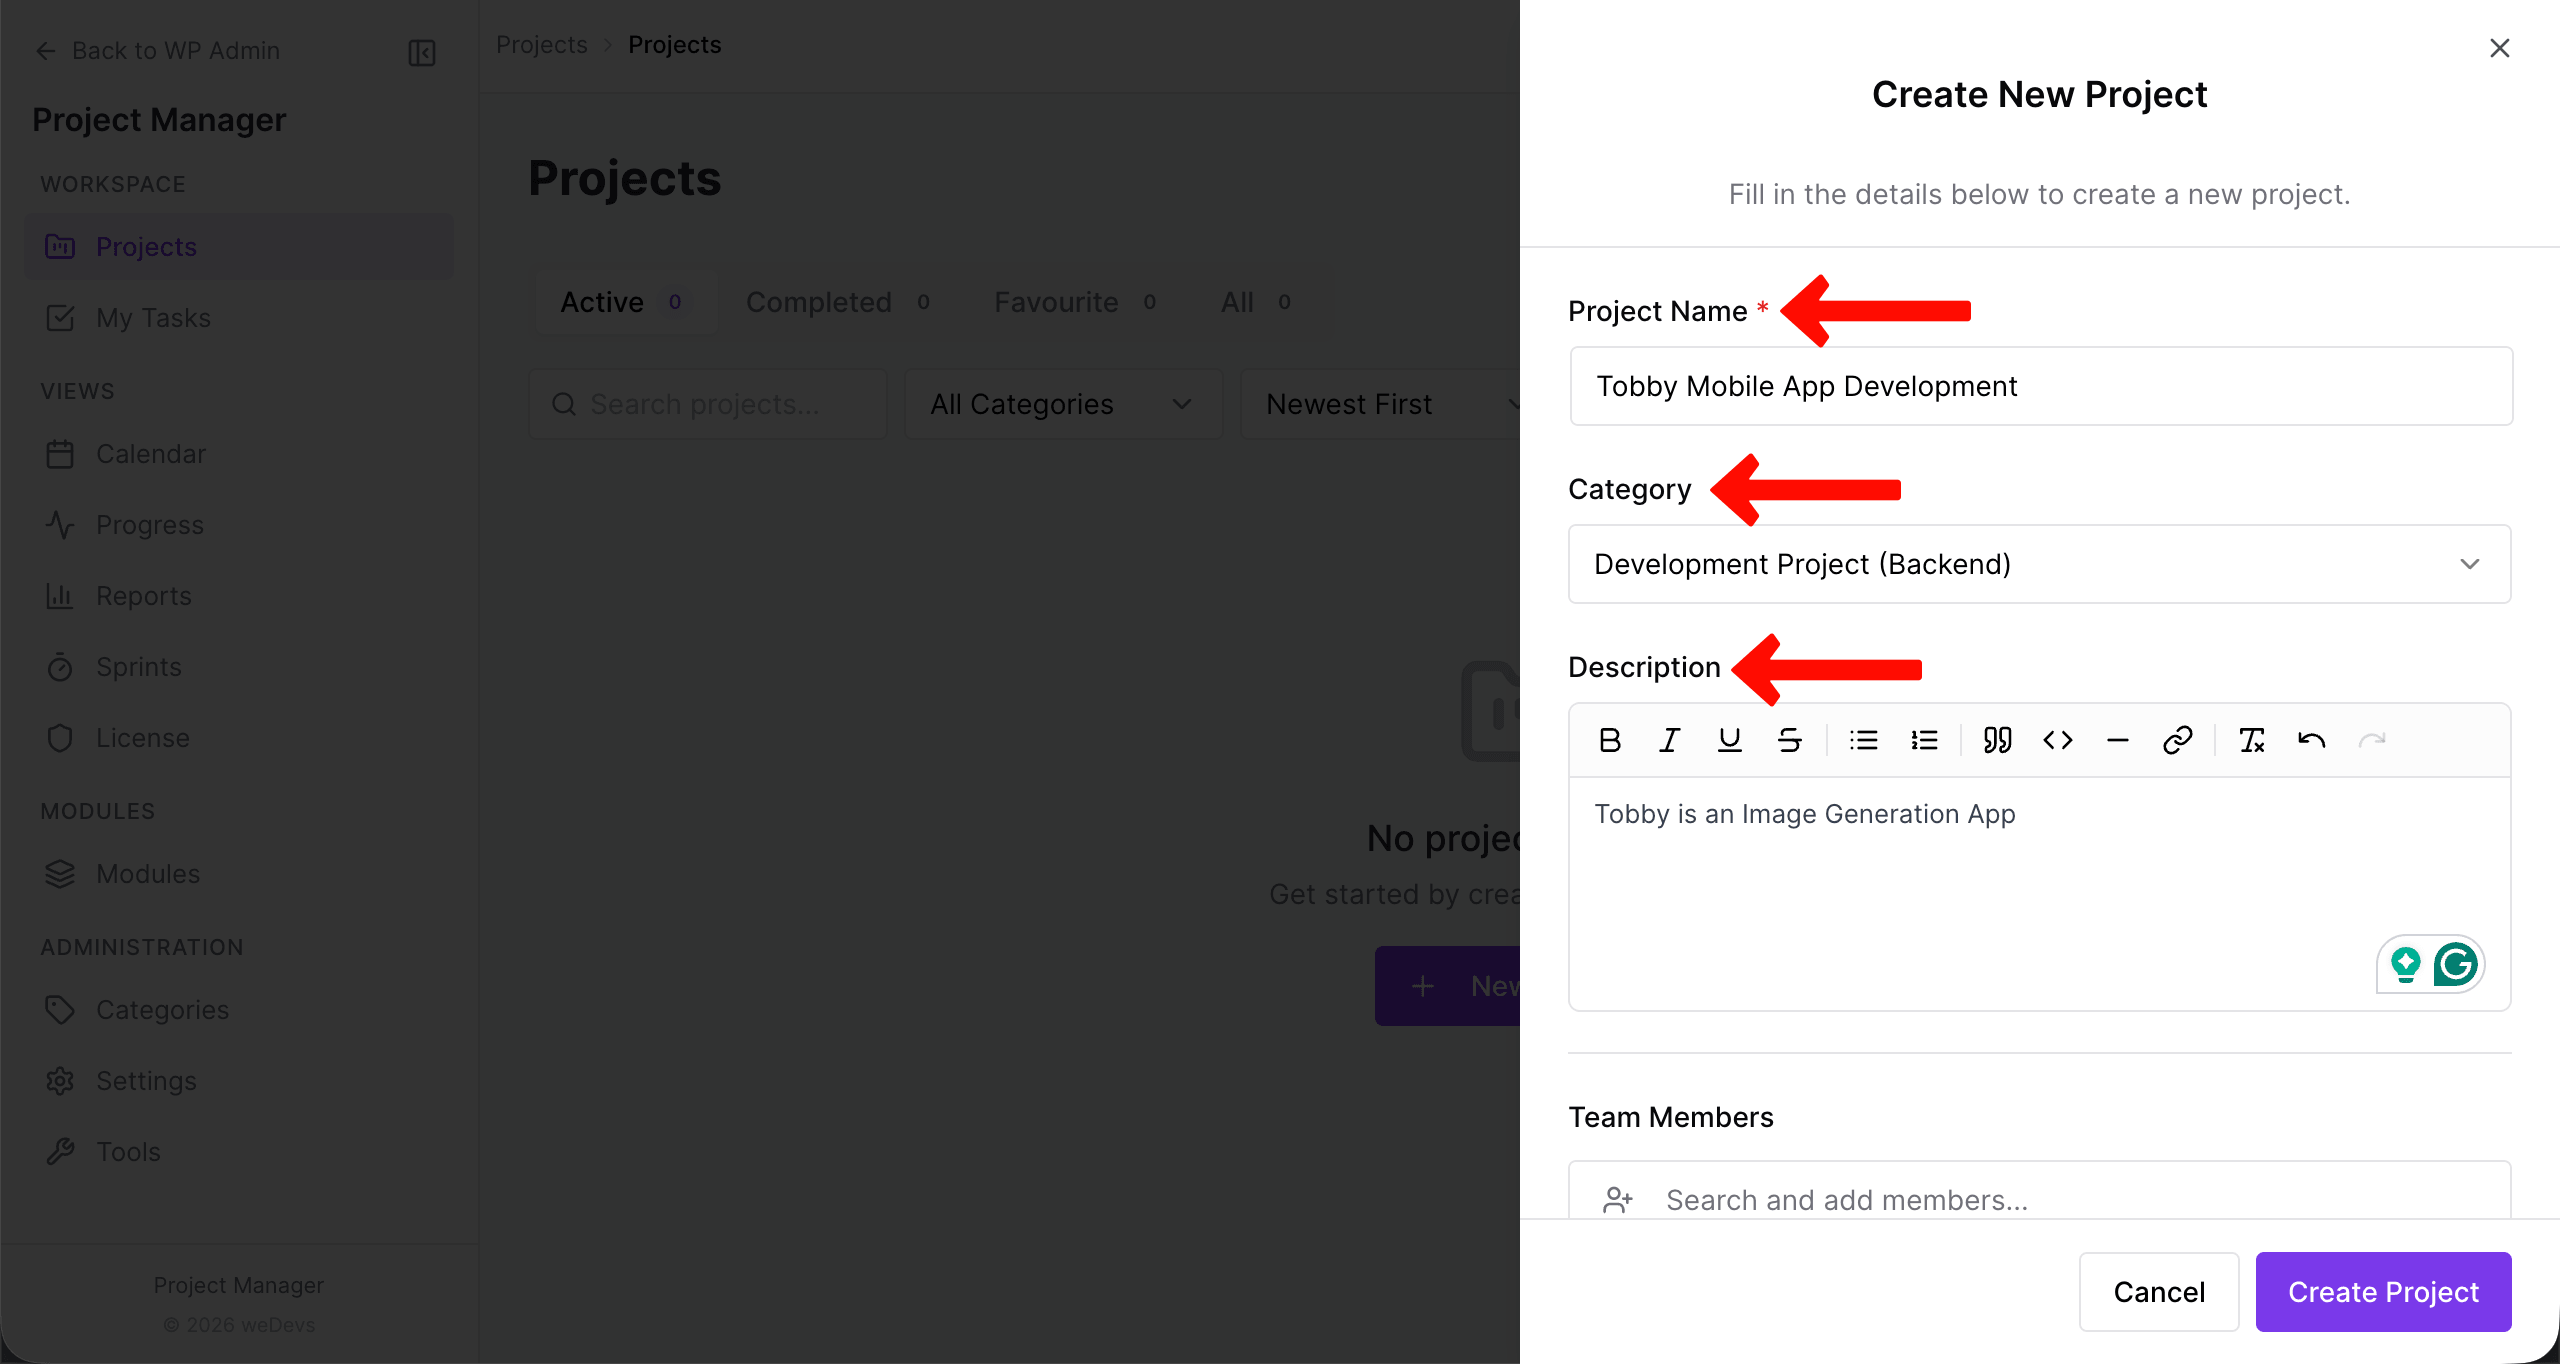
Scrolling down the sidebar, come to the Team Members section. Just type the members you want to add to the project. You can even assign their roles, like Manager, Co-Worker, and Client.
Finally, hit the Create Project button.
Note: Your desired team members are already in the user section of your WordPress.
This way, you can create as many projects as you want.
Features of the project dashboard:
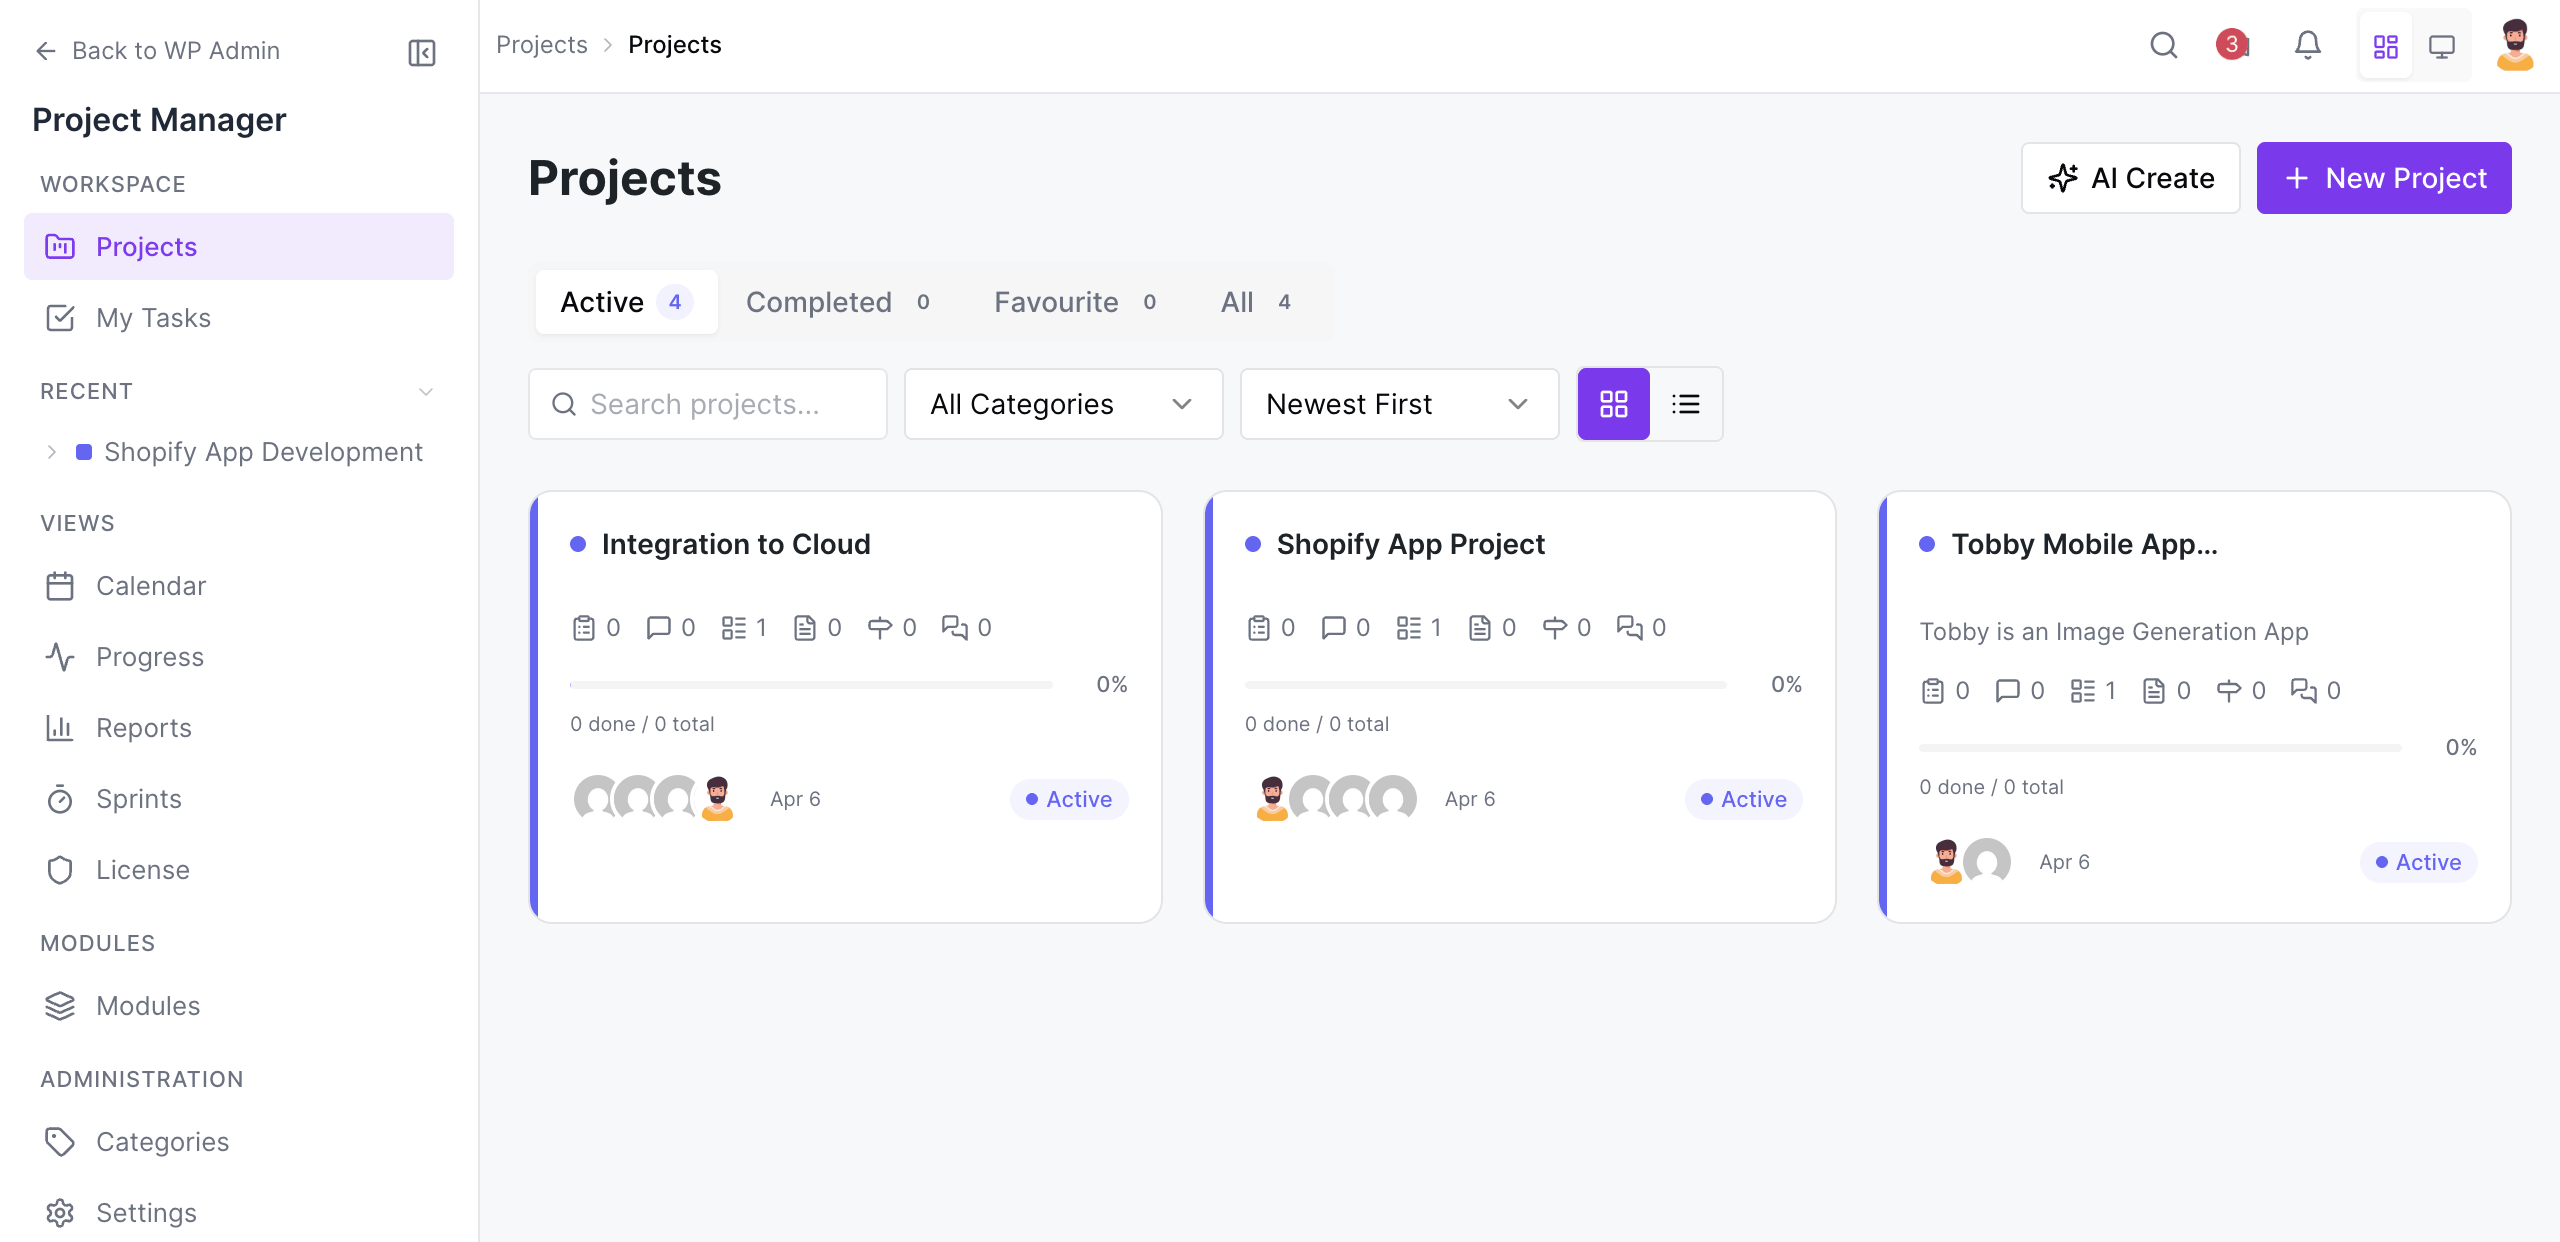
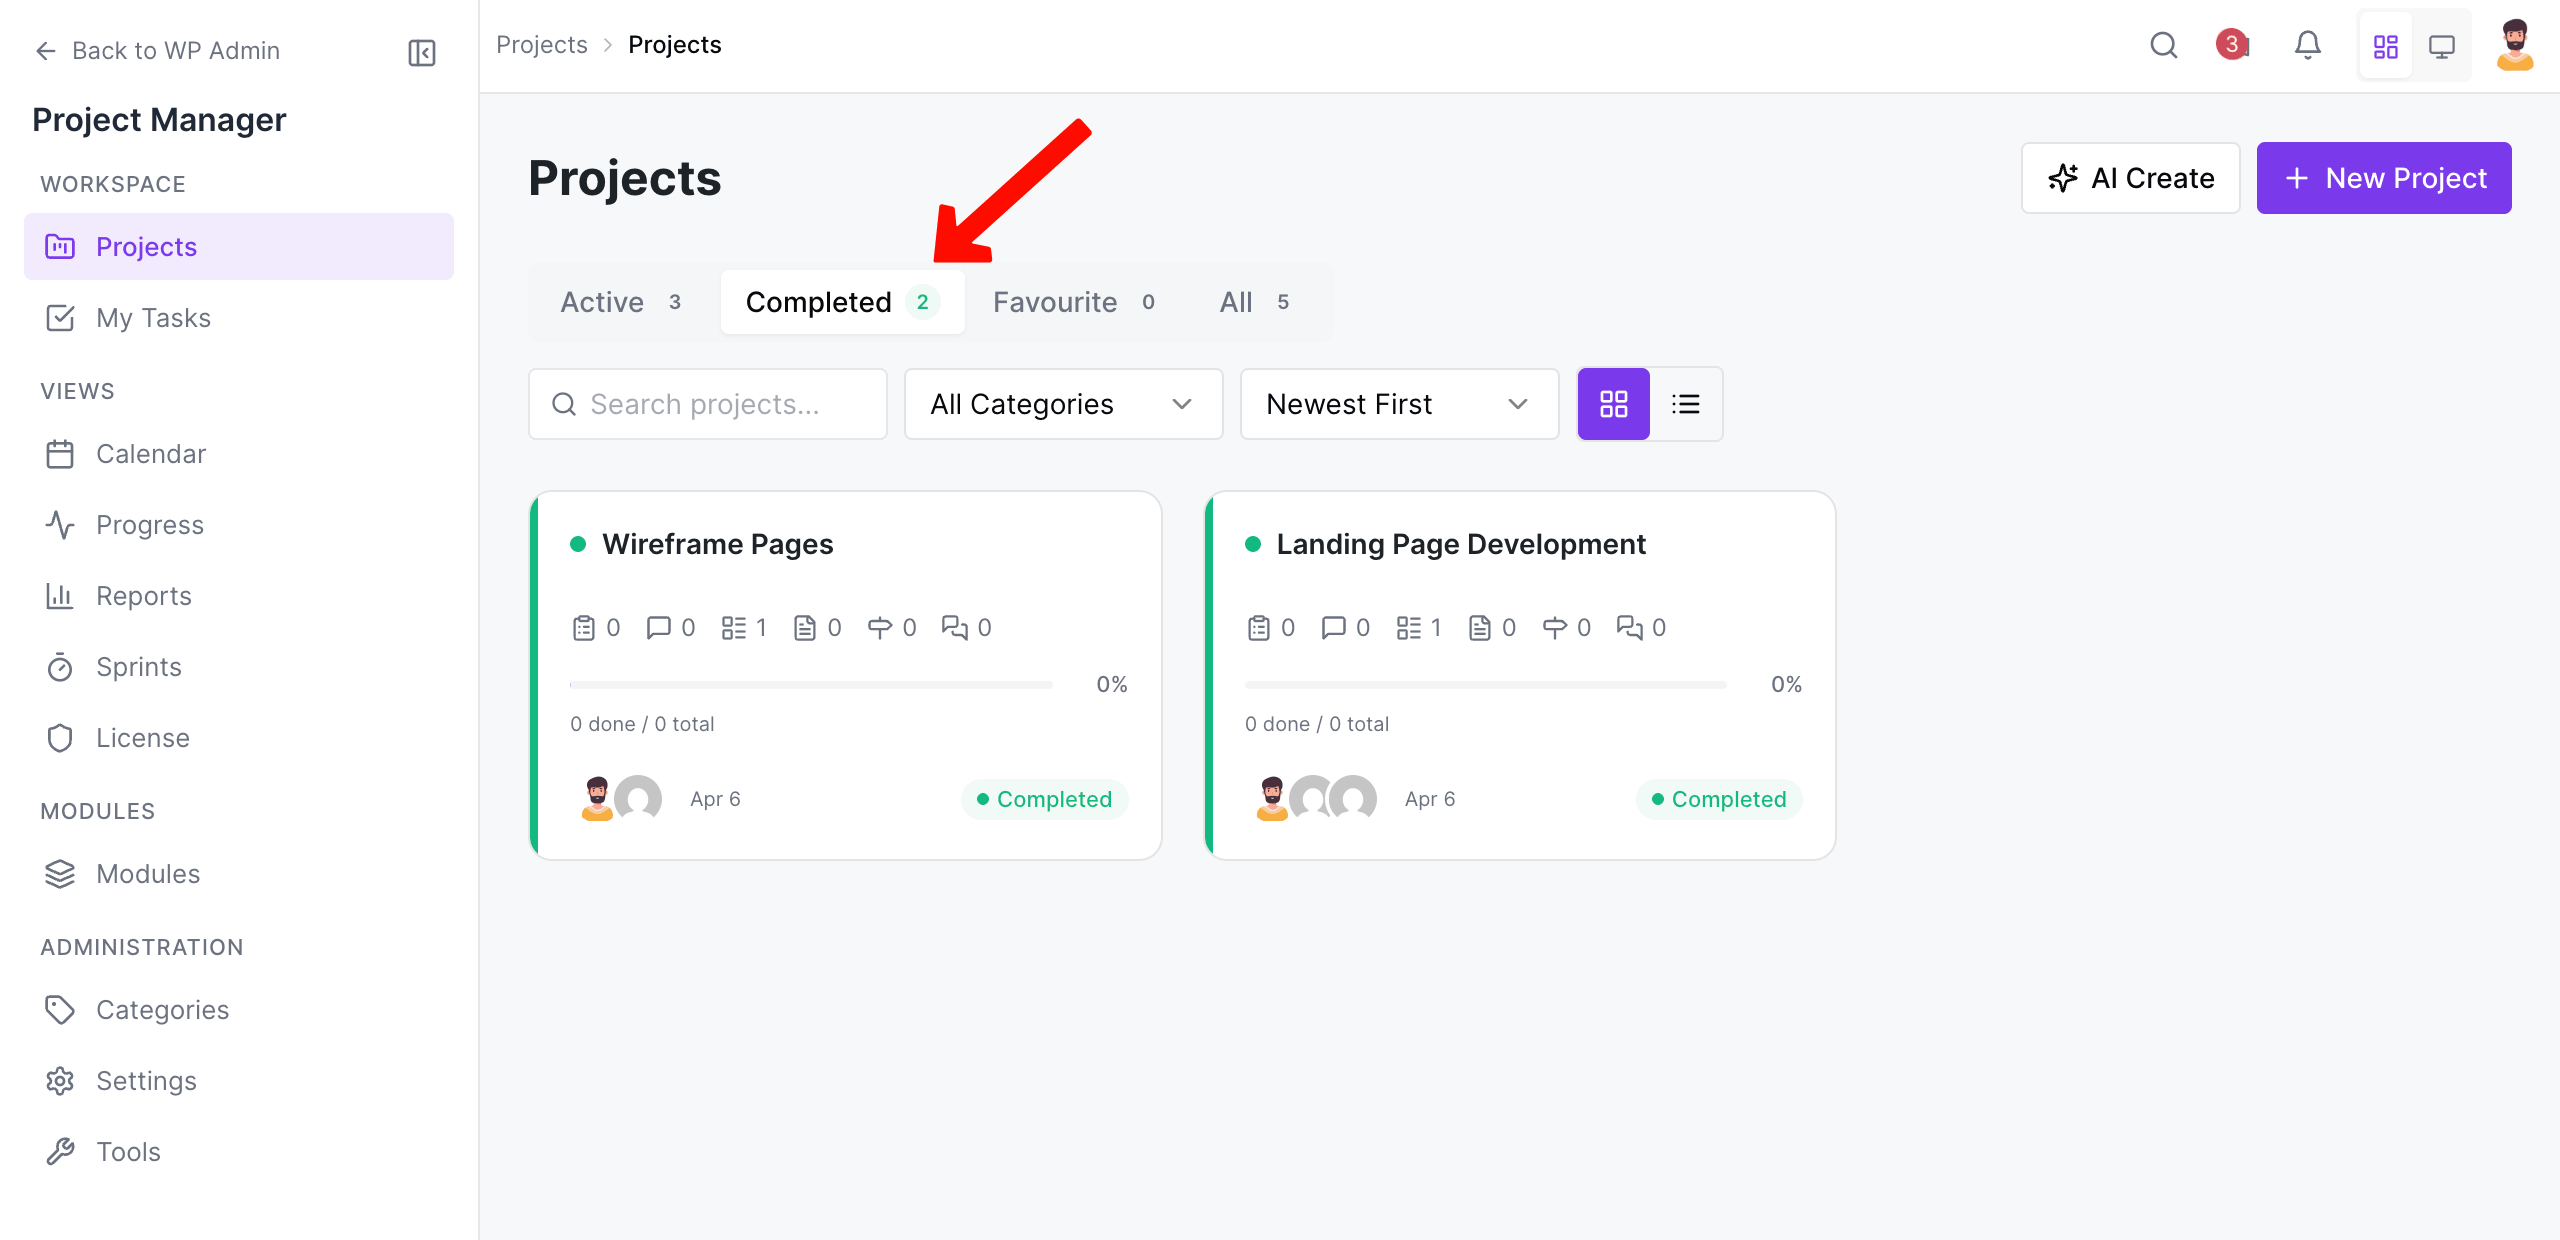
By default, you will see the active projects with a grid view. However, you can select the completed option to view the completed projects.
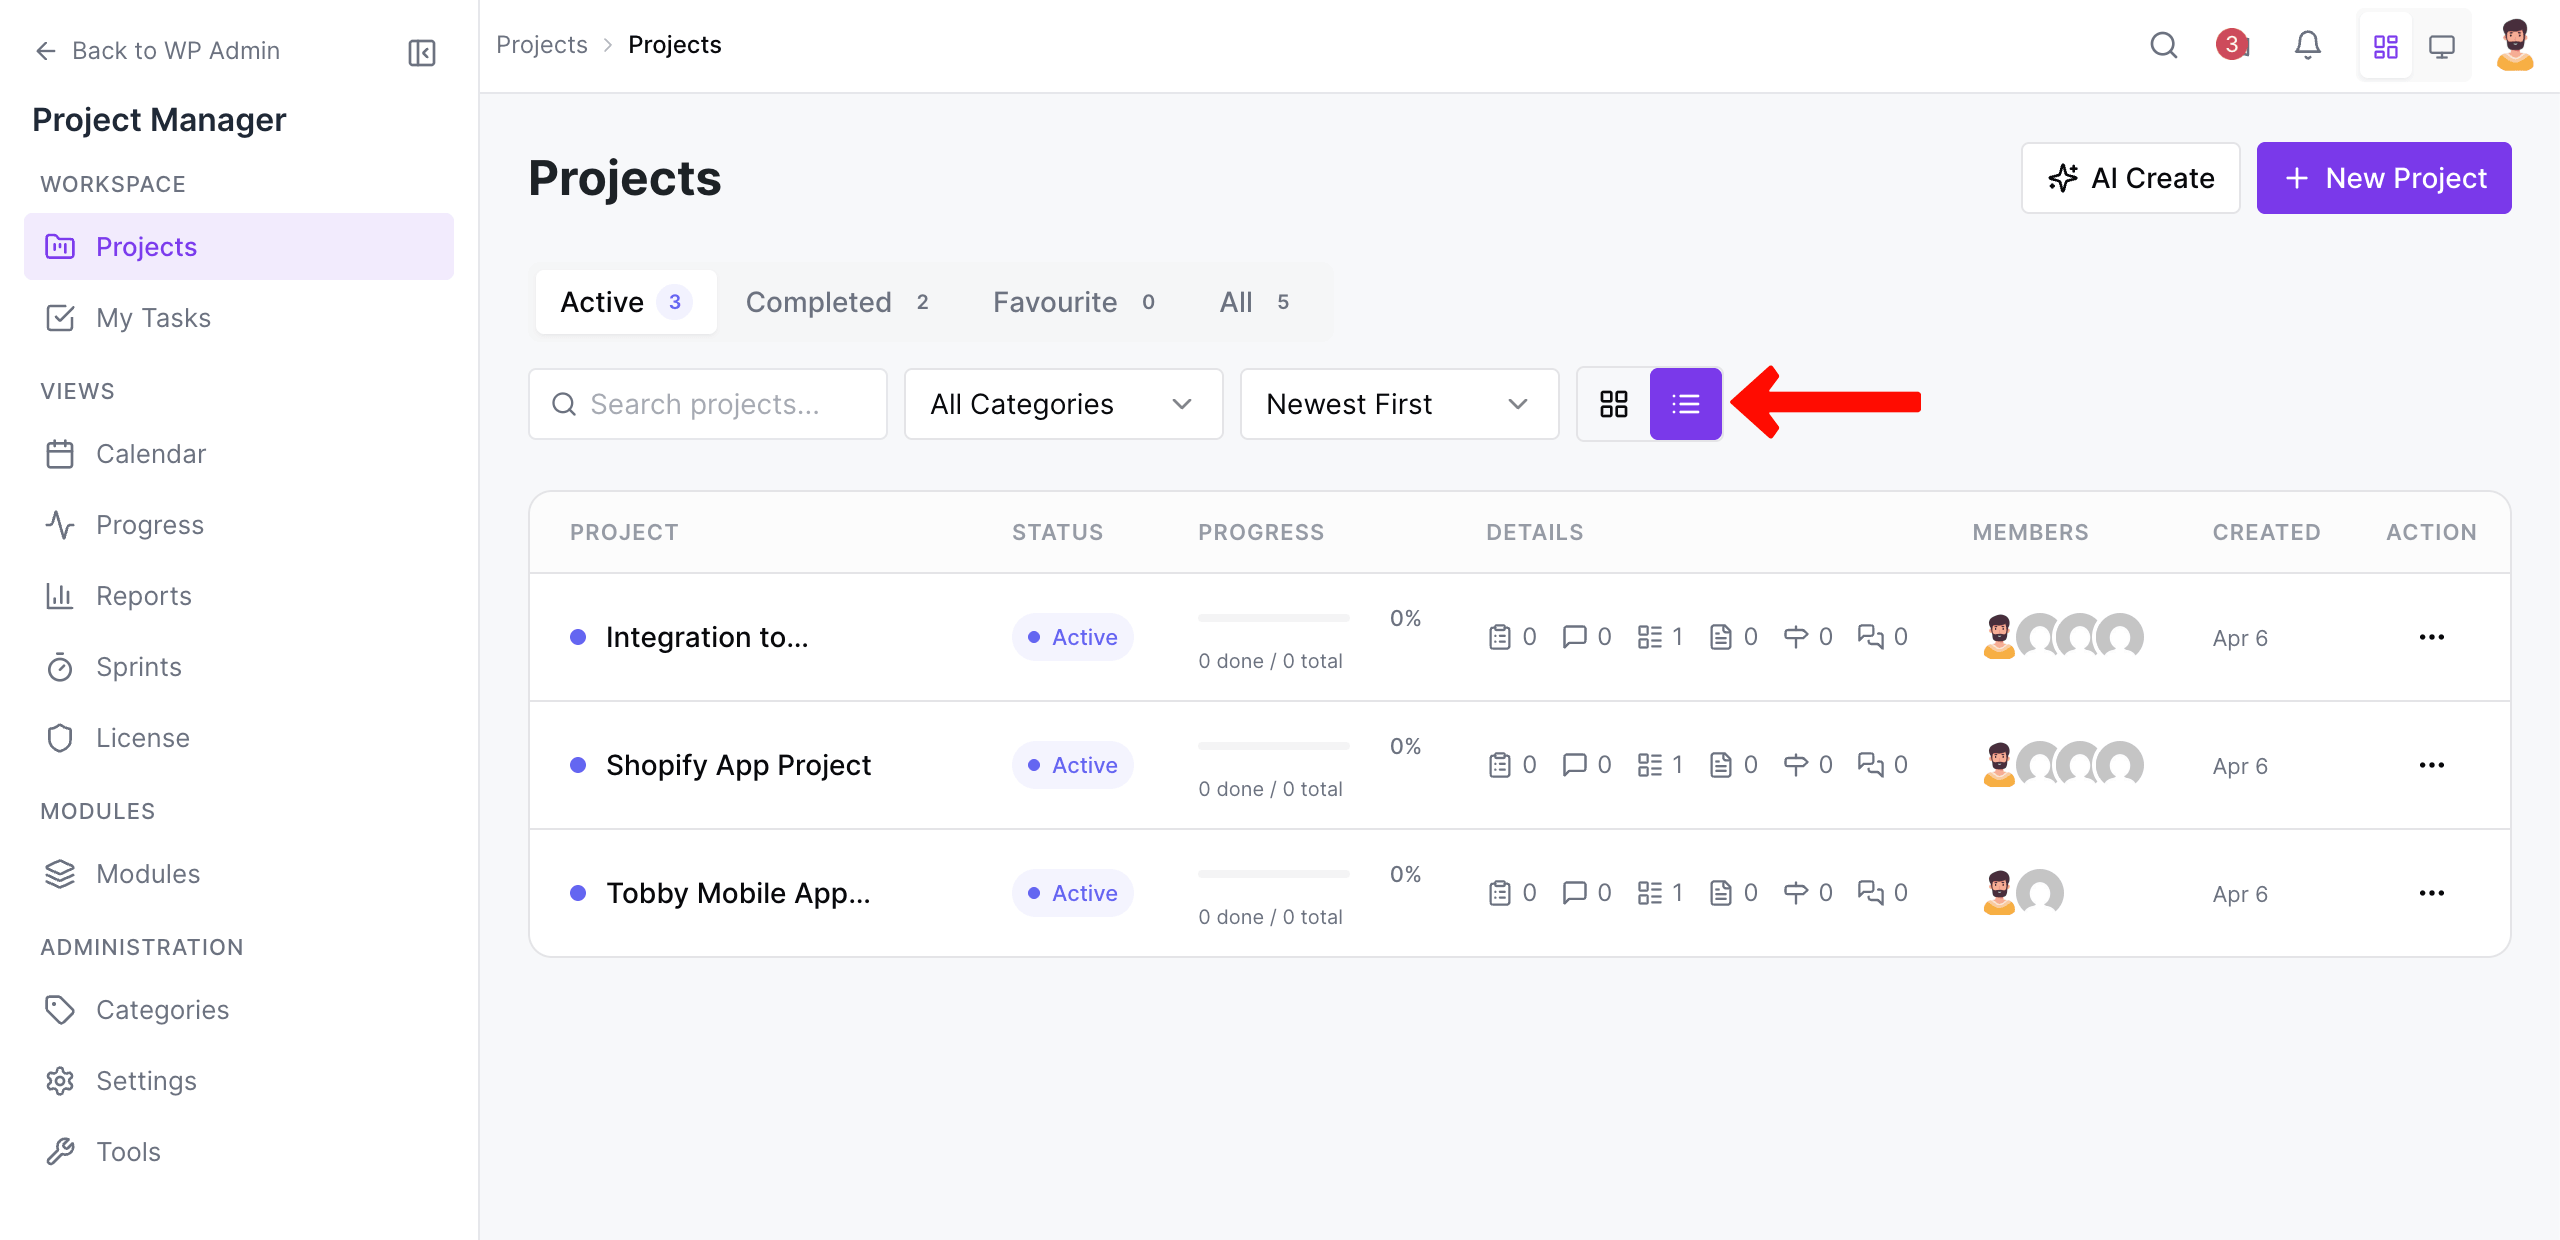
You can also change the Grid view option to List view.
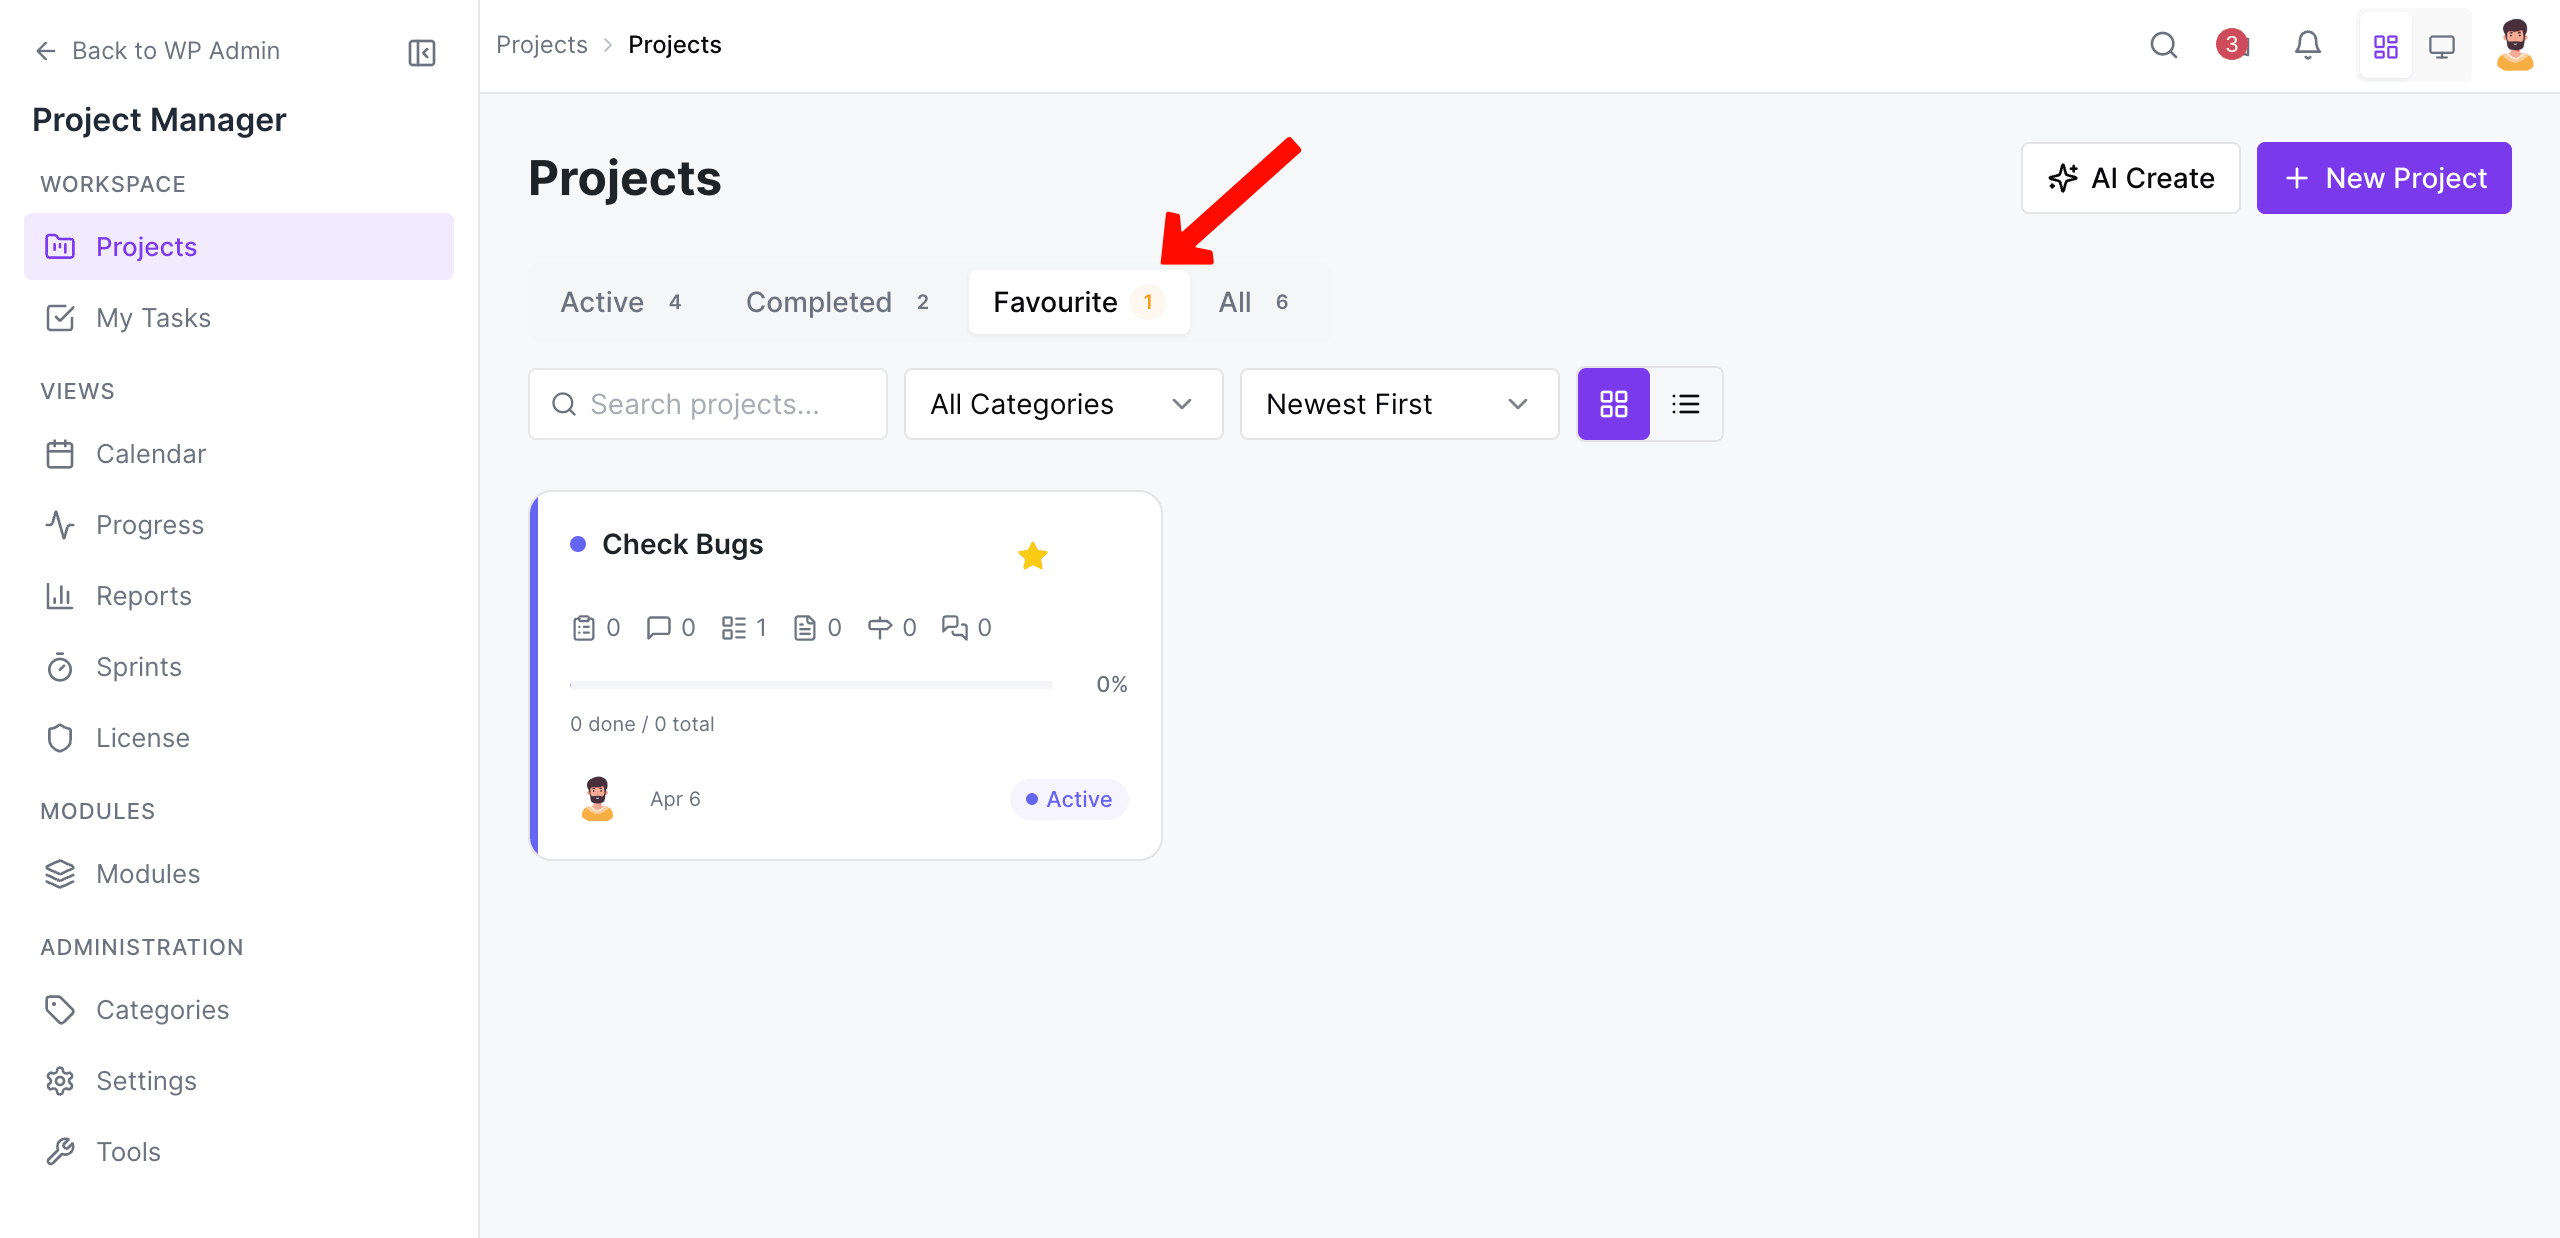
There is also a ‘Favorite‘ option to mark a project as a favorite to set priority when it comes to the appearance on the list.
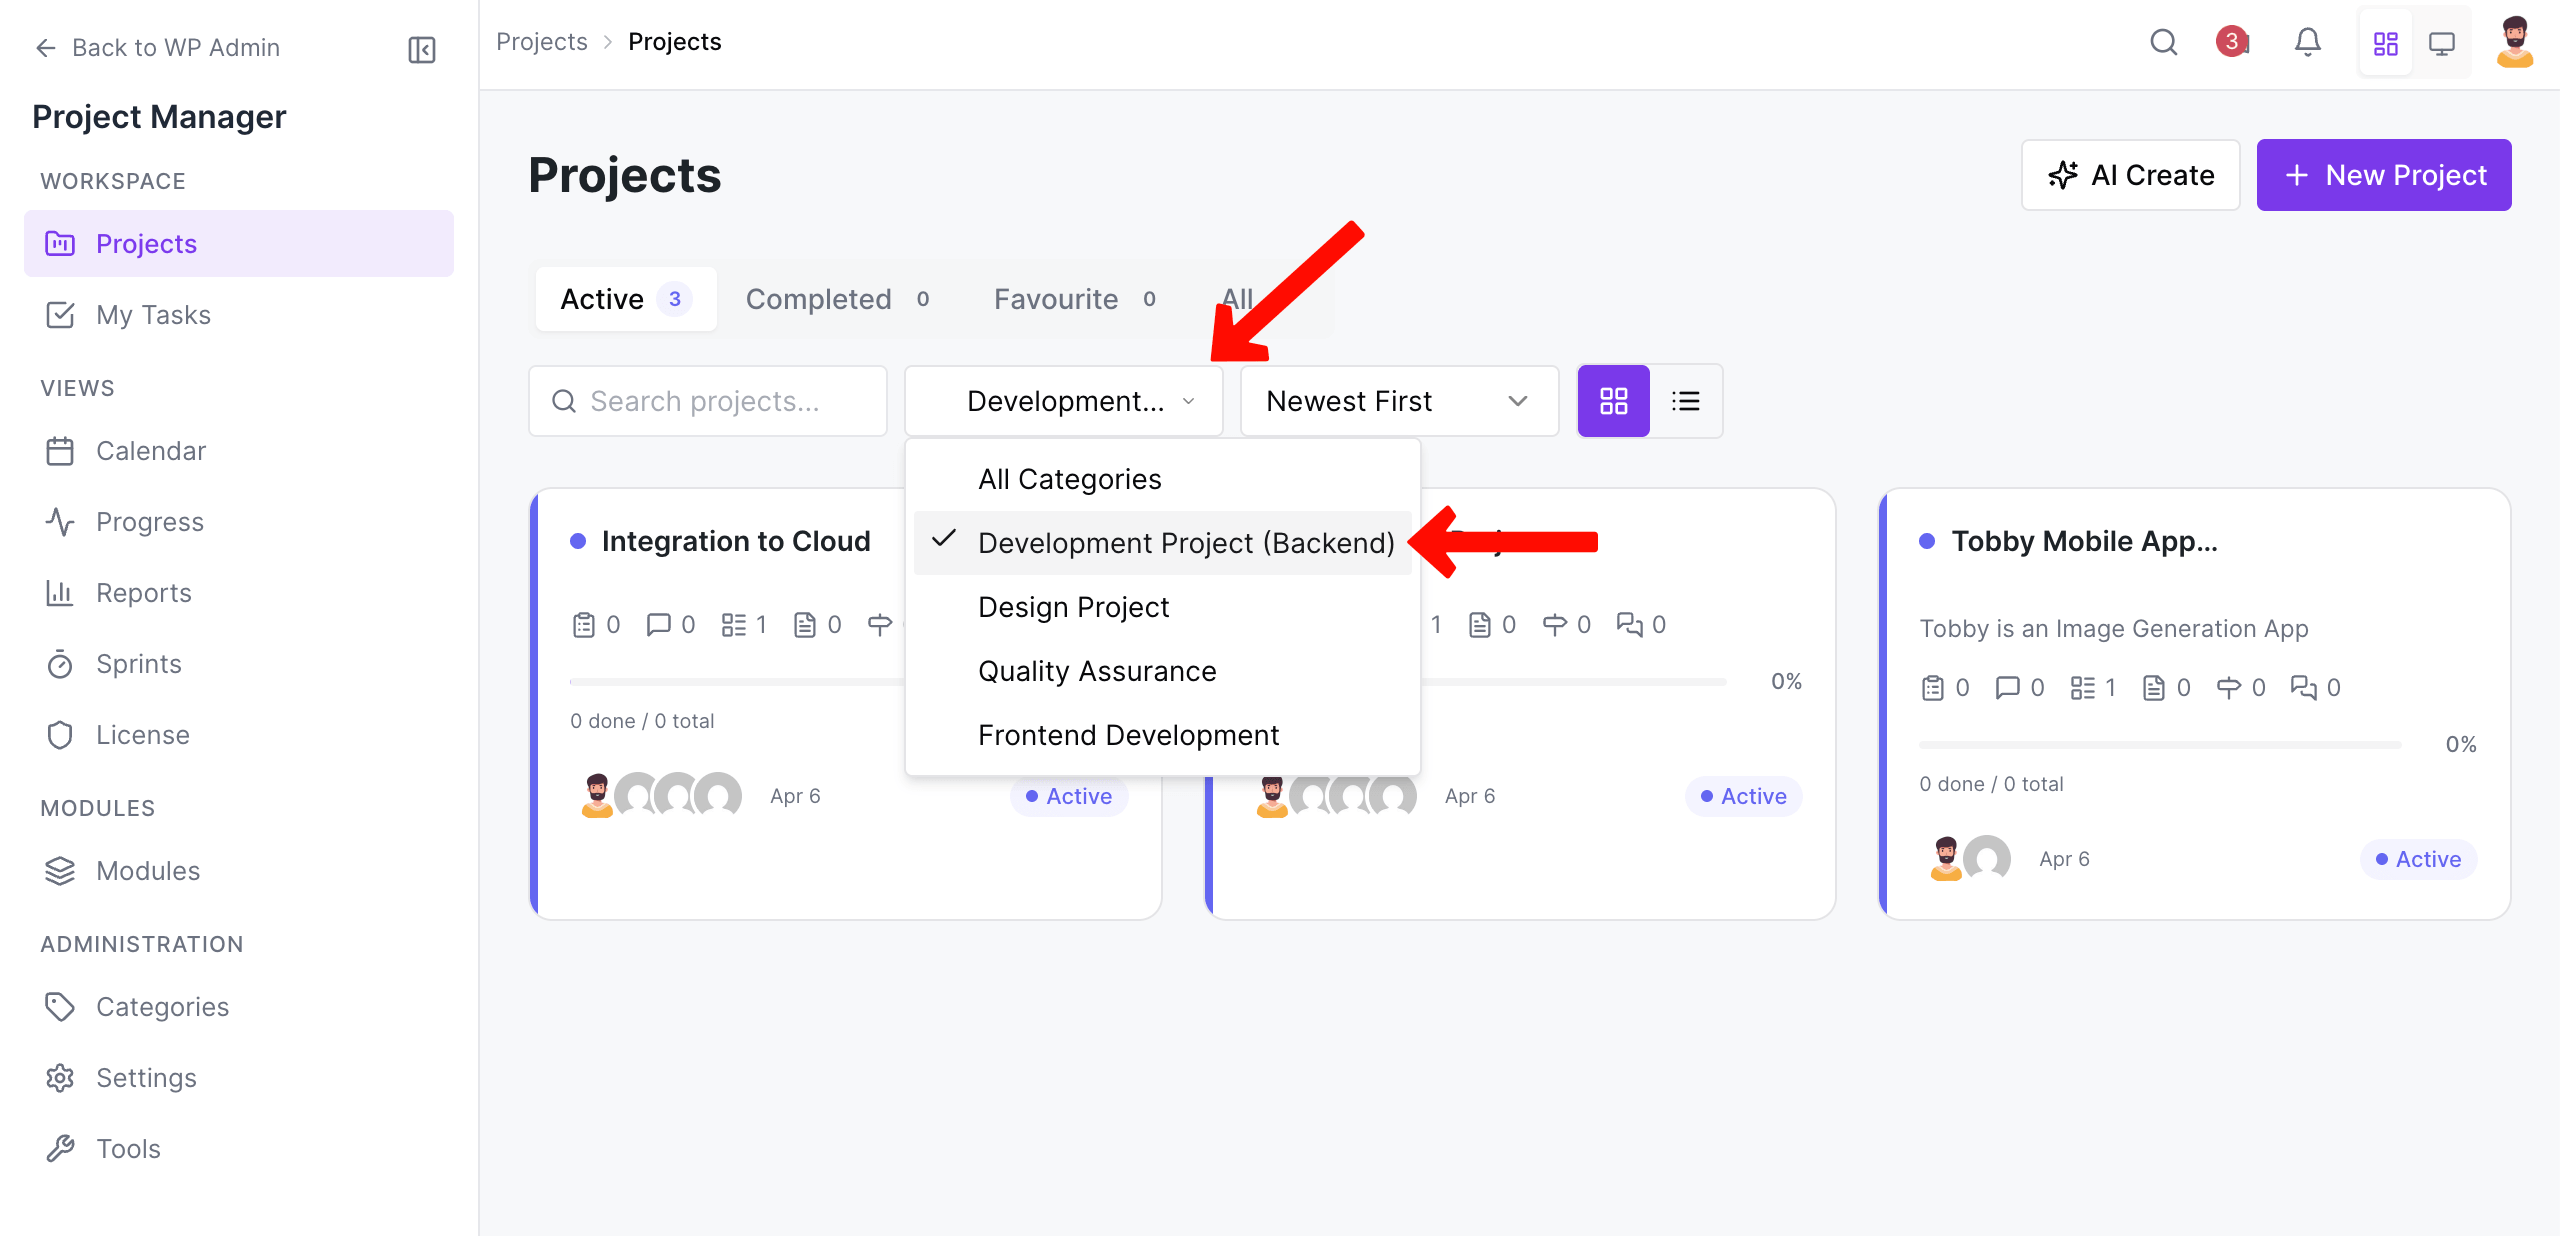
Also choosing a project category will only show the projects belonging to that particular category.
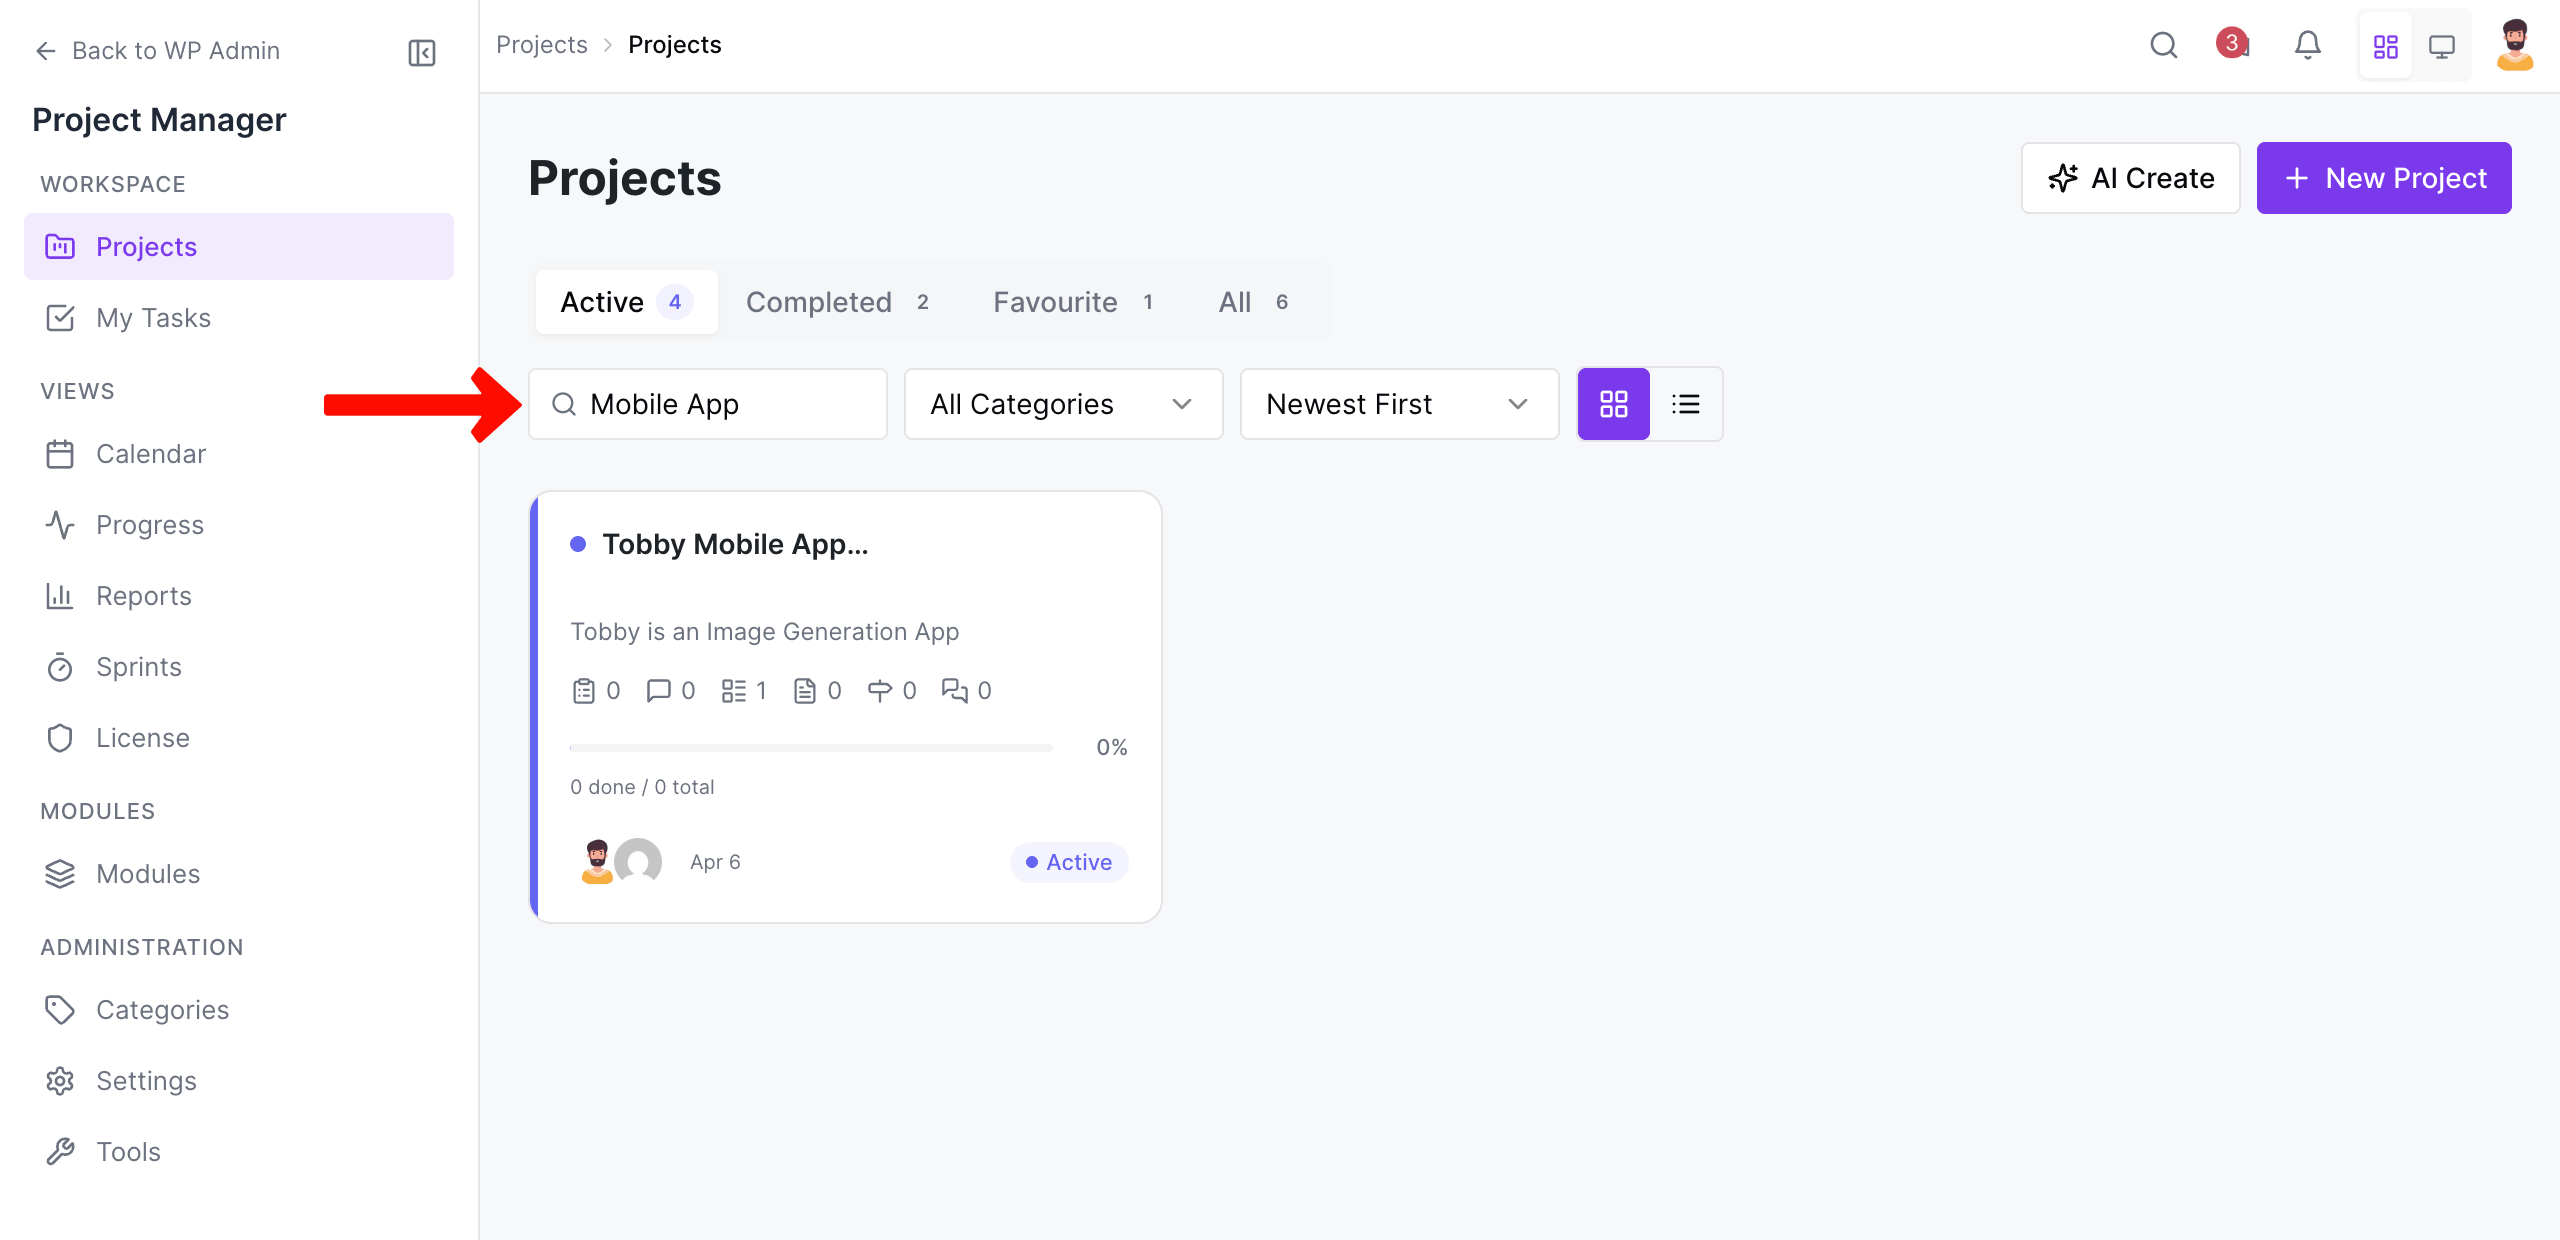
There is also a global search bar to help you get to a project, task, task list, or subtask quickly.
You can use the shortcut buttons to get to a task, task list, subtask, and so on. You will be able to view the progress of a project with a progress bar. When you hover on an icon, you will see a tooltip demonstrating a brief overview.
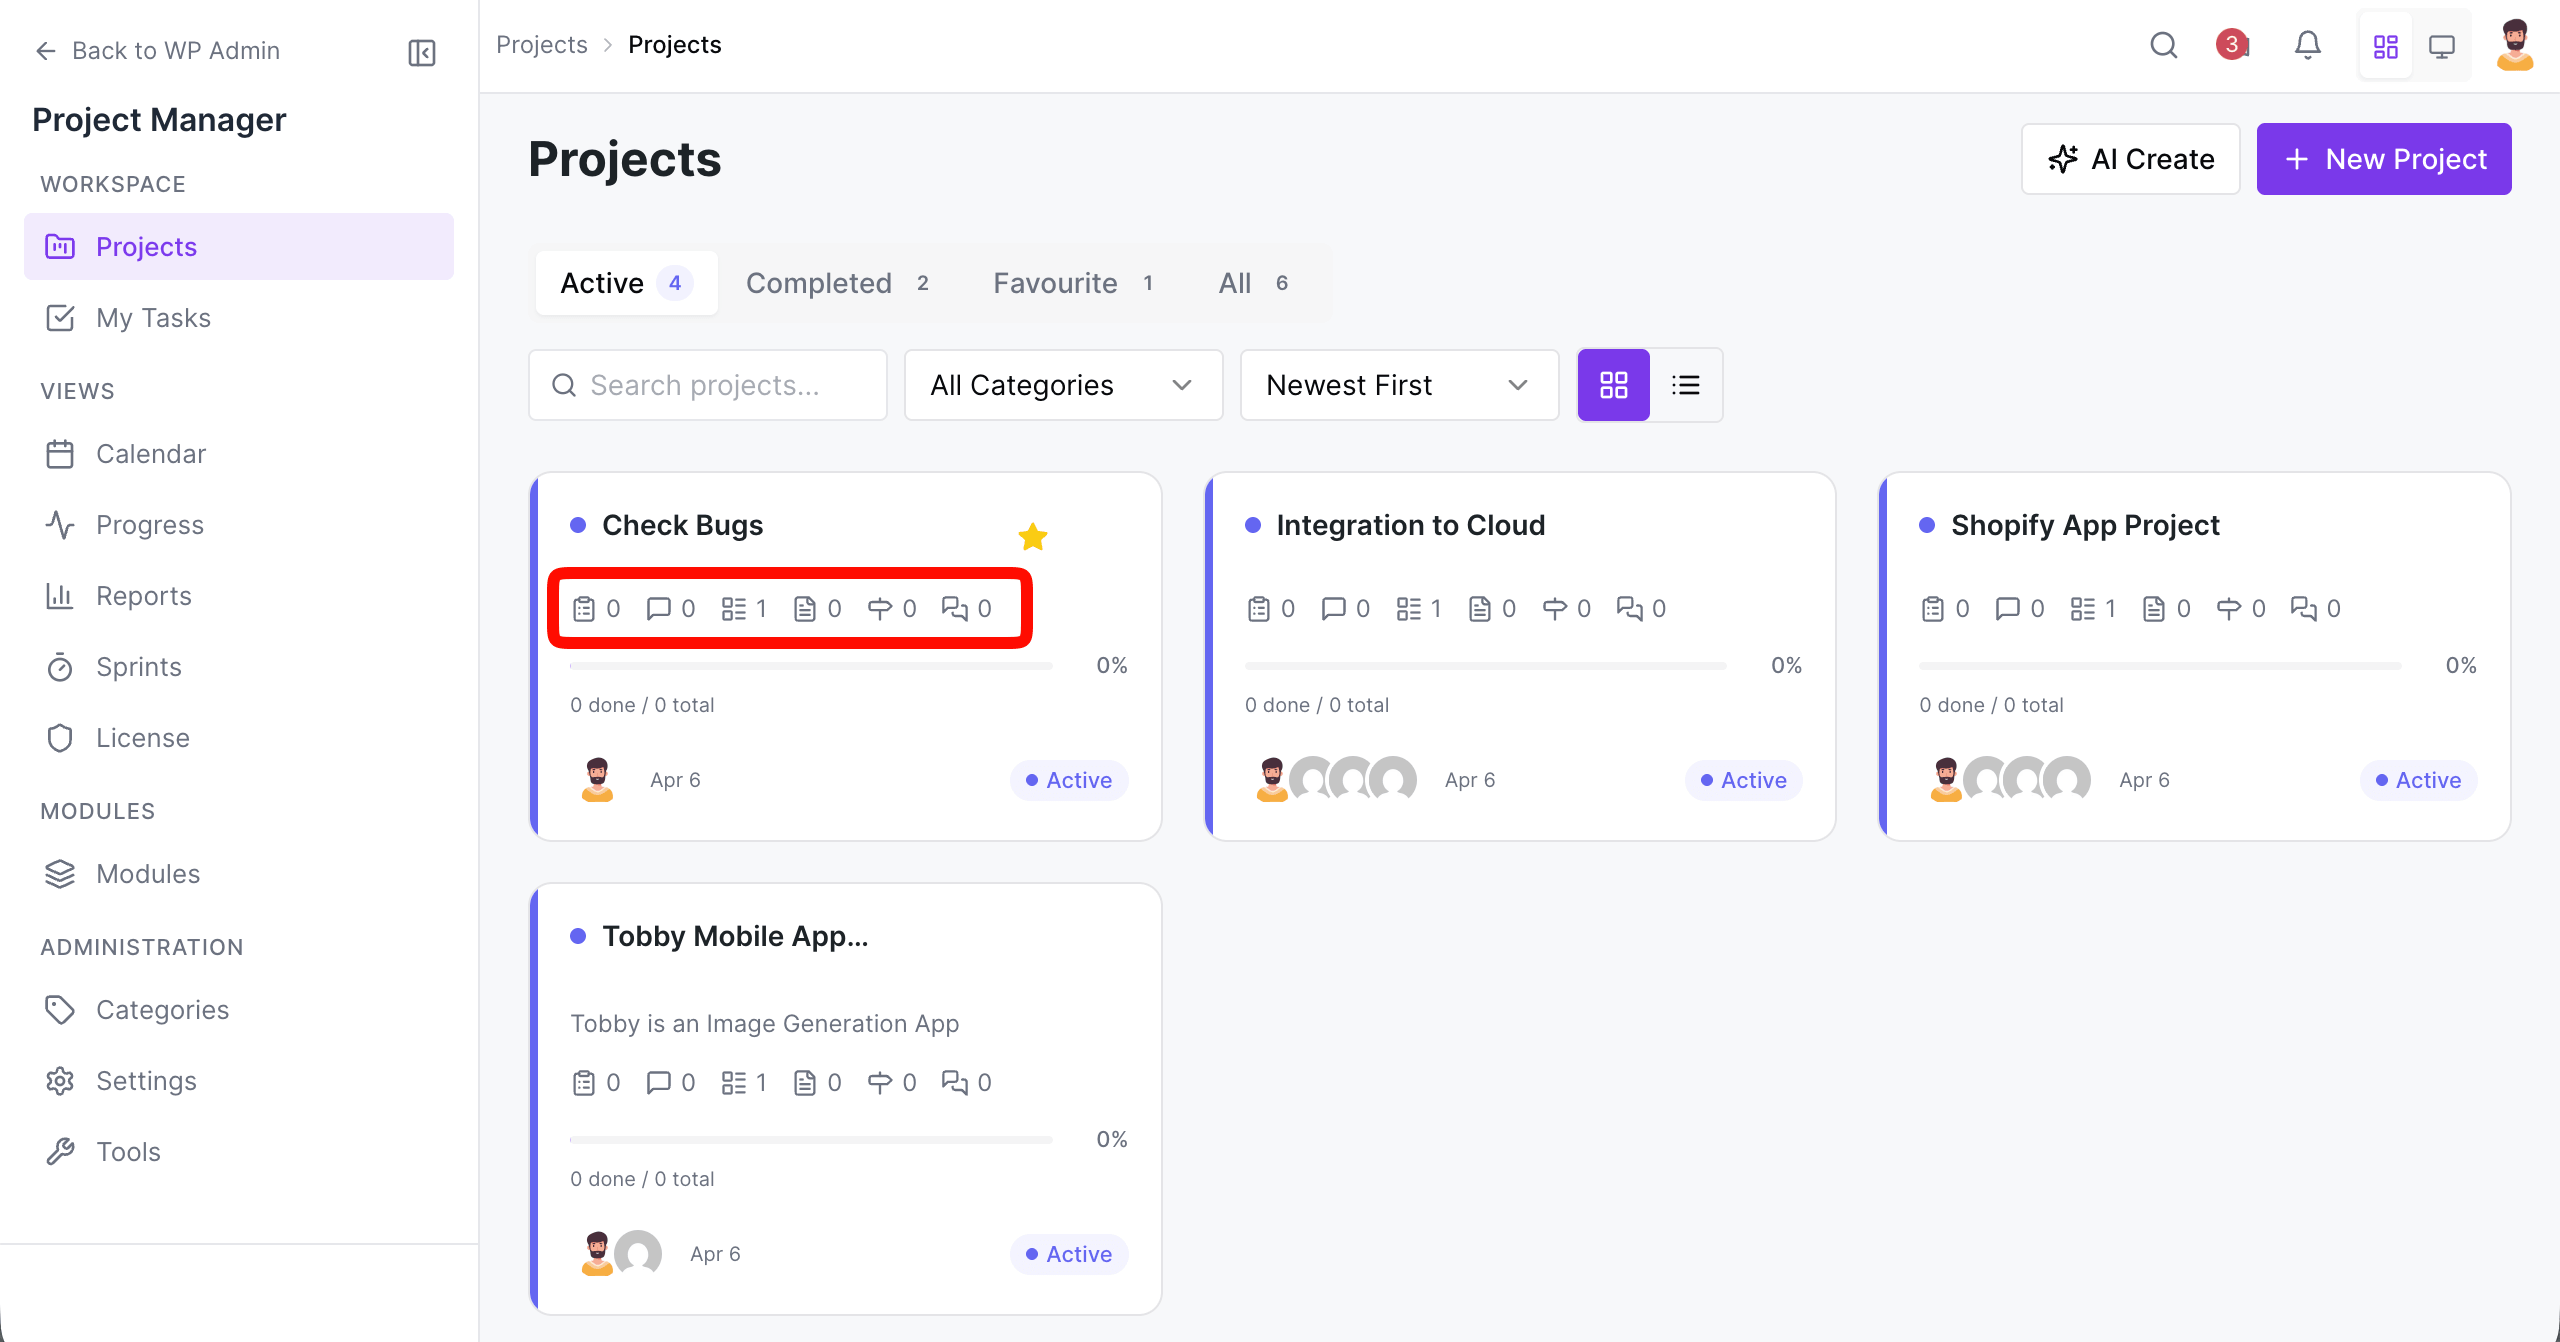
Use the three vertically aligned dots to delete, restore, and duplicate a project.

Thus, you can create projects using the WP Project Manager plugin and use its dashboard.