How to Set Up New User Status
Starting with WPUF, admins will be able to select the default status of newly registered users with the WPUF new user status feature.
Note: This feature is only available in the PRO versions of WPUF.
Navigation
Navigate to WP-dashboard → User Frontend → Registration Forms. Select an existing form or create a new form.
Configuration
Step:1
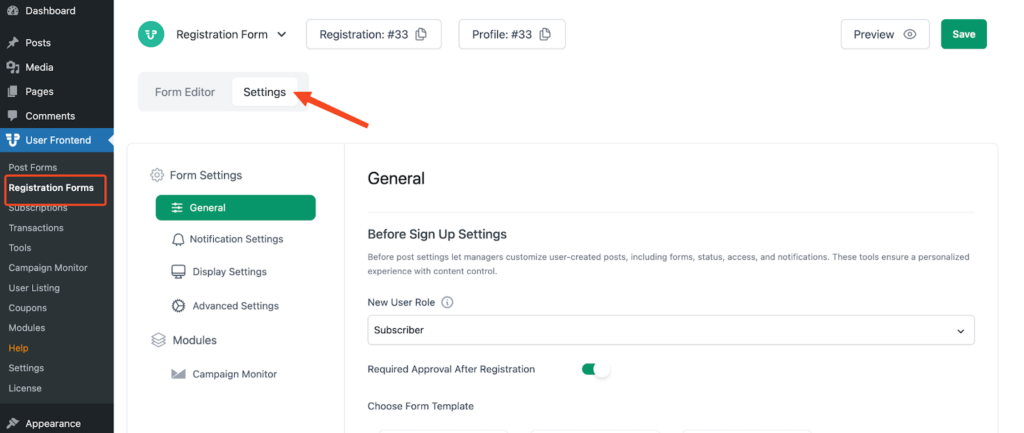
After opening a form from Registration Forms, click on the Settings tab beside the Form Editor.
Step:2
If you enable the Required Approval after Registration, then a new user will require your approval to log in.
Step:3
Click on the “Notification Settings” tab

You will get two options in the notification tab. They are:
User Notification
Admin Notification
1. User Notification:
Under this section, you will get four more options:
- Enable user notification: Check the box to notify a new user with an email.
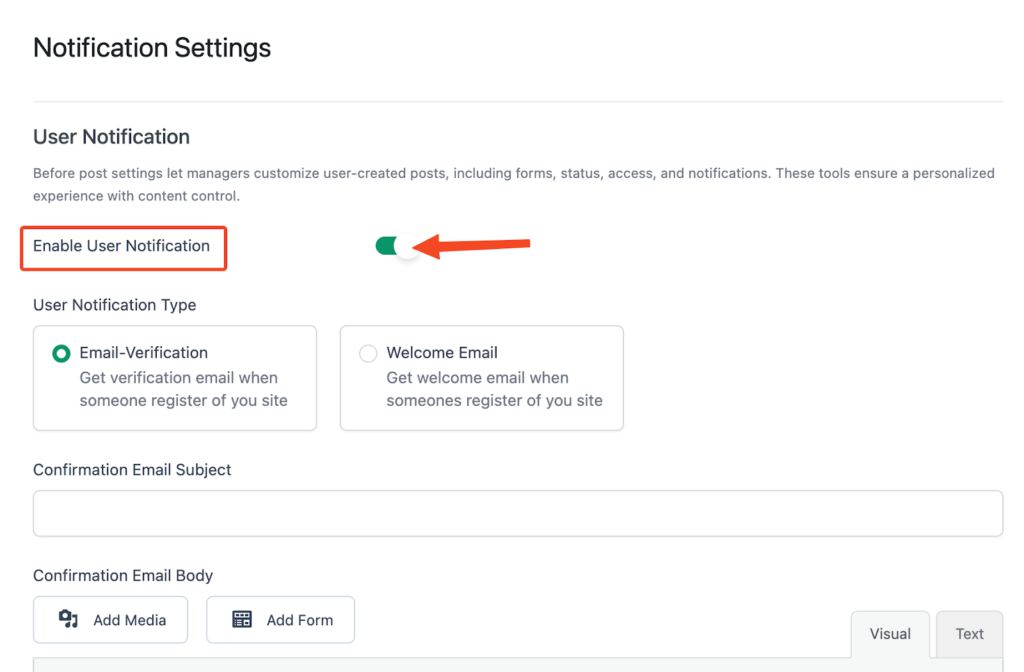
User Notification Type: Check the radio boxes to determine the type of the notification email. You can directly register the user by checking the welcome email, or you can use a link with the email to verify the registration.
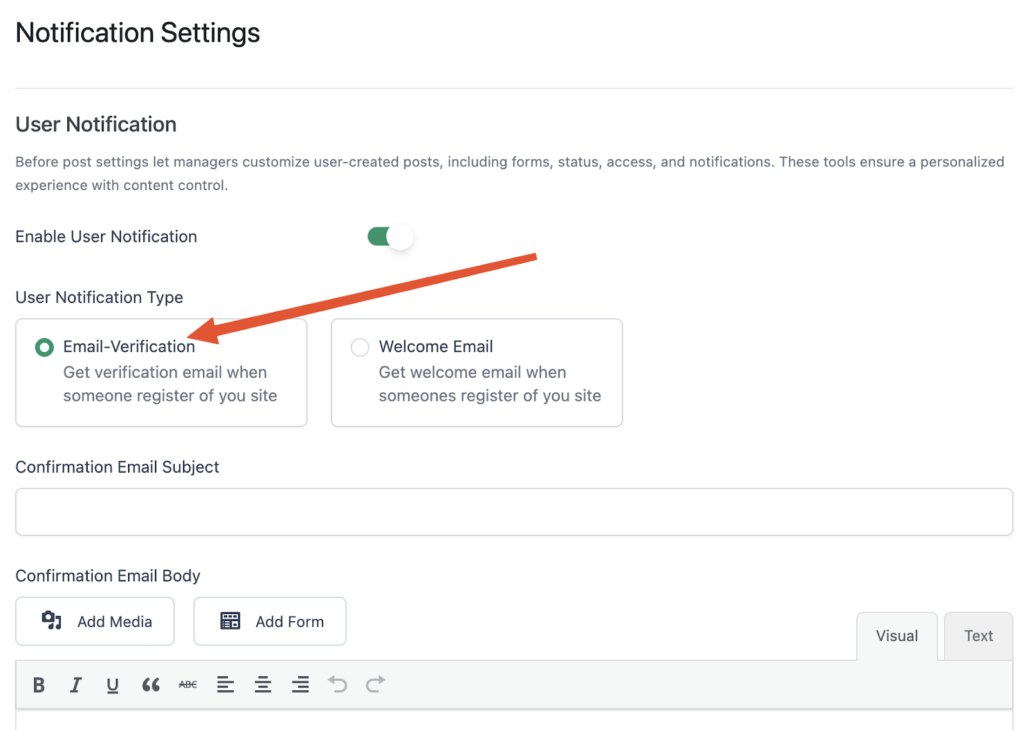
Confirmation Email subject: Edit the subject of the notification mail.
Confirmation Email body: Edit the body of the notification mail.

Admin Notification:
Under this section, you will get three more options. They are:
1. Enable admin notifications: Check this option if you want to be notified in the event of a new user registration.
2. Subject: Edit the subject of the email that you will receive for a new user notification.
3. Message: Edit the message body of the email that you will receive for a new user notification.

Step:4
Click on Save Form button after the configuration.
Step:5
Then copy the shortcode from the Form Editor tab by clicking on the blue Registration button located just above the form.

Step:6
After copying the shortcode, create a new page or go to the existing page.
Navigate to wp-dashboard → Pages.
Paste the Registration shortcode of the form.
Step:7
Type the Title of the page above and click on Publish, as shown below.

Frontend View and Use
- This is how your sample registration form will look from the front.

2. The user will fill in the details, as shown below:
3. When the user submits the form to register, you will be able to view all registered users from wp-dashboard → Users → All Users.
The highlighted box shows the user [demo user] that we just registered through the sample registration form. As you can see, the status of this user is shown as Pending. This is because the admin checked and required admin approval.
As the admin, you have the option to approve or deny this user simply by hovering your mouse over the user's name.
In this way, you can also select Approved or Declined from Registration Forms → Settings to be the user status of the newly registered user.


You are also able to set up email notifications for both admin and user. To know how to configure the email notification settings for user status, read this documentation.
A new column ”status” has also been added to User → All Users, which shows the status of every newly registered user. Admins can approve, deny, pending, or approve at any time. From All Users, admins can filter users as pending, approved, and or denied. Admins can also bulk approve, deny, or set of users to pending to pending using bulk actions.
