WooCommerce Tutorial: How To Build An Online Store Within Minutes
Are you planning to have your own marketplace and looking for a tutorial to install WooCommerce?
Welcome, you clicked the right article to get a quick start!
In this article, I’m going to show you the easiest way to install the WooCommerce plugin on your WordPress site. Also, get back to the onboarding introductory wizard if you skipped it after the installation.
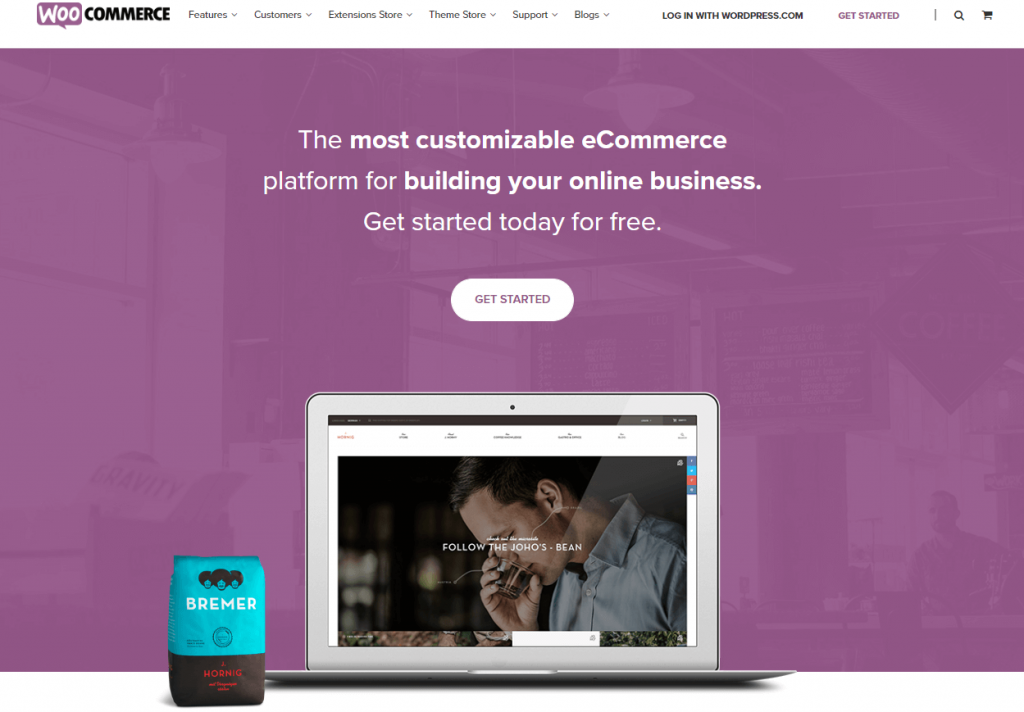
This evolutionary eCommerce plugin is inevitable to be installed on your site when you’re aiming to start an online business or want your brick-and-mortar store to have an online presence.
The plugin was launched on 27th September 2011 by Automattic– the company behind WordPress. But in a short span of time, it achieved prodigious success.
Why Entrepreneurs Prefer WooCommerce as eCommerce Plugin
WooCommerce Plugin is built especially considering the facts for small business who wants to have their own marketplace. And it became popular with small business owners for its simplicity and customization option.
You can easily build your marketplace in your native language with WooCommerce Multilingual flexibility. Till now, WordPress covered 60+ native languages to translate your site.
Also, you can find lots of free WooCommerce plugins and themes useful to have rich features and give your store a professional look.
You can try out WooCommerce conversion tracking to track user data, optimize metrics and retarget your audience for the paid ad.
Here are the words from Jason Liebenberg who built his retail business with WooCommerce.
WooCommerce and WordPress made sense because of the out-the-box features as well as allowing us to develop as many custom features which we would need going forward.
Easiest Way of WooCommerce Installation (3 Steps)
To have a WooCommerce store, you must know that a domain and hosting plan is required. And there are some strategies when choosing a hosting platform.
You need to consider several issues like security, customization, etc. Good hosting providers not only provide hosting spaces but also ensures the security of your site.
In the WooCommerce industry, Bluehost, Kinsta, and SiteGround are the best option for your hosting needs.
Requirements for WooCommerce Installation
Now before digging into the tutorial on how to install WooCommerce here are some server requirements.
- PHP version 7 or higher version
- HTTPS Support
- MySQL version 5.6 or higher/MariaDB version 10.0 or higher
- Memory limit 128 MB or more
To rescue you from the hassle, here are some best and most trusted WooCommerce hosting providers for WordPress.
Installing and activating the WooCommerce plugin on your site is very simple regarding other marketplace builders. The basic part is installing and activating the plugin and then the setup procedure starts.
Step 1- Start with Installing The Plugin
To install and activate the WooCommerce plugin-
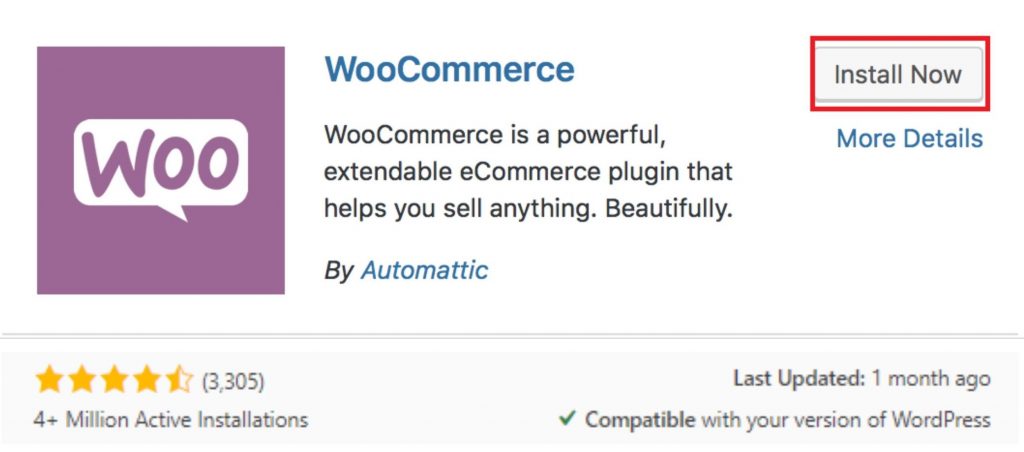
- Navigate to Plugins > Add New from your WordPress backend dashboard.
- Search for ‘WooCommerce’ in the search box.
- And hit on Install Now
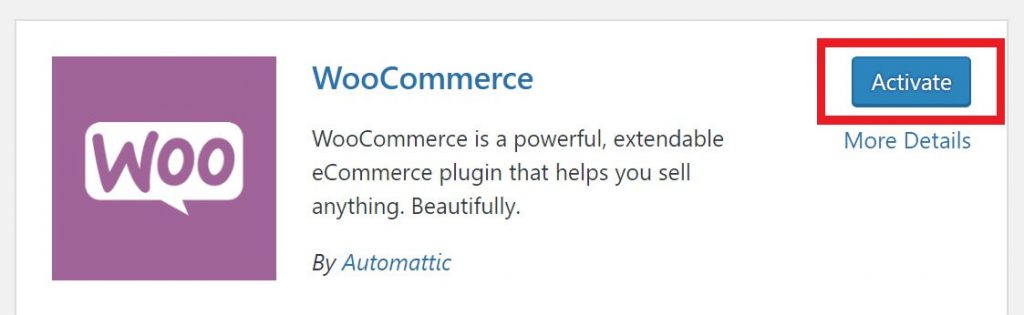
Now, click “Activate now” as consecutive attempts.
And then Choose “Let's Go” to get started with the setup wizard.
If you want to do the setup process manually then choose the other option “Not Right Now.”

Step 2- Complete WooCommerce Setup Wizard
Here comes the main WooCommerce setup for you. The introductory onboarding setup wizard will help you to configure the necessary steps.
So, you don’t get stuck in the middle and waste time thinking about what to do next.
Now I'm going to give you a step-by-step guide for setting up WooCommerce Plugin.
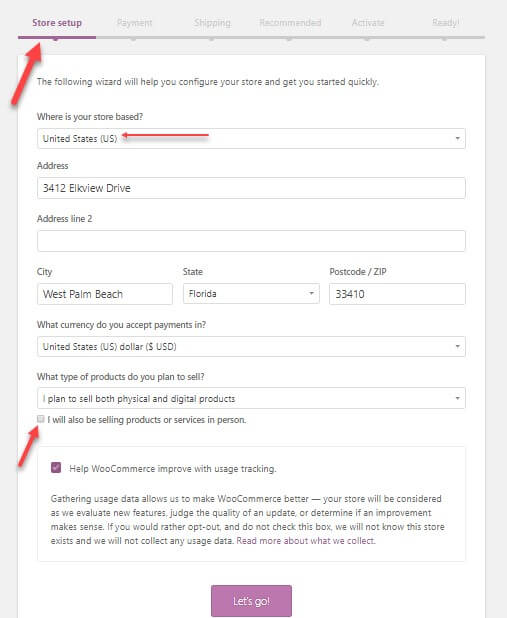
WooCommerce store setup
The first part is the store setup. Fill up your store location and product type.
Now, hit ‘Let's go‘ to jump right to the next settings.
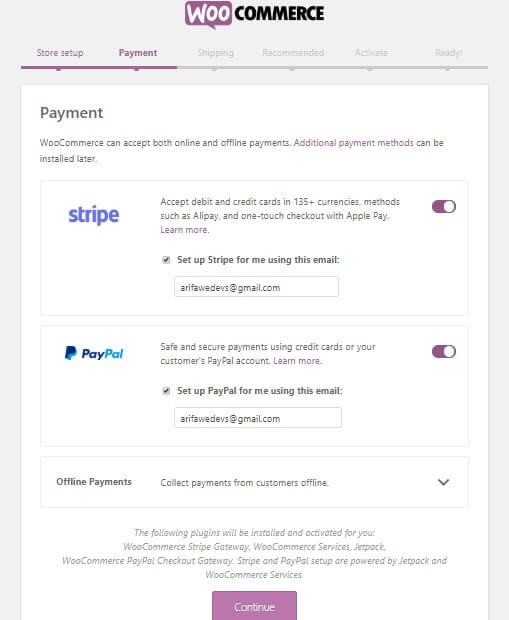
WooCommerce Payment Setup
Here you will see the payment setup. The options for this phase depend on the location of your store and the type of product you choose to sell.
If you didn’t mark the “selling products in person” option then you’ll only see Stripe and Paypal.
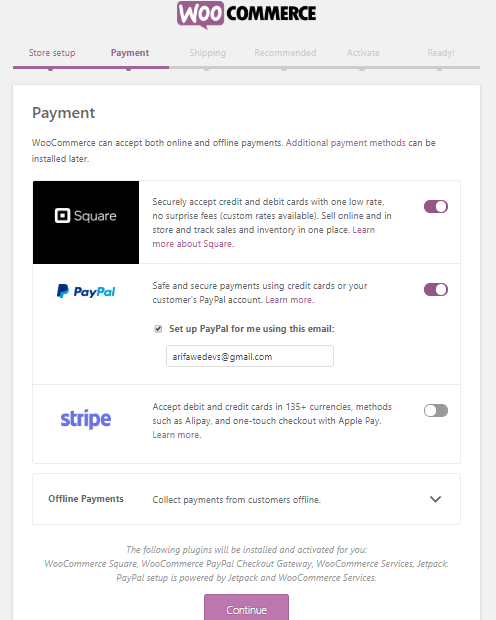
If you did mark the ‘Selling in-person‘ option and live in Canada, Australia, U.S., Japan, UK then you will see Square, PayPal, and Stripe.
Because these payment gateways cover all these countries.
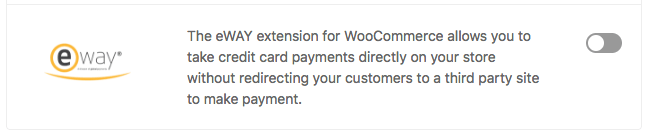
If your business operation is located in Australia, or New Zealand then your payment gateway is eWay. For South Africa, PayFast.

And for Germany, Norway, Netherlands, UK, Sweden, Finland, and Denmark then you will see Klarna.

If you want it’s also possible to configure the “Offline Payment” option. You just need to click the dropdown arrow.
And there you’ll find different types of offline payment option. Enable the toggle button according to your preference. Now, click continue to proceed to the next step.
Set up WooCommerce Shipping
This step is all about shipping. WooCommerce has two shipping zone.
- Zone 1 – USA and Canada
- And zone 2 – the rest of the countries.
If your store is in the first zone then you’ll have the live shipping rate option. But if you want you can also set a flat shipping rate and free shipment.
In terms of the actual shipping rate, you have to set up the correct weight and dimension.
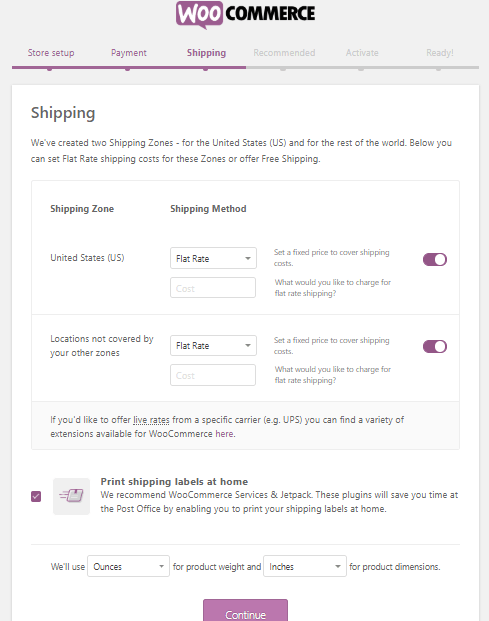
Before clicking continue, tick mark the print shipping labels at home to get your credentials printed.
Configure Recommended Plugins and Themes
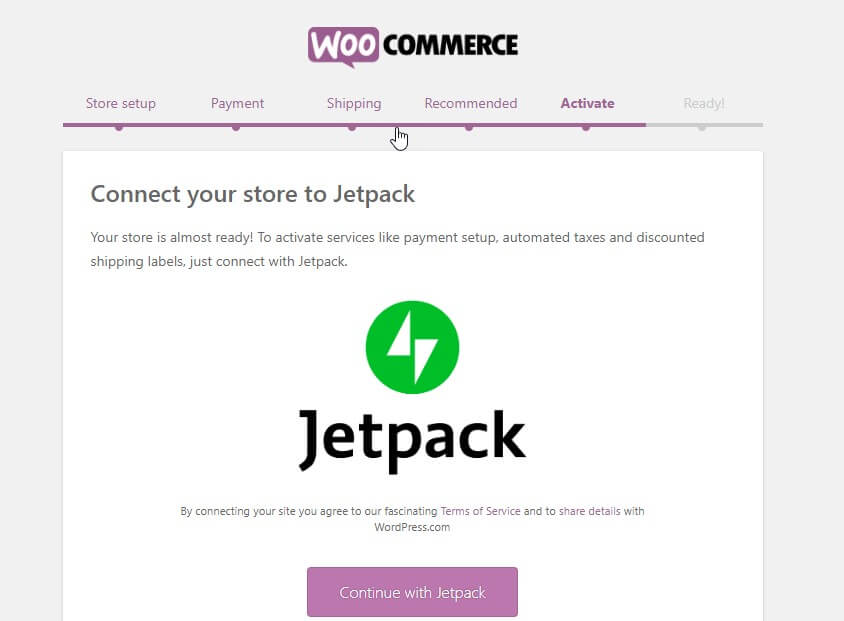
Select the below options to get tax calculation and email service in your store automatically. Jetpack and other required plugins will be automatically installed.
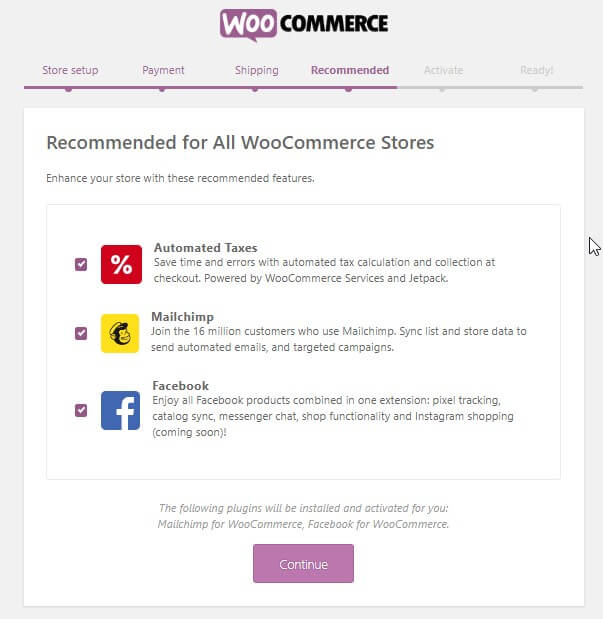
Click “Continue with Jetpack”.
Now you are on the last page of the wizard.
From this page, you can create, import products, visit the dashboard or review the entire settings.
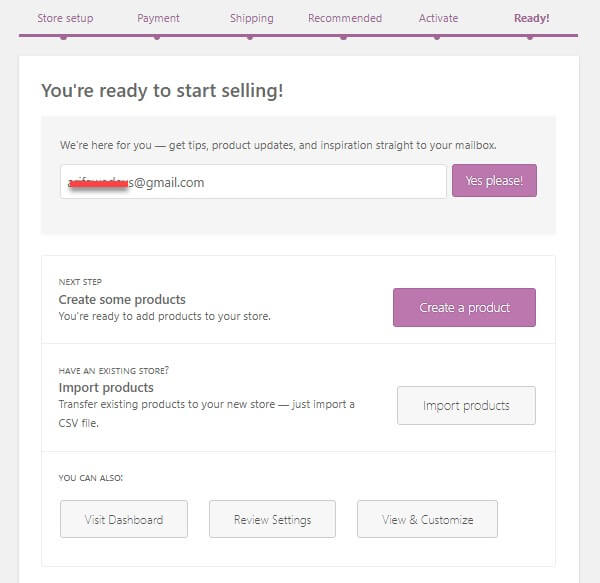
When you’re done with all the steps you can add any product anytime and from the frontend.
STEP 3- Add the First Product on WooCommerce
The interface may look different depending on the theme you’re using. In this instance, I’ve used the Dokani theme since it works perfectly with WooCommerce.
Here’s a list of the best WooCommerce themes you can choose from.

Turn Your Single Store into Multivendor and Earn More Money
All the aforementioned steps will help you build a WooCommece single-store while you can double your earning by turning the store into a multivendor.
No worries, it’s just a matter of clicks now.
Get a WordPress multi-vendor plugin and activate it to get going with your multivendor. The rest steps are as easy as clicking the “activate” button.
You can also follow this step-by-step guide to build and customize your multivendor marketplace.
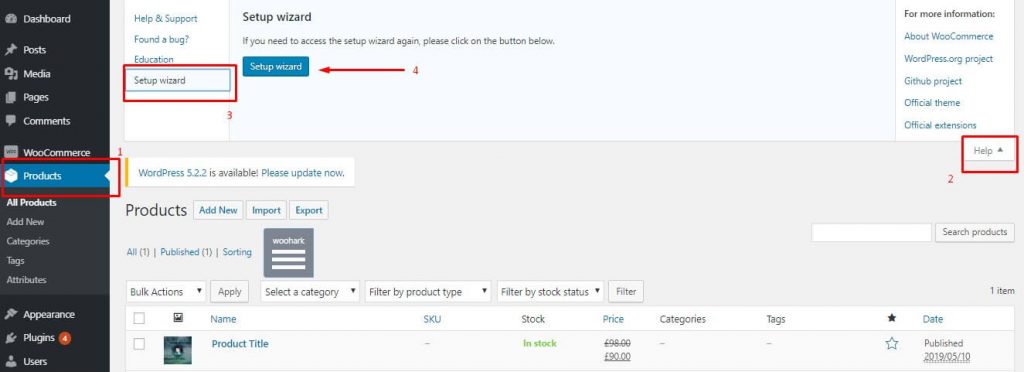
Skipped WooCommerce Setup Wizard?
If somehow you skipped the popup WooCommerce setup wizard, there's nothing to worry. You can access it anytime. Just go to Product > Help > Setup Wizard
WooCommerce for eCommerce
WooCommerce multivendor opens up more opportunities than a single store. The first and foremost advantage is you can add a wide range of product lines and serve your targeted customer very well.
And it’s easy to satisfy your customers giving them more room to choose the best product.
There are a significant number of multivendor plugins for WooCommerce to start with. But Dokan is the most renowned WooCommerce extension to power up your multivendor.
Get a scrupulous comparison of other WooCommerce Multivendor plugins.
Returning to you
Haven't you already realized how easy it is to start your own online store with WooCommerce?
You can have the inspiration for your journey from a real-life entrepreneur's success story who has already faced the battle and got successful.
Finally, here are the last tricks for you. When you are done and ready to sell, make sure to promote your product.