How to Activate Sub Task Module
With the WordPress Project Manager, you can break down your tasks into subtasks to make things more specific. The WP Project Manager subtask is a pro feature and comes in the form of a module.
Configuration
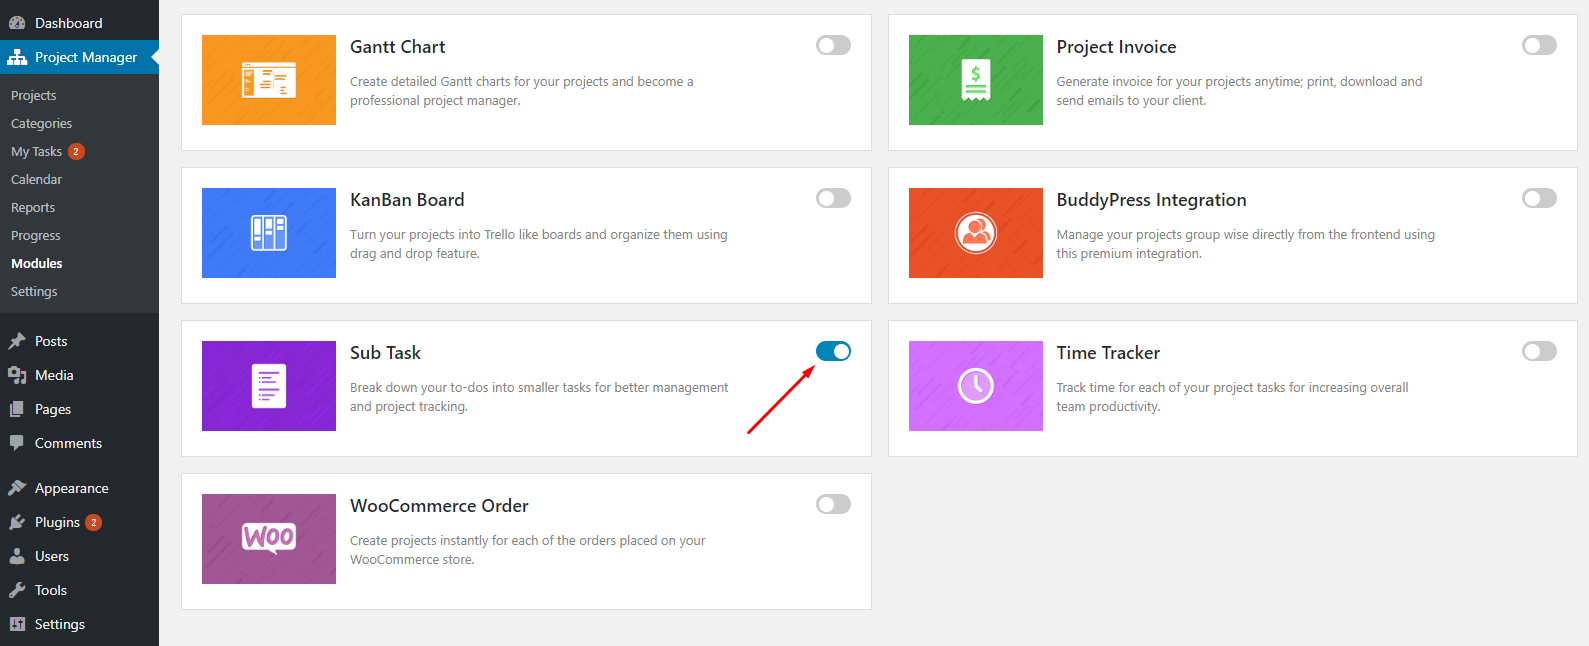
To activate the Sub Task Module go to WP Admin Dashboard → Project Manager → Modules → Activate the Sub Task module.
Add Sub Tasks
You can add Sub Tasks in two ways:
- Selecting a task
- Using the Kanban Board
1. Selecting a task
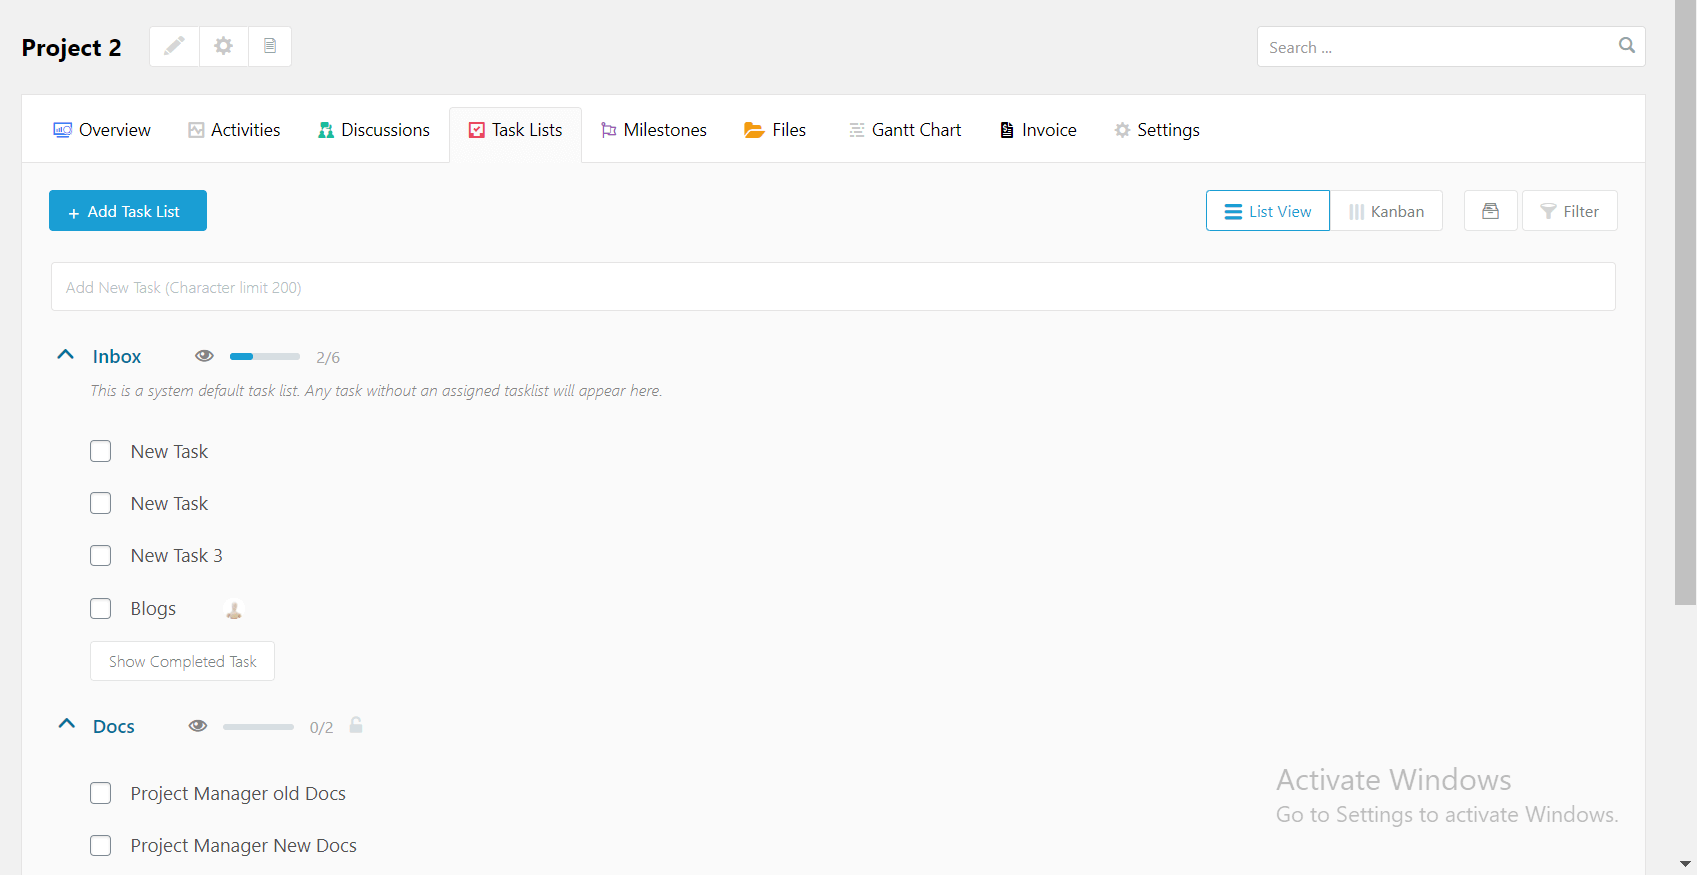
Navigate to WP Admin Dashboard → Project Manager → Select any project you wish to view → click on Task Lists tab.
After clicking on the Task Lists tab, you will see the following screen:
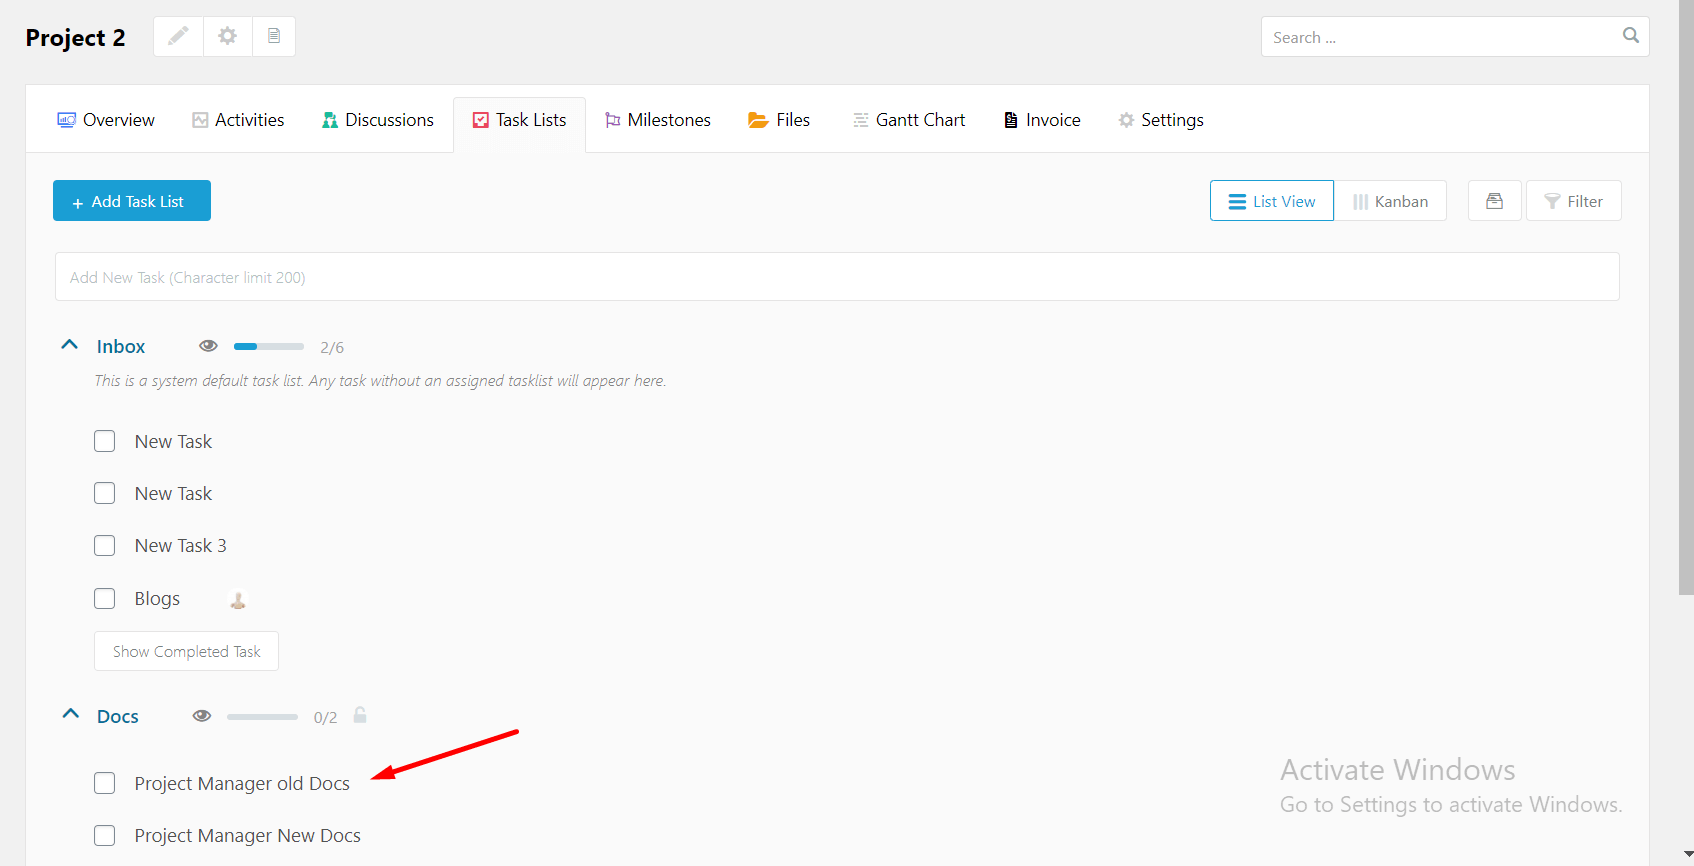
Now select a task by clicking on a task. For example, let's select the task, “Project Manager old Docs” from here.
Now, a modal window will pop up and from this window, you can add subtask.
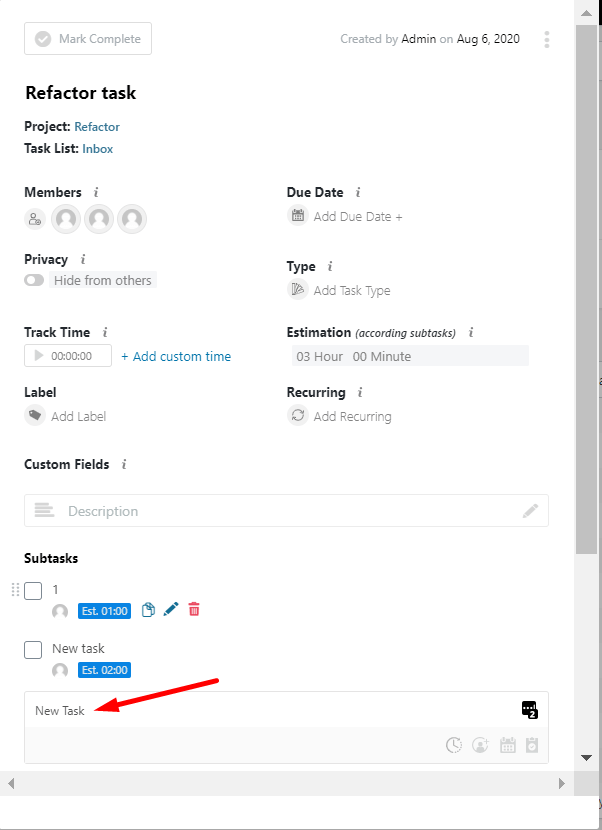
You can also add users and deadline for this task.
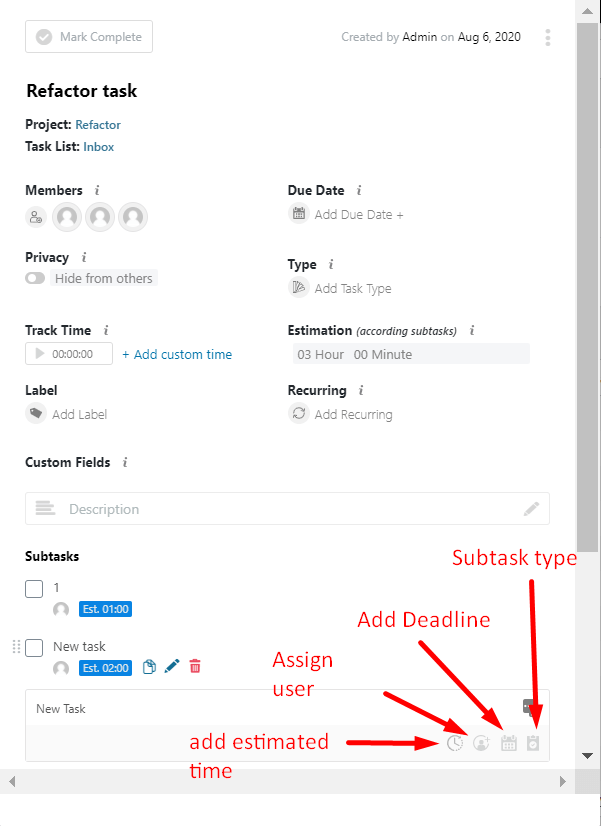
Now, hit the ‘Enter' button of the keyboard to save this subtask. On hitting the ‘Enter' button, you will see the subtask has been created. You can also add users, set a deadline or creation date and delete the subtask from here.
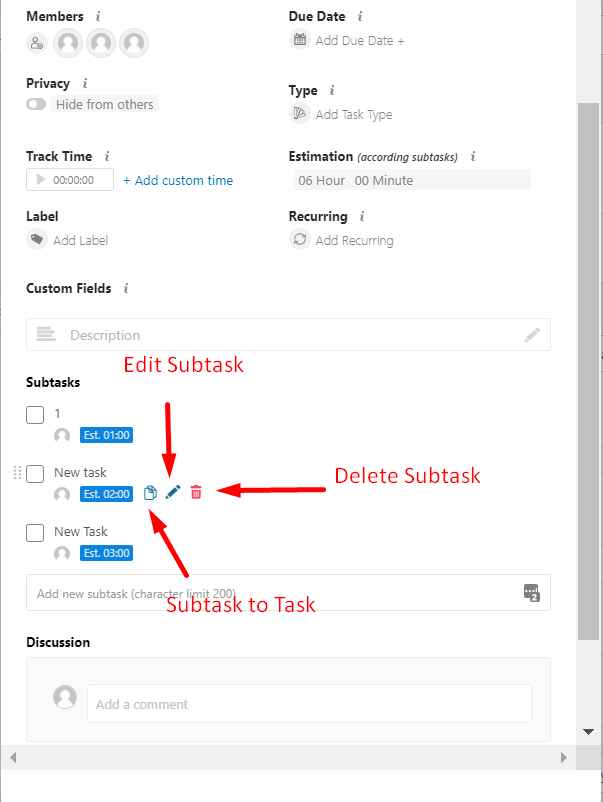
That's how you can create subtasks by selecting a task and most importantly, you can create unlimited subtasks.
2. Using the Kanban Board
However, you can also add subtasks from the Kanban Board provided that you have activated the Kanban Board module. To add subtasks in the Kanban Board, navigate to board first. After that, click on any task from therein. Here is an example:
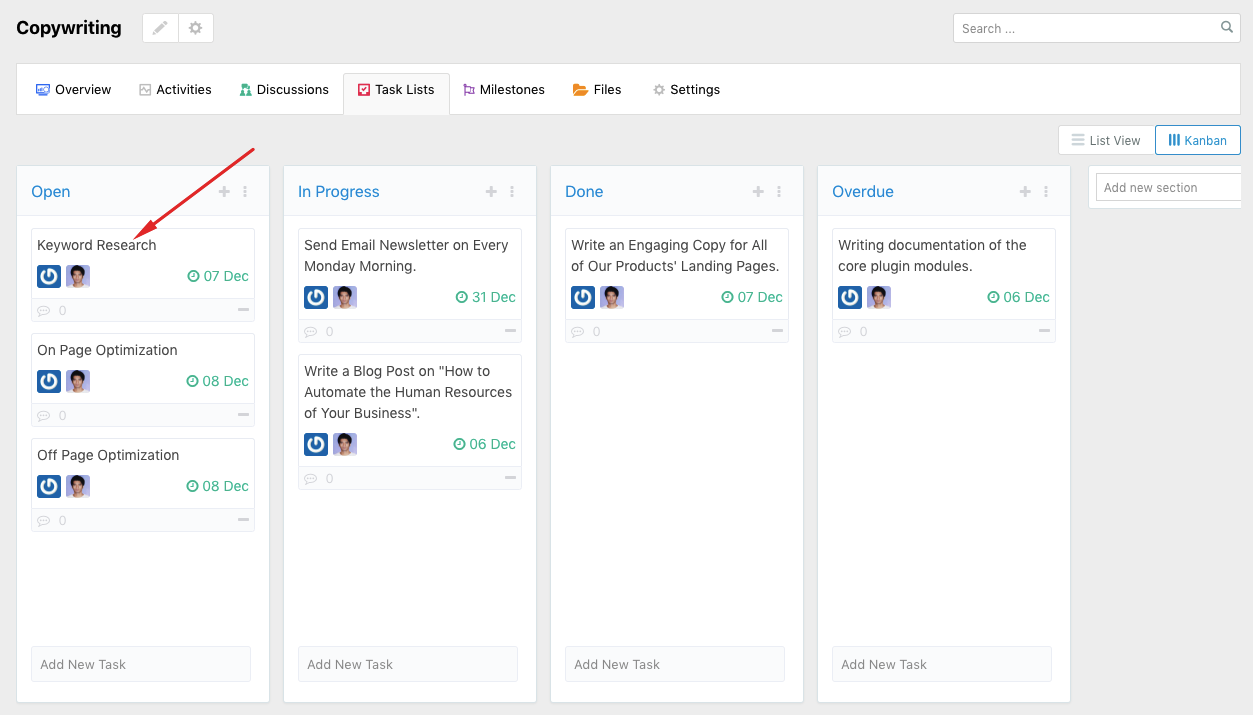
In this example, by clicking the “Keyword Research” task we get the window for adding subtasks just like selecting a task of the method 1:
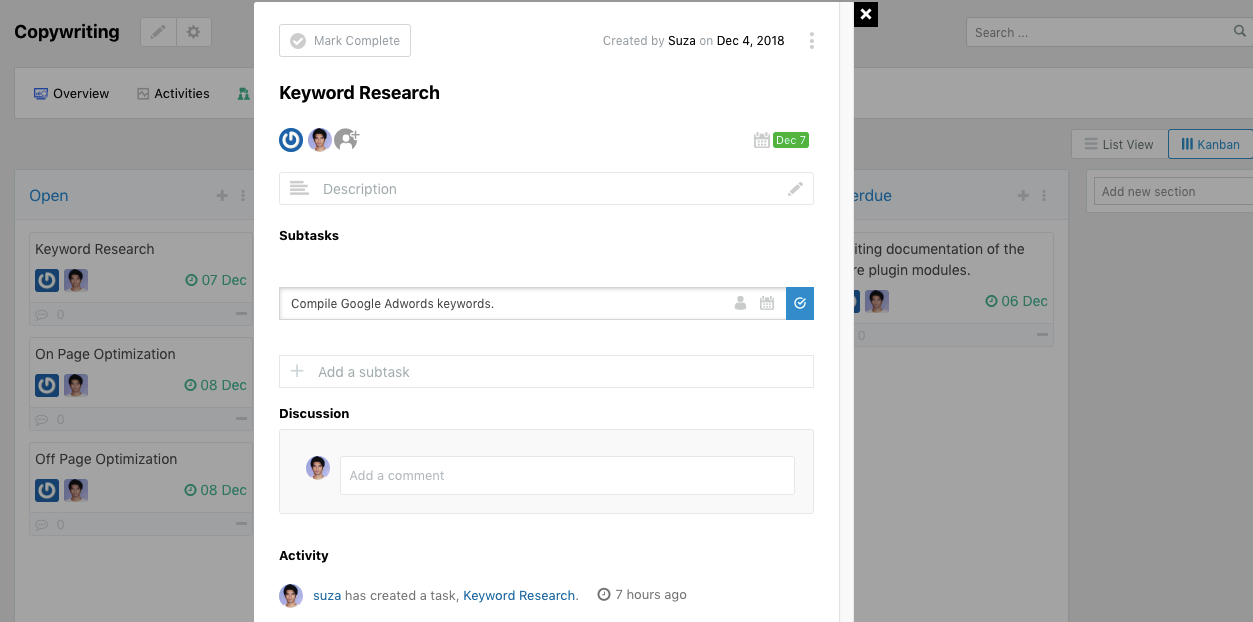
Again, the best part is that you can add as many subtasks as you want.
If you need any help using this plugin, feel free to contact us.
Subtask To Task
Now you can make your subtask as a task. The process is very simple.
If you created a Sub-task under a Task, and you want to change the Sub-task to a Main Task then follow this simple guide.
As shown below, click on Projects and then select your project name. In our case, the project name is Food as shown below.
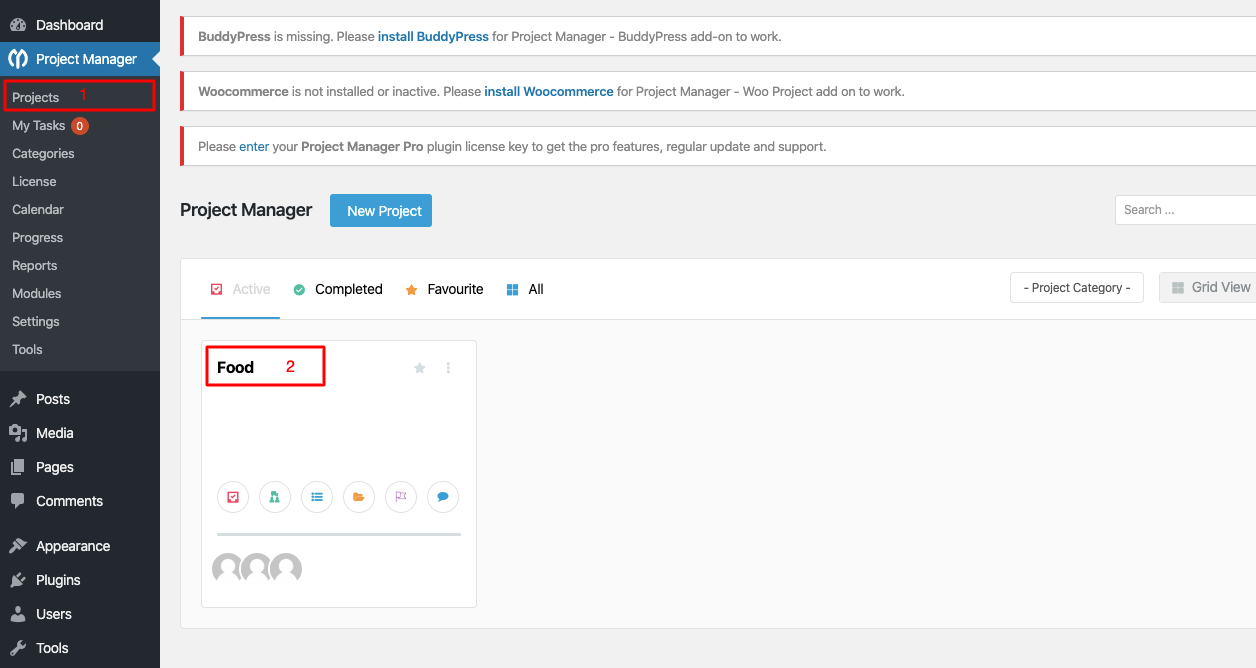
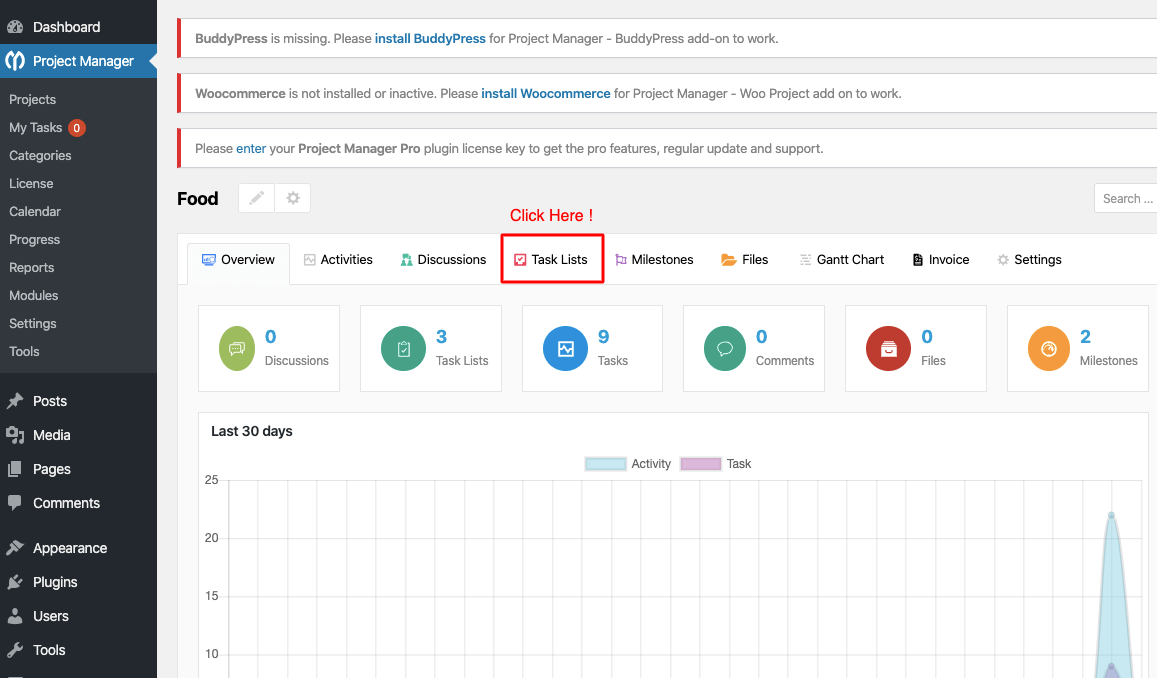
Upon clicking the project name (Food Project in our case), you will be greeted with the following page.
Now click on the Task List tab as shown below.
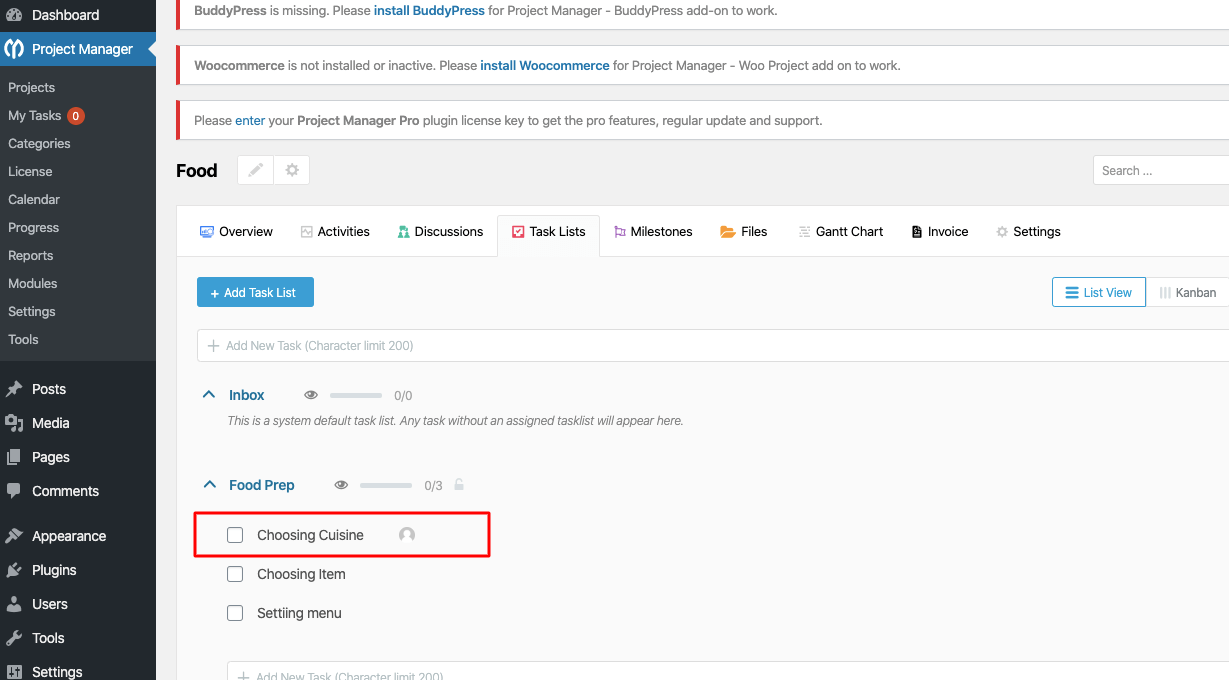
Under Food Prep, there are 3 tasks.
In our case there are 3 lists:
- Choosing Cuisine
- Choose Item
- Setting Menu.
We will now select the Choosing Cuisine Task. It will show a Subtask within.
In our case, the subtask is titled “discussing food allergies with guests” as shown below. Now click on the icon.
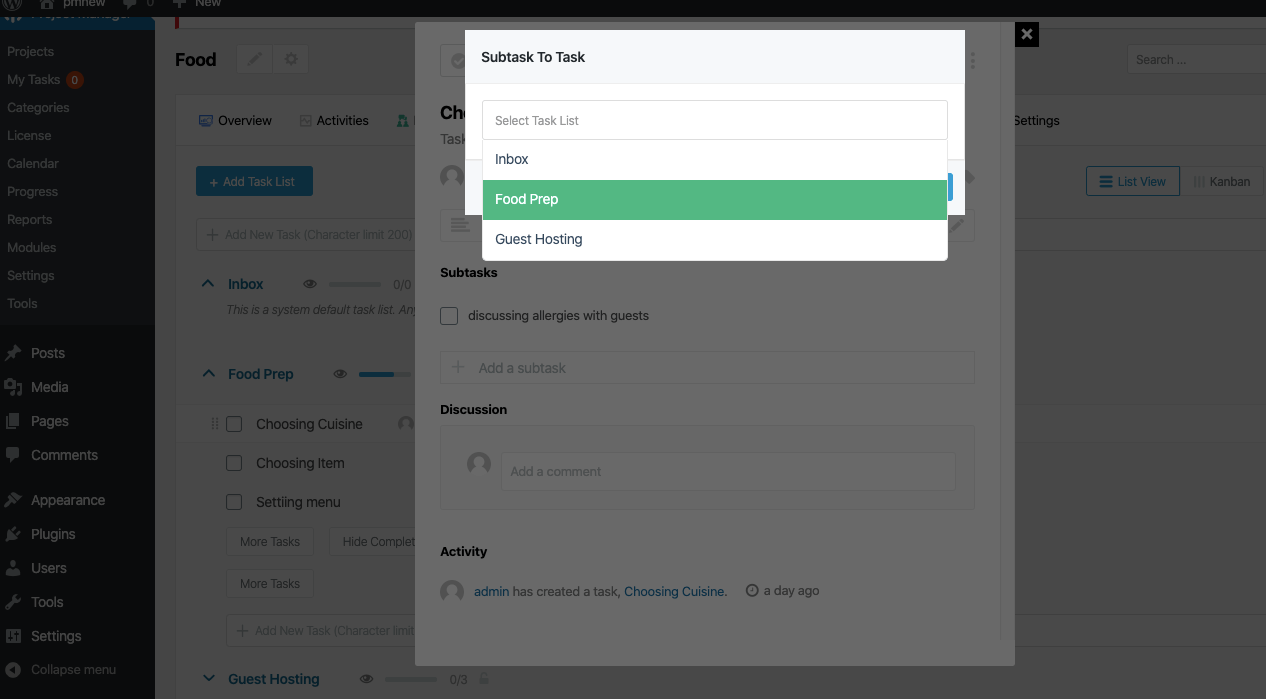
After clicking the icon, the following screen will appear.
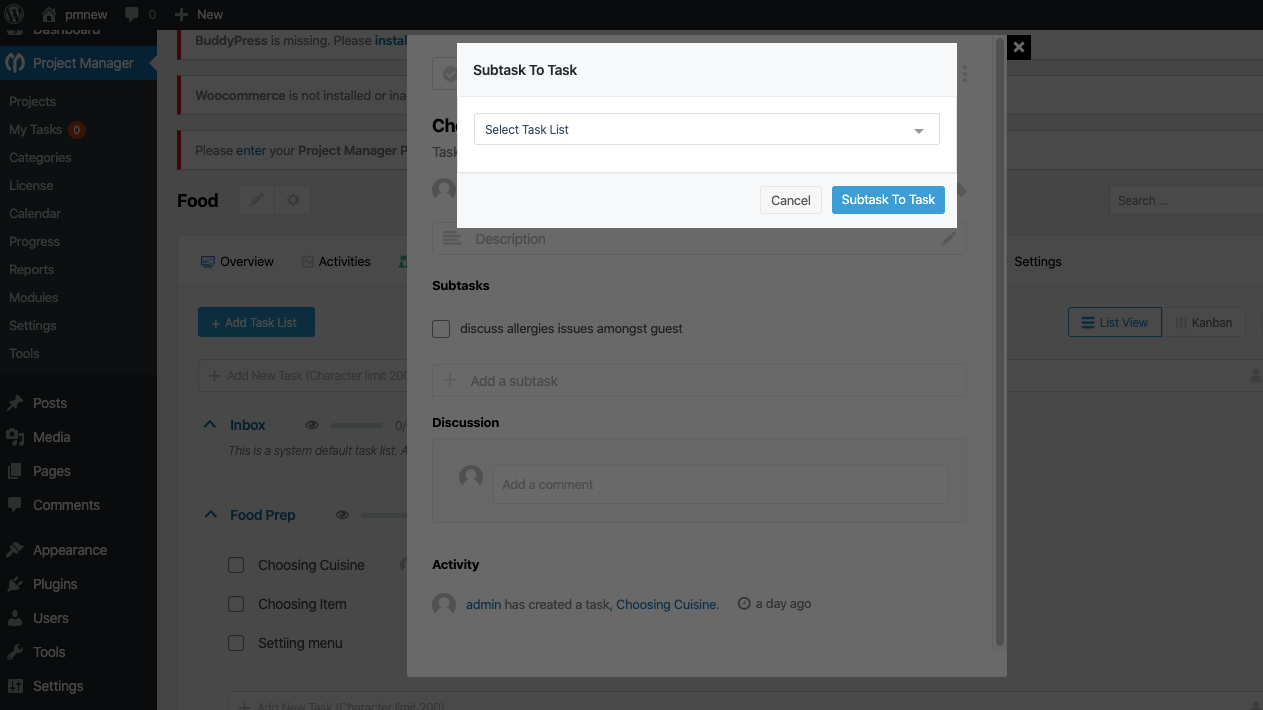
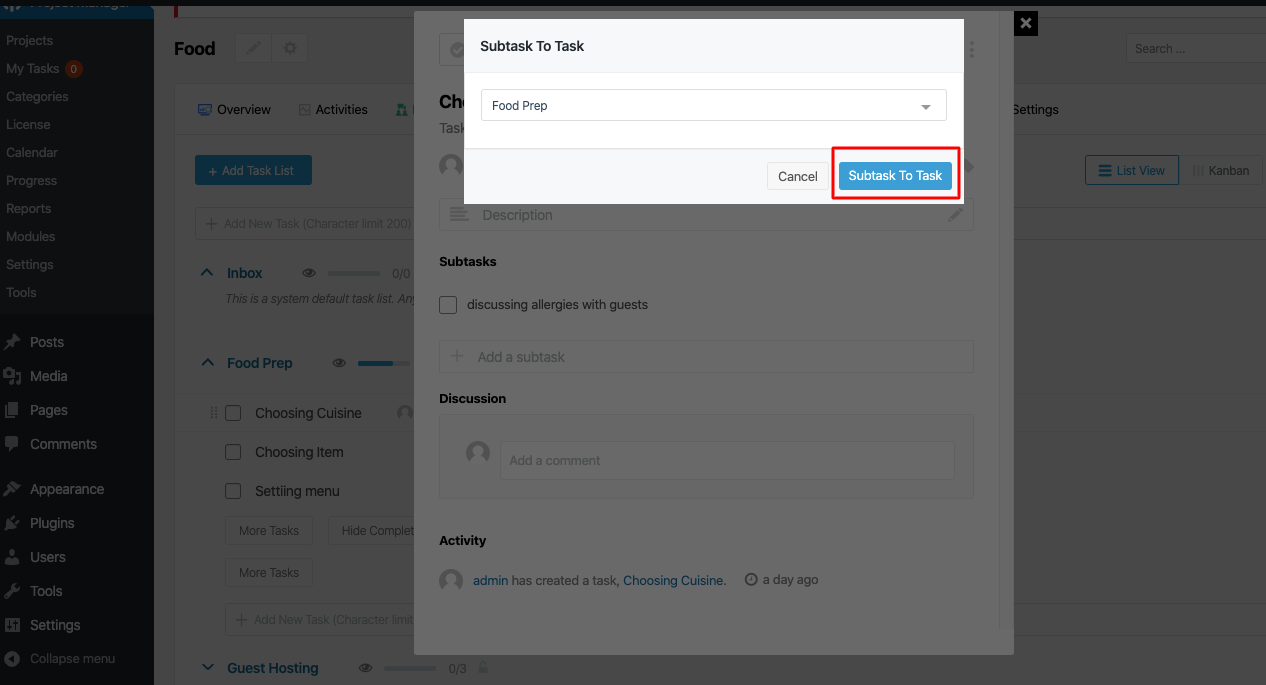
Now click on a Task. In our case we choose Food Prep as shown below.
Now click on Subtask To Task. This will change your Sub-Task into a Task.
Now you will see that your Sub-task is now a Main Task as shown below.
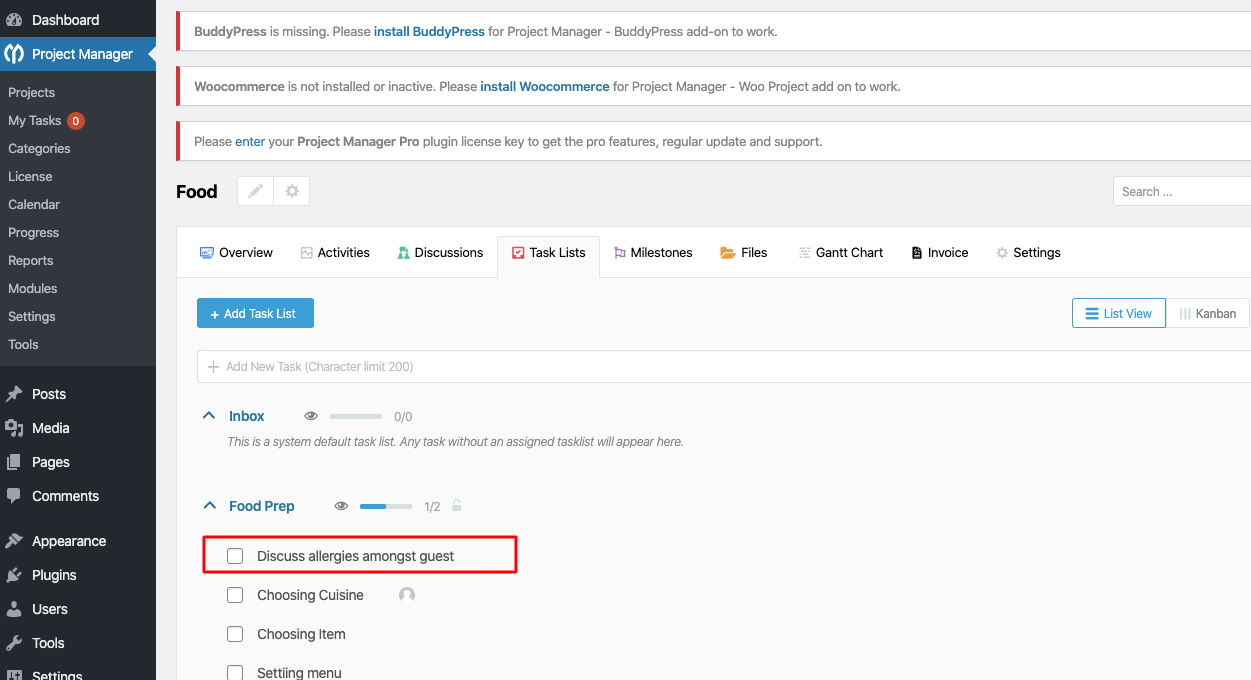
That's it for subtask to task.