How to Configure Getting Push Notifications in WP Project Manager
With the WordPress Project Manager pusher module, you can now get a notification as soon as you are assigned to any task.
Requirements
To enable pusher notification you need,
- WP Project Manager
- App ID, key ID, secret key ID, cluster ID from your pusher account
- Pusher module
Creating an Account in Pusher
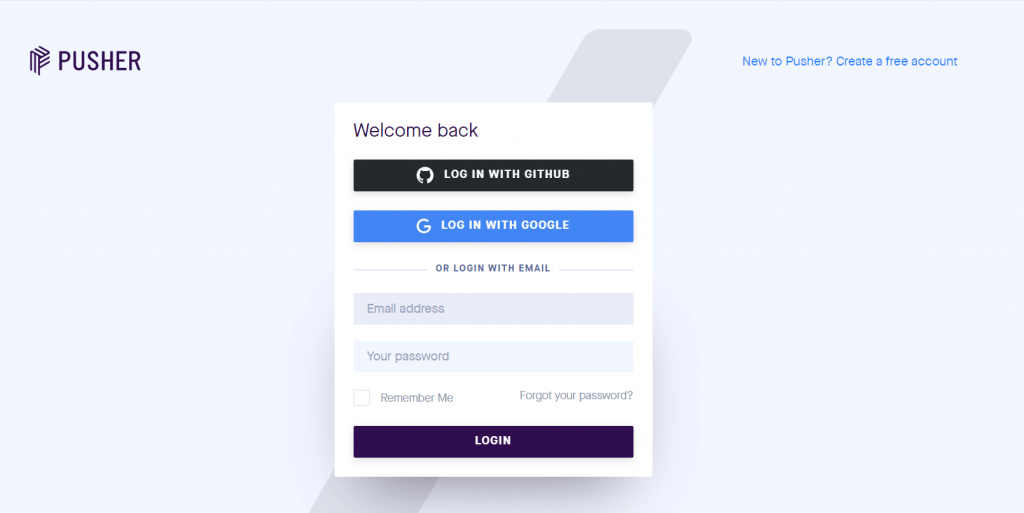
Sign up with your email ID and password at pusher.com. This account is required only for the admin.
Now, click on Create New App on your pusher account dashboard.
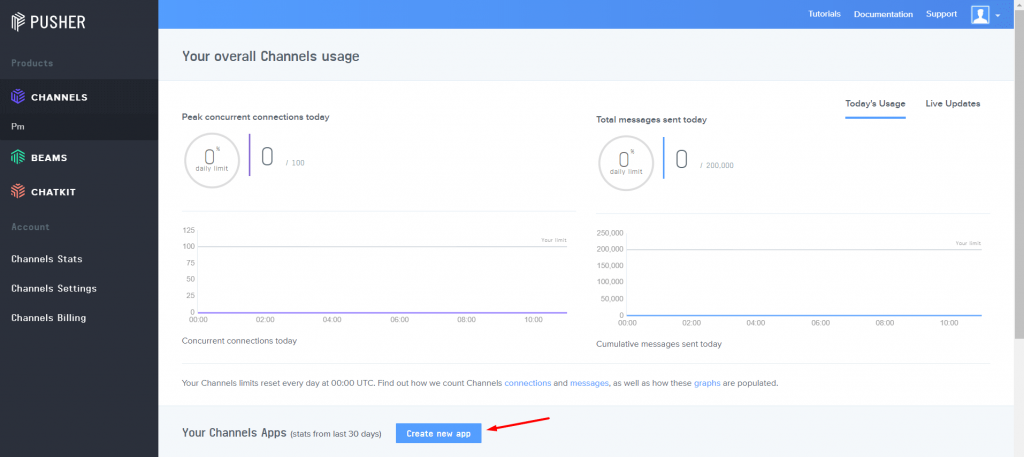
You will get a pop-up window. There you have to type your App name and then hit Create my app.

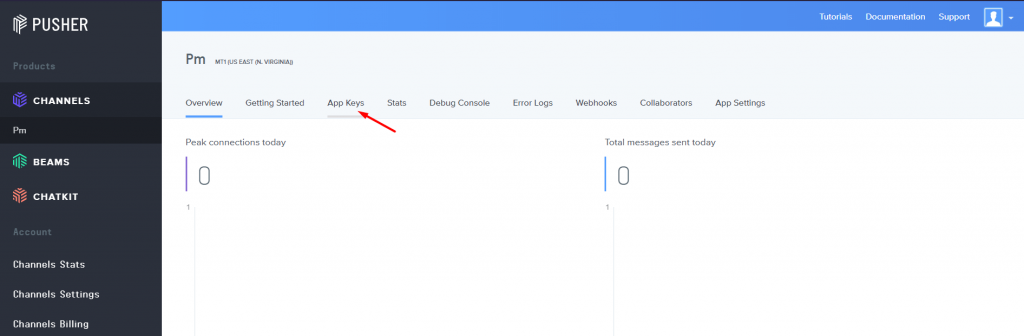
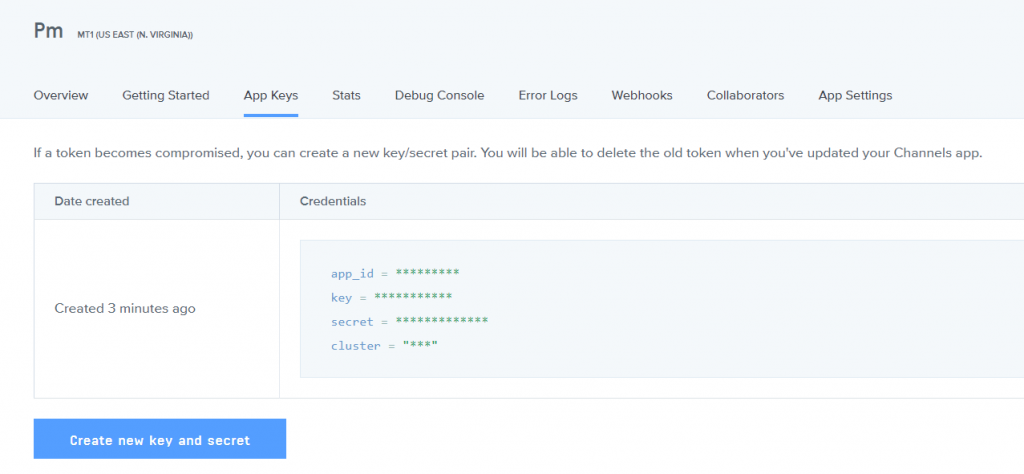
Go to App Keys, where you will find the app ID, key ID, secret key ID, and cluster ID. You will use that to integrate with the WP Project Manager.
Copy the app ID, key ID, secret key ID, and cluster ID.
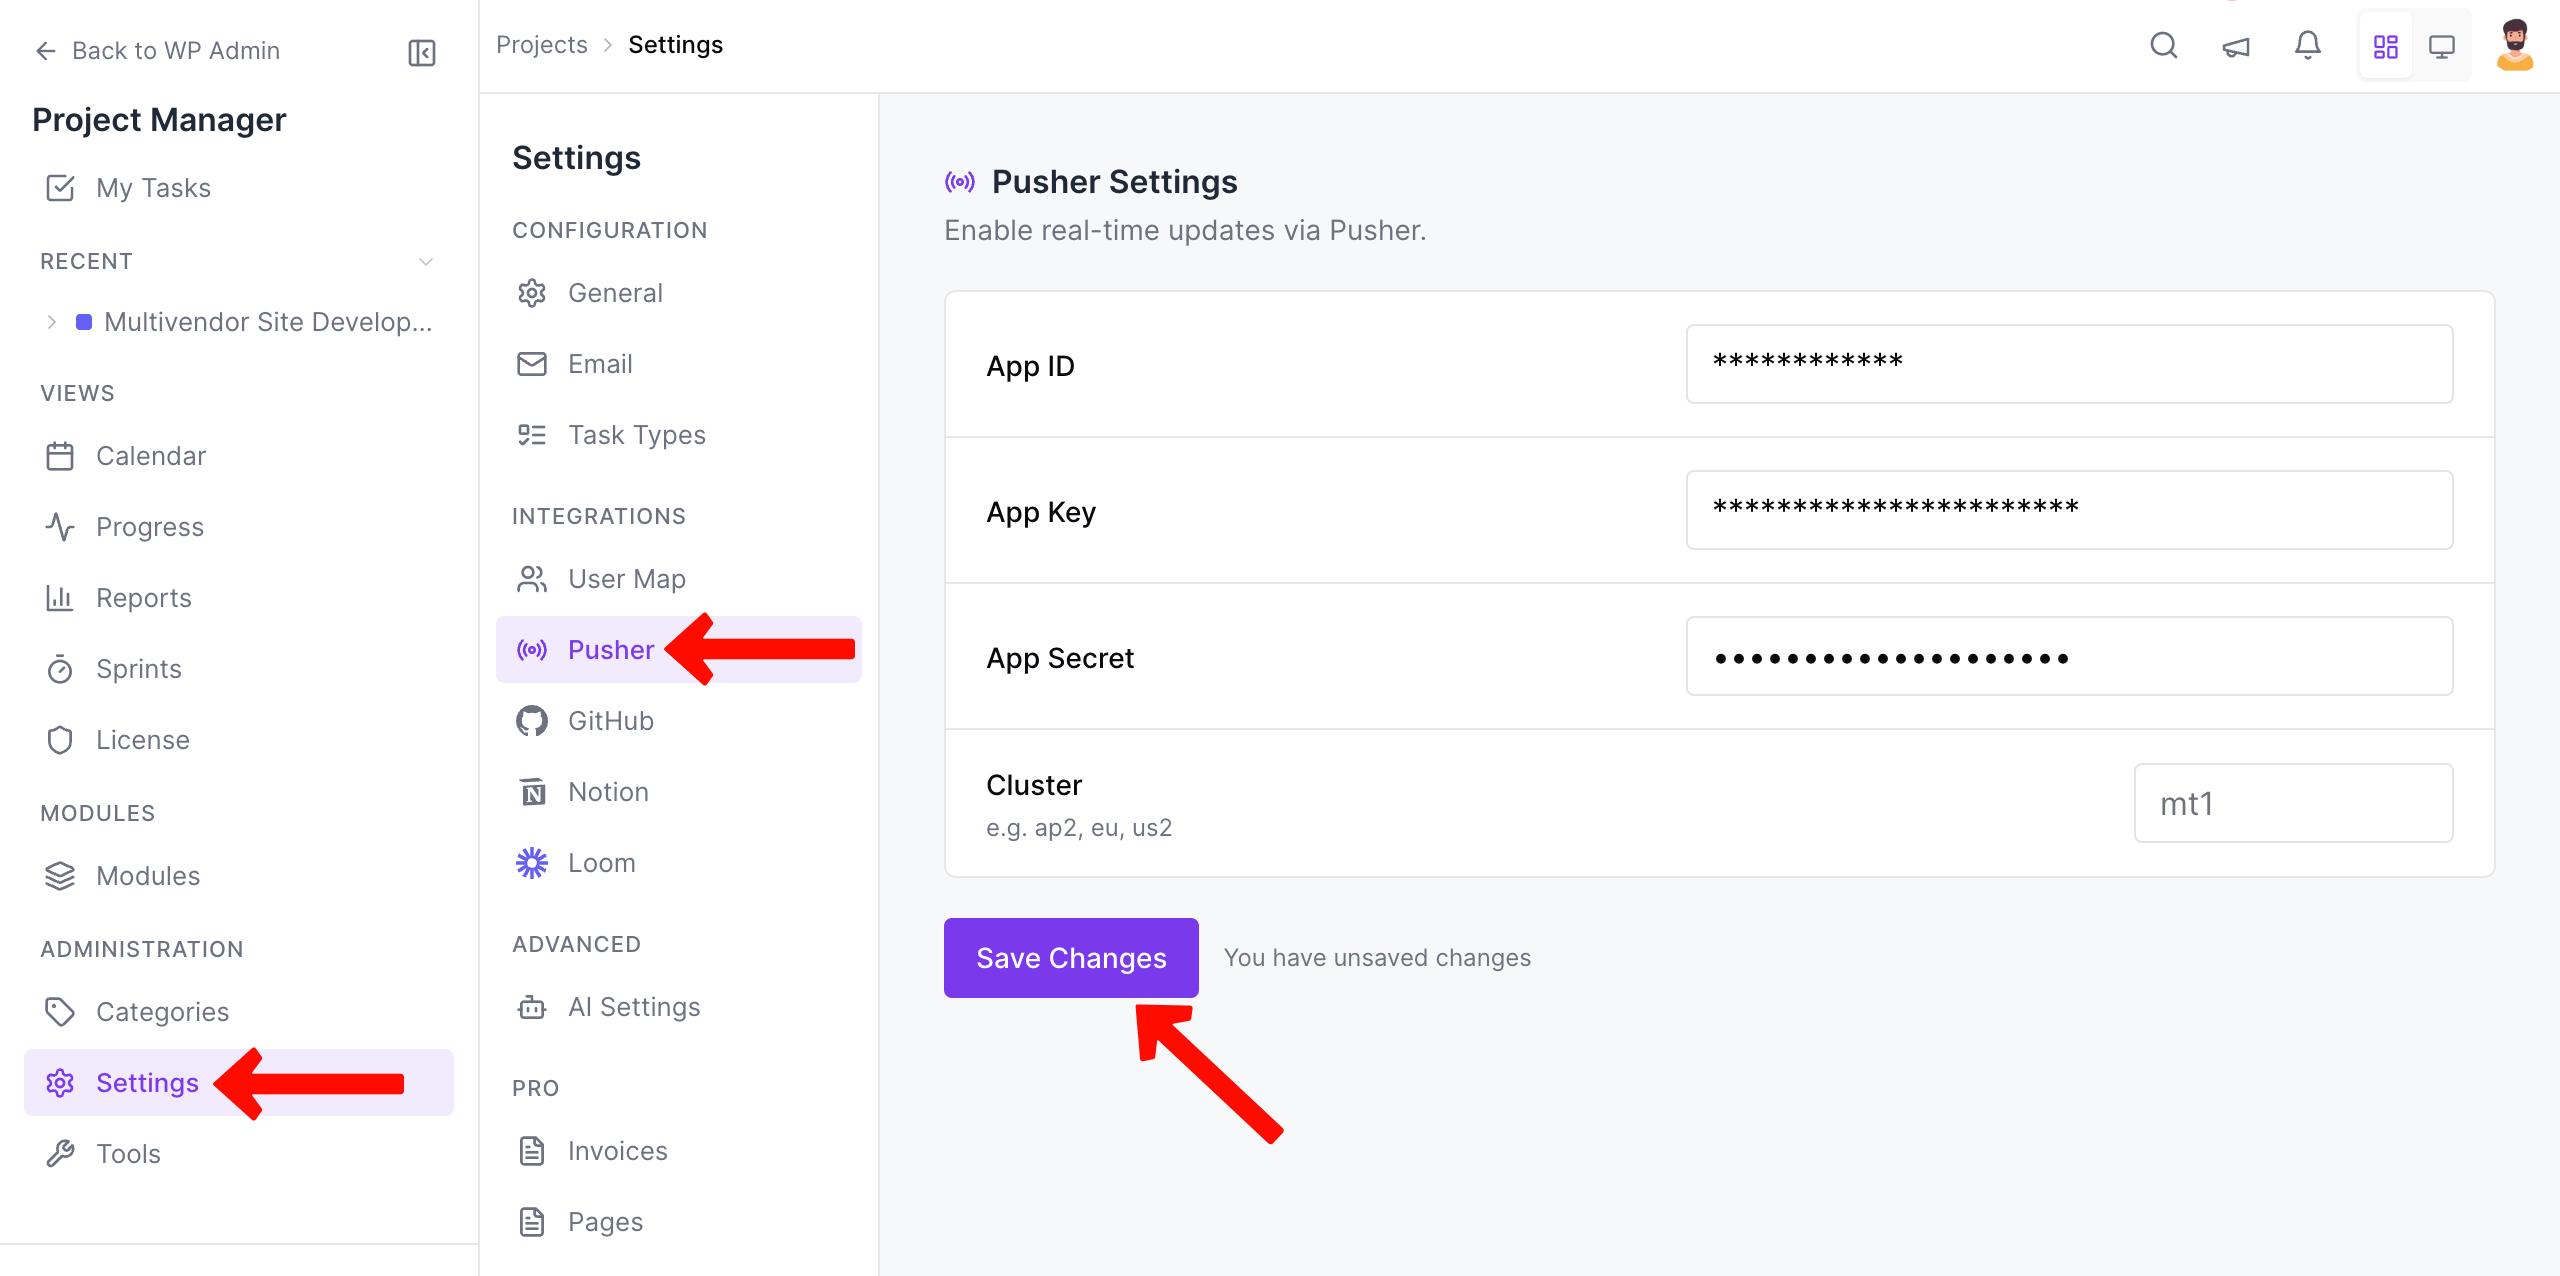
Configuration
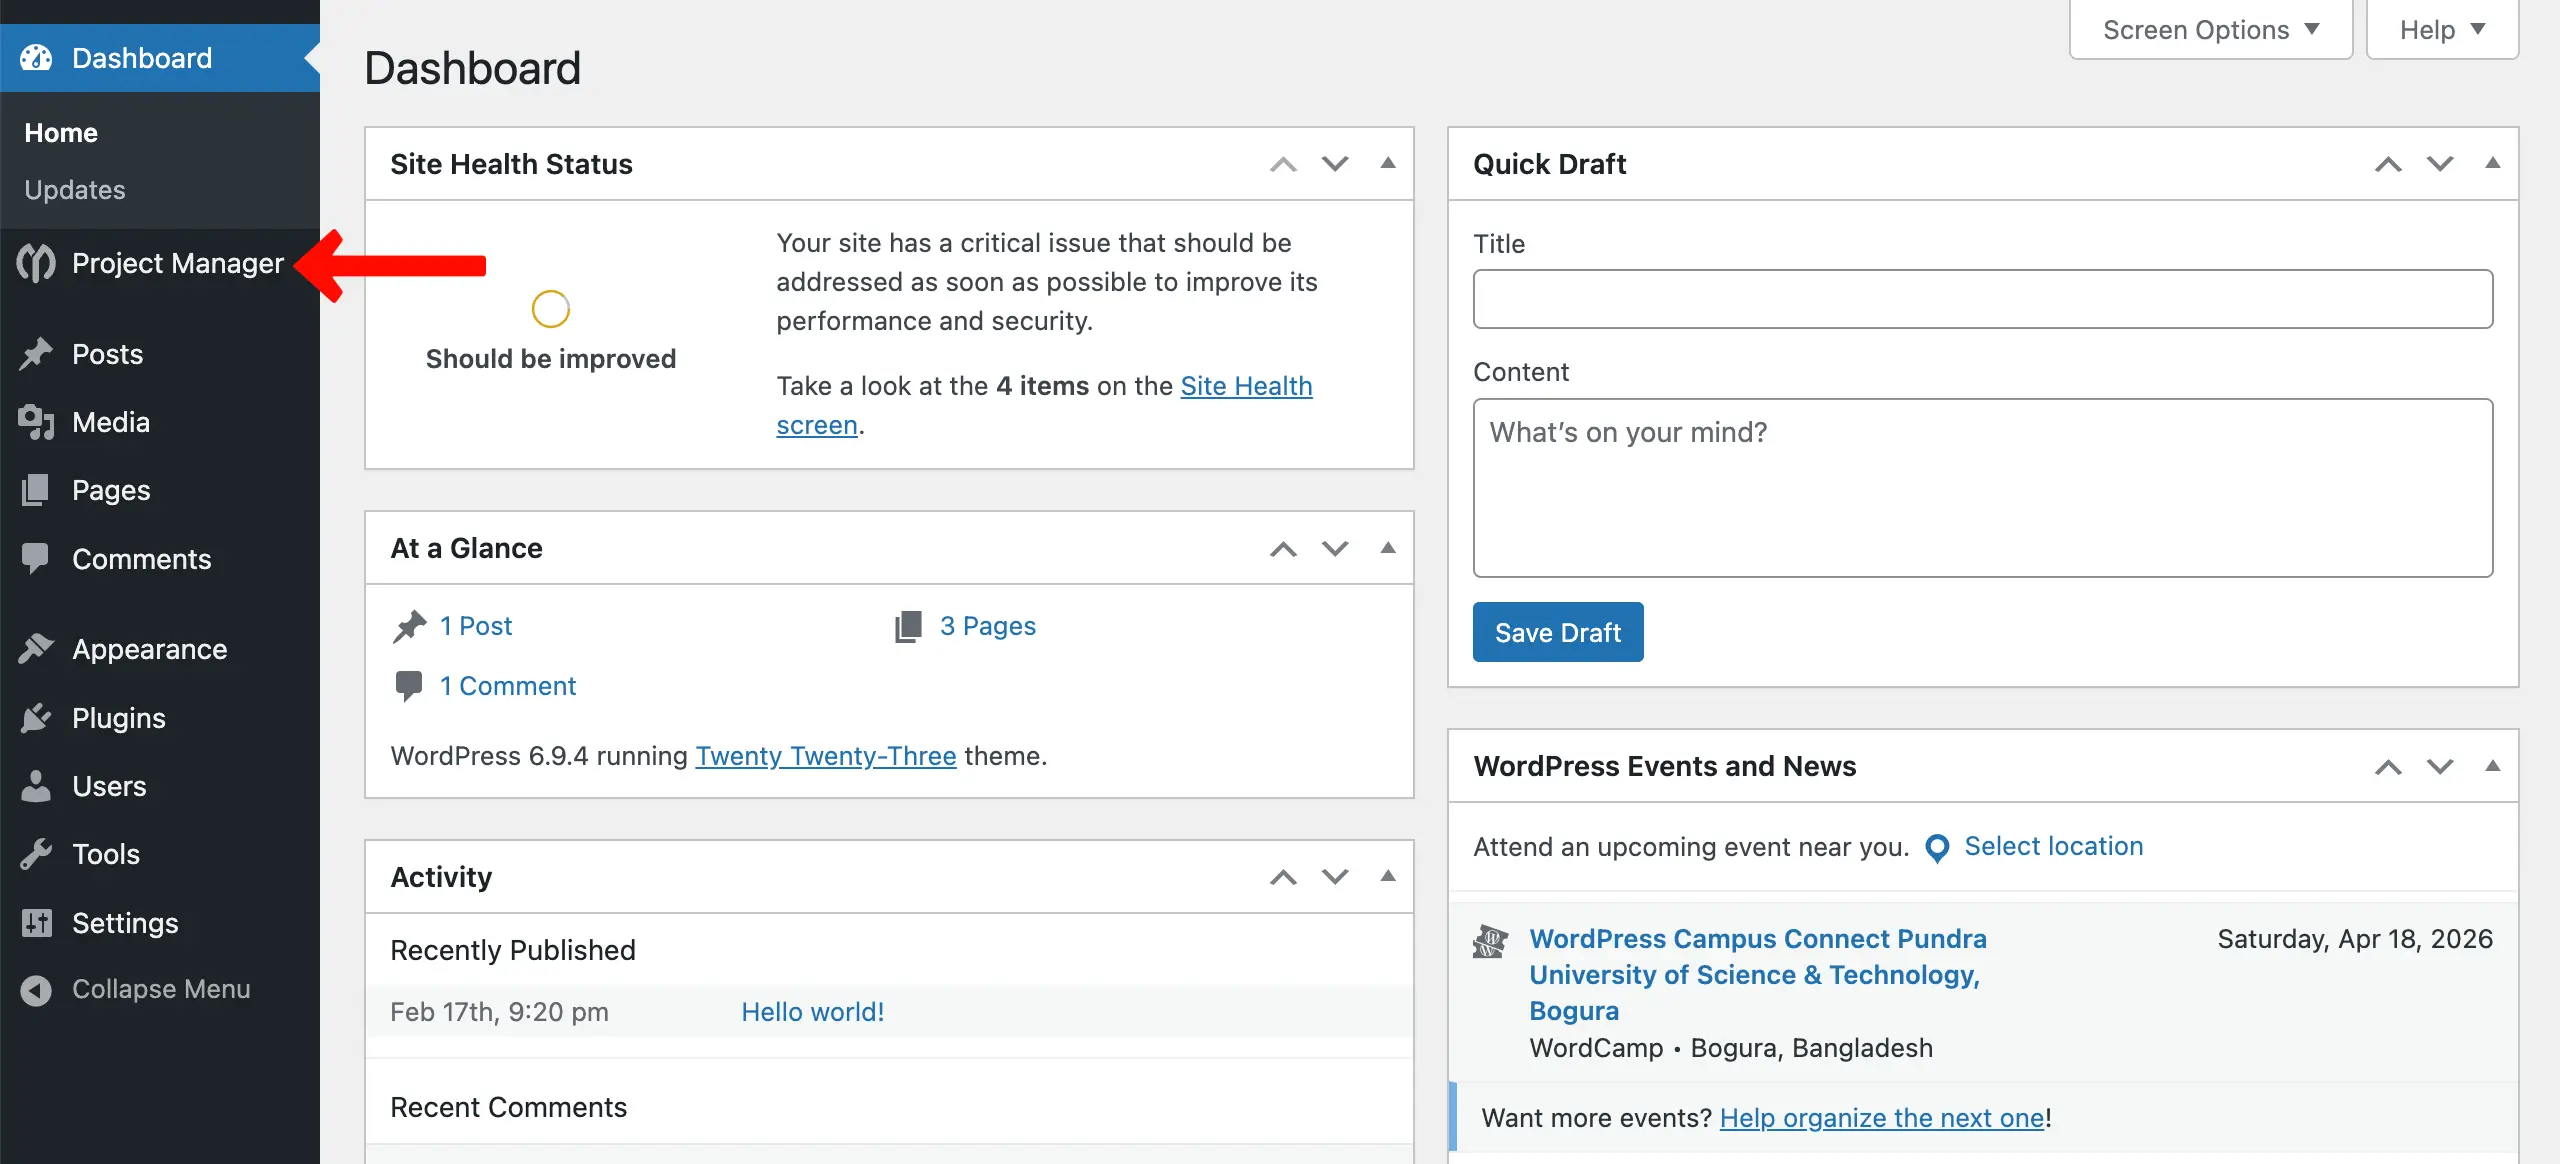
To activate the pusher settings, go to Project Manager.
Navigate to Settings→Pusher. Paste the app ID, key ID, secret key ID, and cluster ID you copied from your pusher account.
Now, create a task and assign the user. After creating that task, the user will get a notification.
Note: The user will get a pusher notification when,
- Adding a new task and assigning a user
- Setting due date
- Change the description of the task
- Adding a comment
- Editing the task
- Marking the task as complete
The user will not get a notification when,
- Task is deleted
- The task is made private
- Task moved
- Setting recurrence
- Setting label
- Adding a subtask and assigning a user.
That's it for Pusher Notification. Enjoy the feature.