AI form builder for Registration
Registration AI Form Builder in WP User Frontend enables users to quickly create frontend registration forms using AI. Instead of manually configuring individual fields, you can describe your form requirements in plain language or choose from pre-defined suggestions. The AI then automatically generates the form structure for you. Once generated, you can further customize the form by editing, adding, or removing fields to suit your specific use case or niche.
How to create a Registration AI form builder
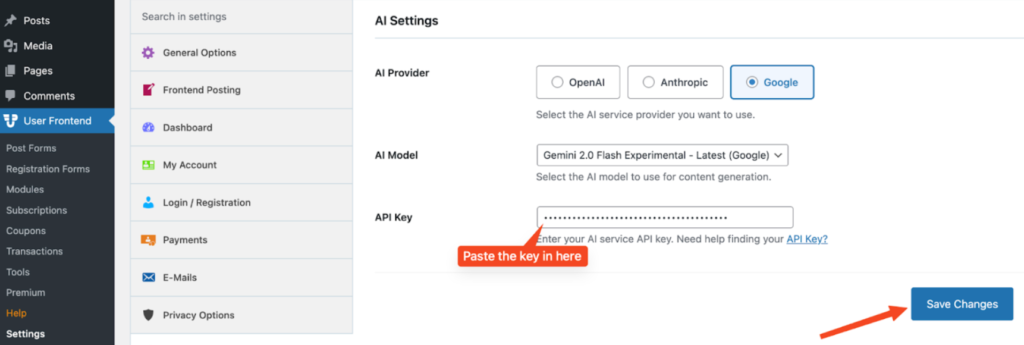
First, you need to configure the AI form builder, navigating from User Frontend >> Settings >> AI settings:

Then select which AI provider you want to use, including OpenAI, Anthropic, and Google.
Then choose the AI Model, and click on the ‘API Key’ button. You will be redirected to the AI providers(Google in this case) API Key page.
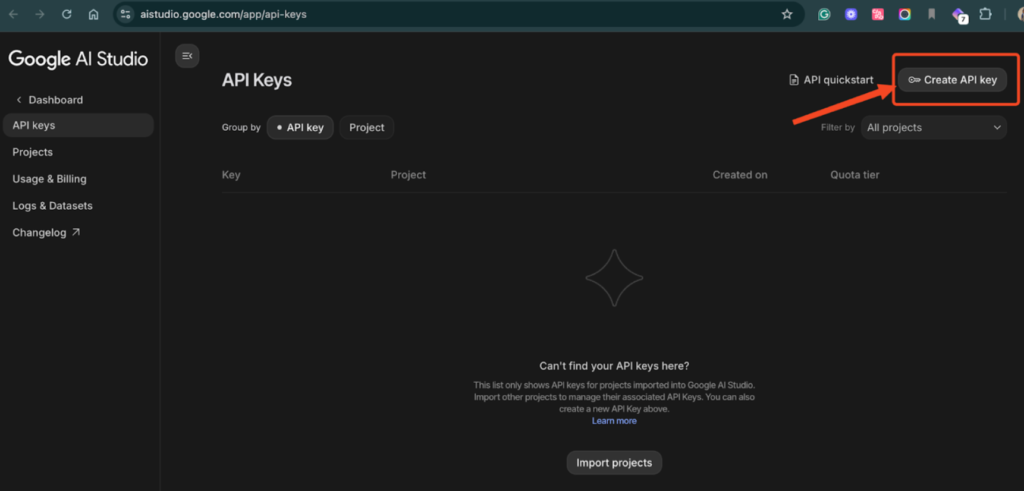
For Google, click on ‘Create API key’ >> Choose Projects or create a new one.
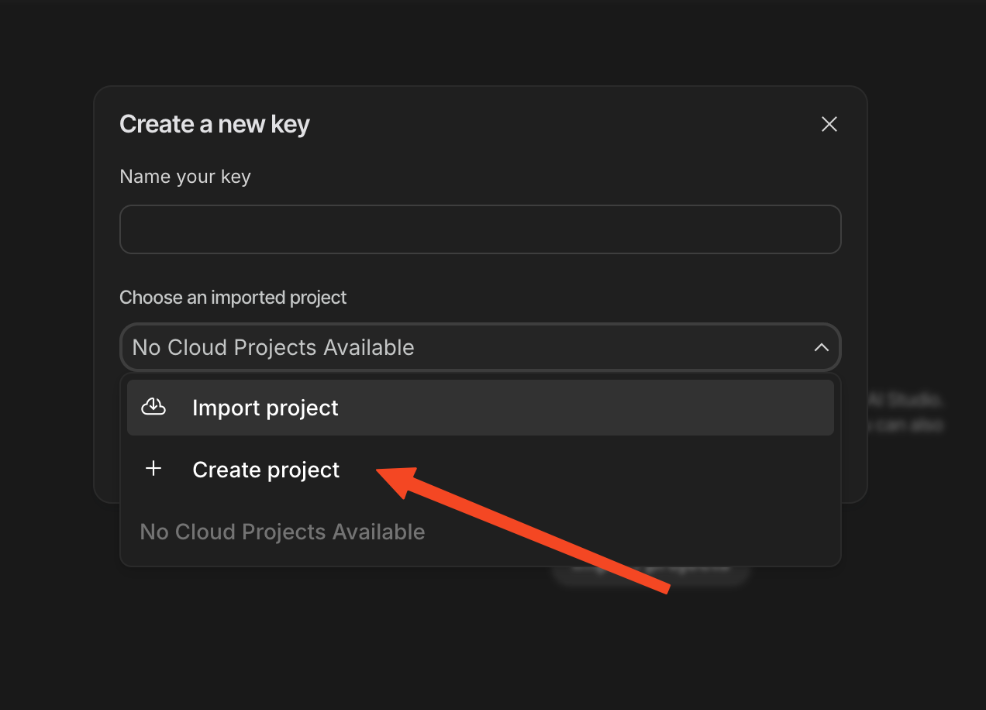
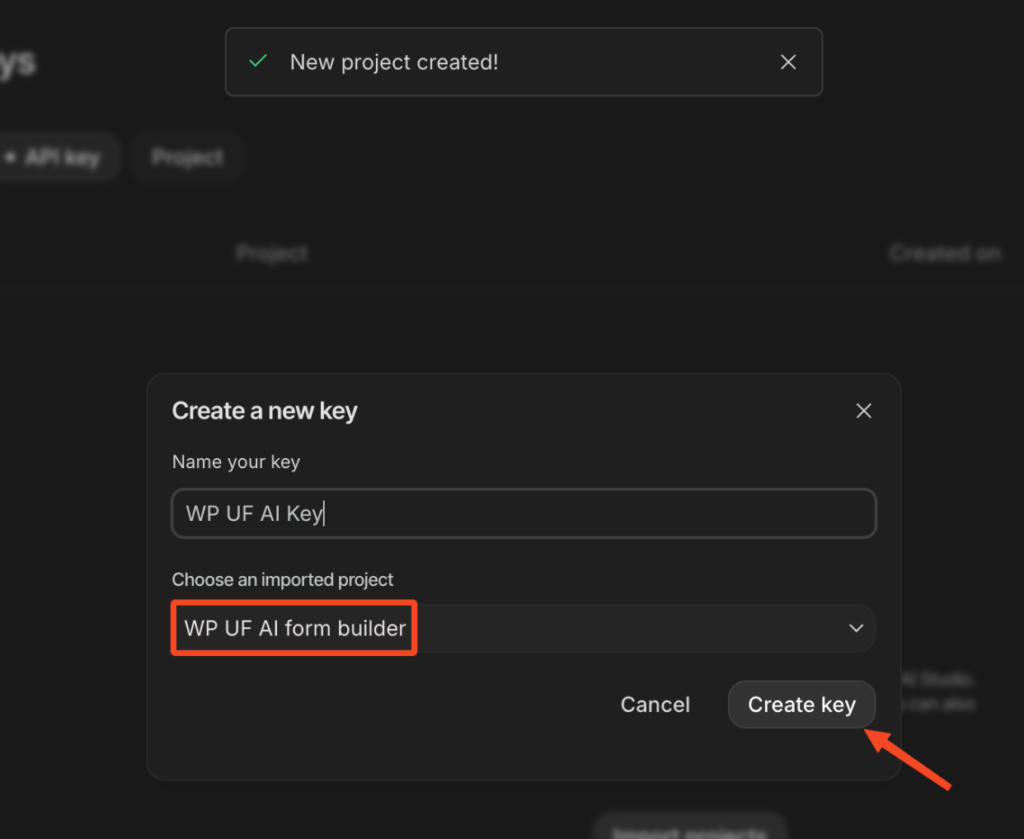
Create a project, or you can also import a project. Then type names for the project and for your key. Select Create key.
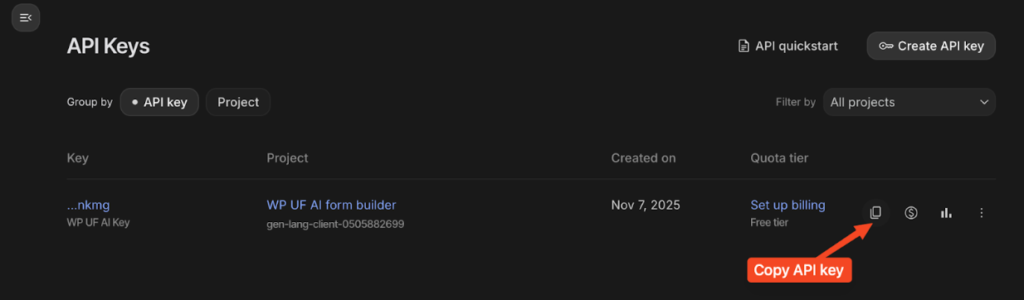
Then copy the API key.
Paste the API key and save changes.
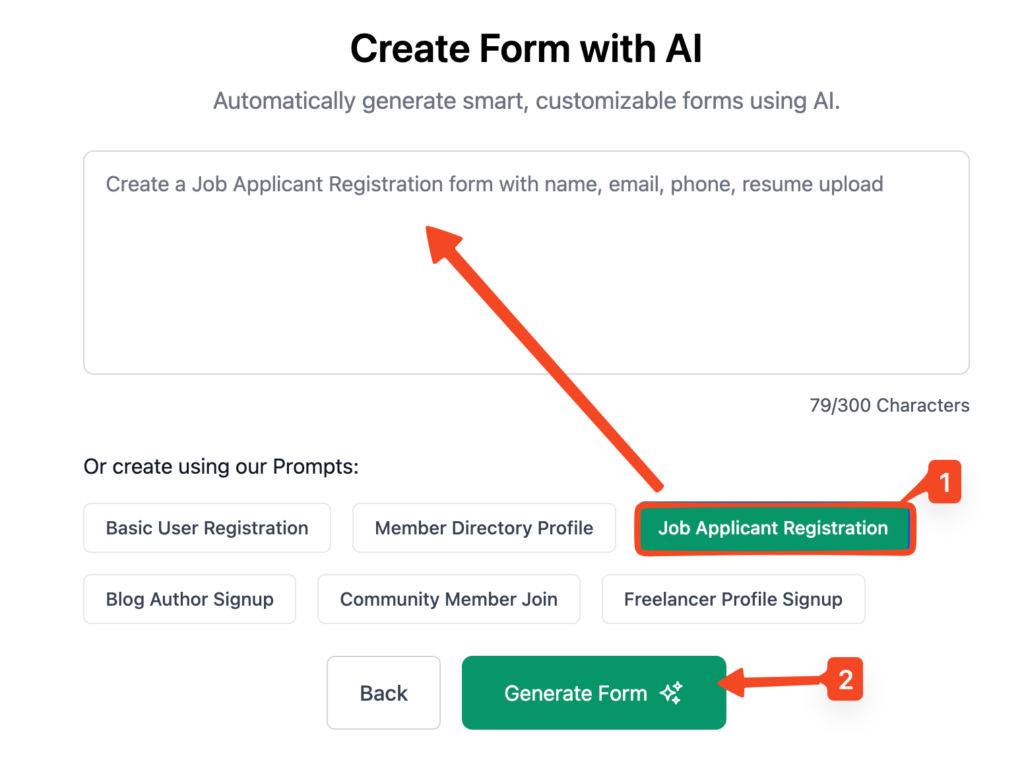
Now navigate to WP Admin dashboard >> Registration form >> click on “AI Form Builder”
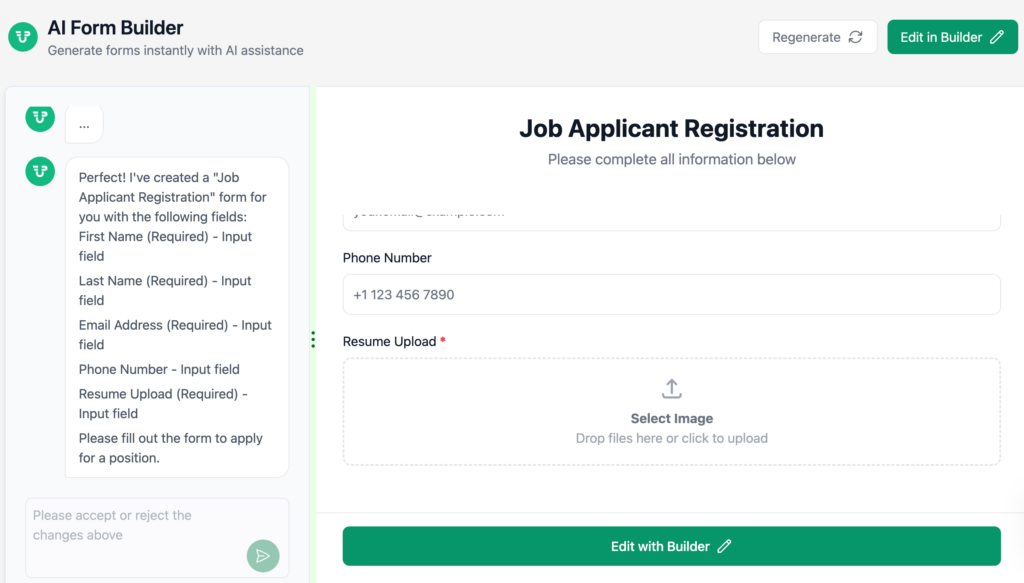
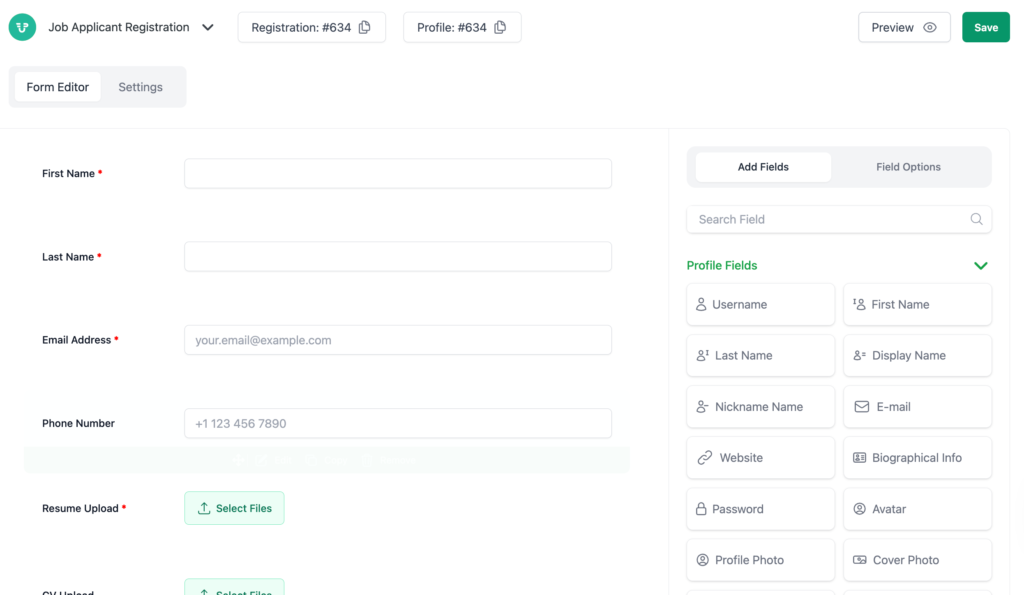
After the form is created, all of the fields will look like this,
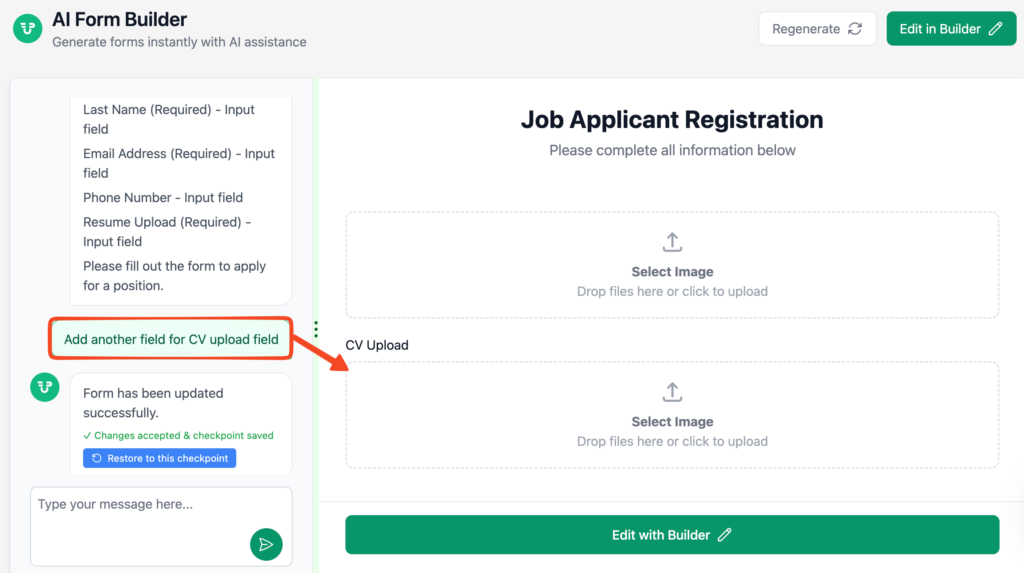
Add some other fields, such as a “CV” form field, and add the form field by clicking on the “Accept” button to save changes up to this checkpoint.
After adding all the fields, click “Edit with Builder.”
It will include all the fields you’ve added so far and redirect you to the form builder page.
Note: After moving from the AI Form Builder to the Edit with Builder page, you can no longer edit that post form using AI prompts. Make sure to add all your preferred fields before switching.
Save the form after making changes. Bravo! You successfully created your first AI Registration form.