

How to Allow Different User Roles in Registration Form
A- A+
With WP User Frontend, you can easily assign a user role to newly registered users by configuring the registration form settings. Follow the steps below to set up and manage user roles during registration.
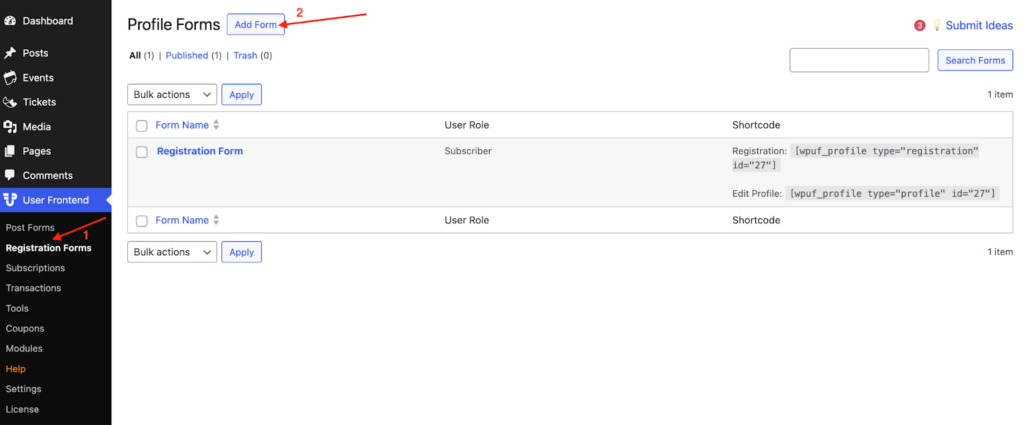
Step 1: Create a Registration Form
- Navigate to WP Admin → User Frontend → Registration Forms.
- Click Add New Form to create a new registration form.
- Customize the form fields according to your requirements.
- Save the form once you're done.
If you need help creating a registration form, refer to the registration form guide.
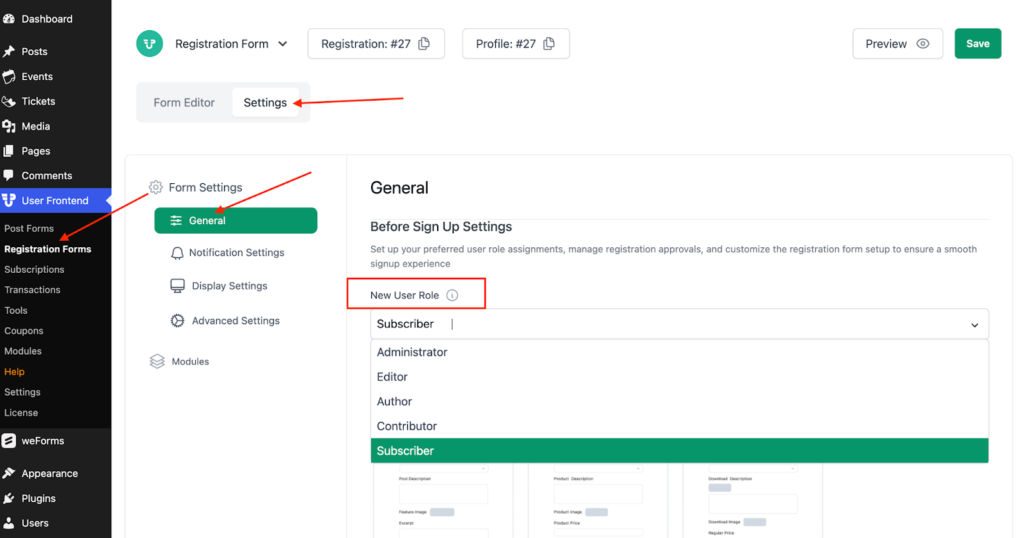
Step 2: Assign a User Role
- Open the newly created registration form.
- Go to the Settings tab and click on General.
- Locate the New User Role option and select the desired role from the dropdown menu.
- Click Save Form to apply the changes.
Not sure what each role does? Learn more about WordPress user roles.
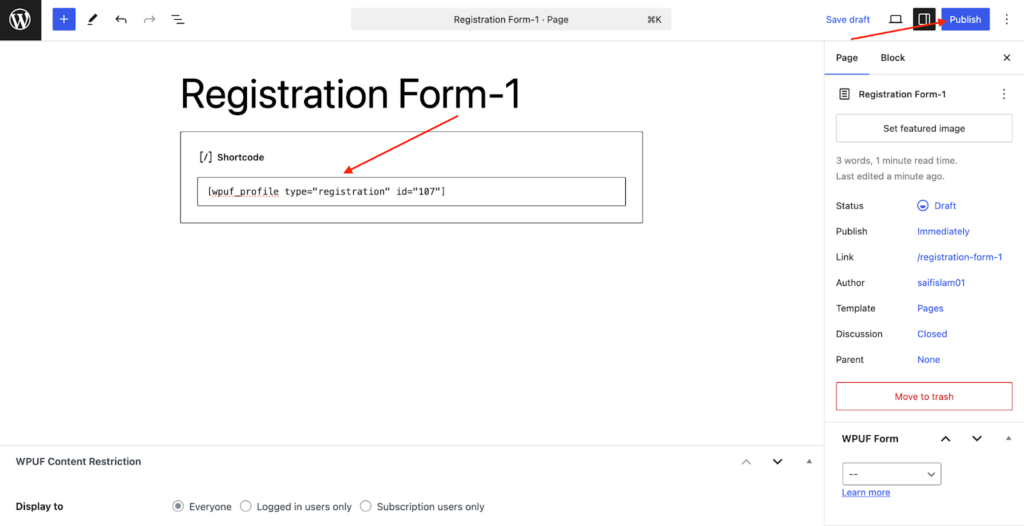
Step 3: Embed the Registration Form
- Copy the shortcode generated for your registration form.
- Navigate to WP Admin → Pages → Add New.
- Enter a title for the registration page.
- Paste the copied shortcode into the content editor.
- Click Publish to make the page live.

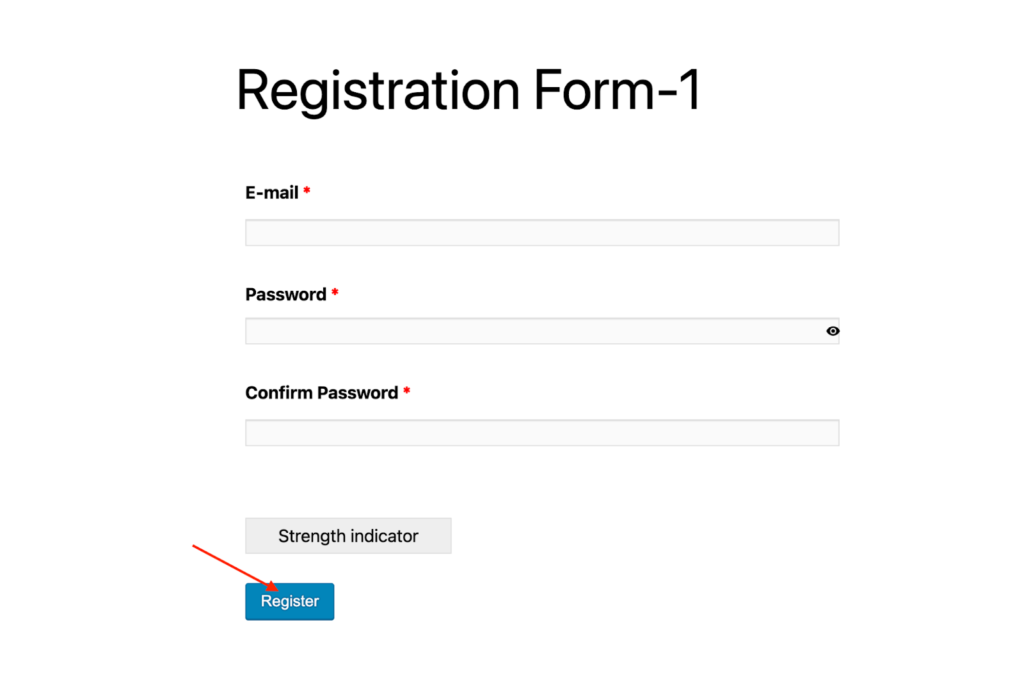
Step 4: Register a New User
- Visit the newly created registration page on the frontend.
- Fill in the form details and submit the registration.
- The user will be registered with the selected role.
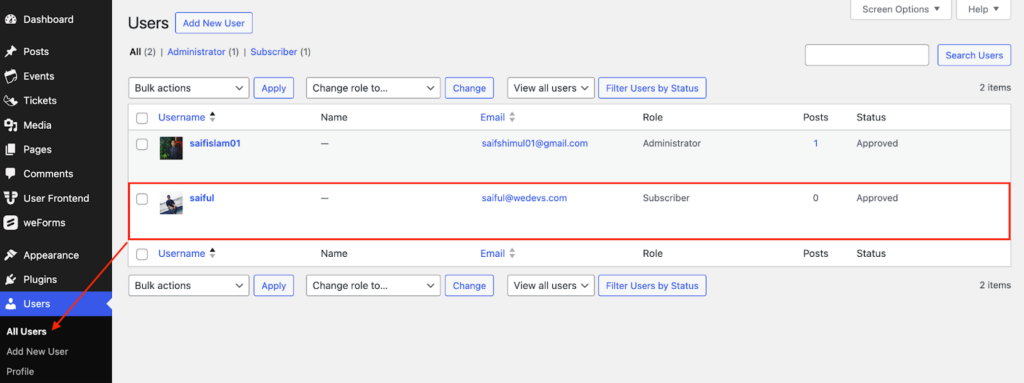
Step 5: Verify the Registered User’s Role
- Go to WP Admin → Users → All Users.
- Locate the newly registered user in the list.
- Check the User Role column to confirm the assigned role.
Now, your registration form is set up to assign roles automatically, making user management more efficient!